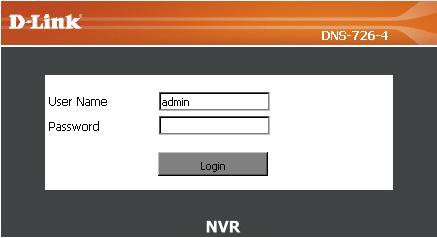
Step 1: Log into the DNS-726-4 web based configuration.
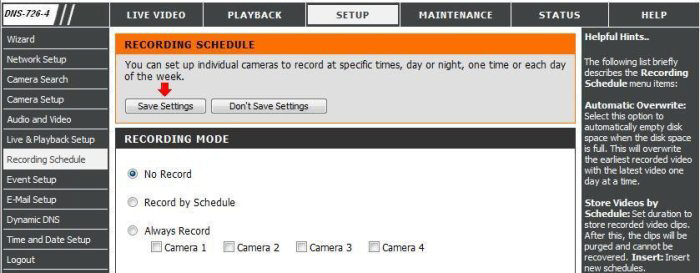
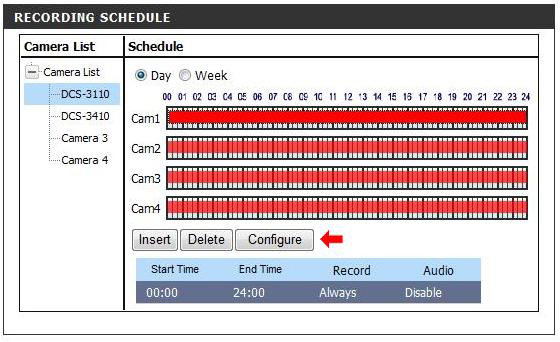
Step 2: Go to Setup then Recording Schedule on the left.
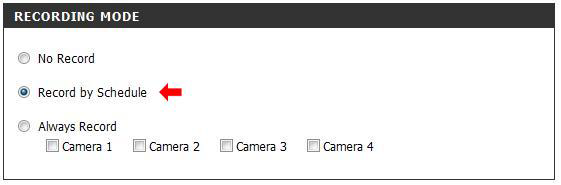
Step 3: Select Record by Schedule.
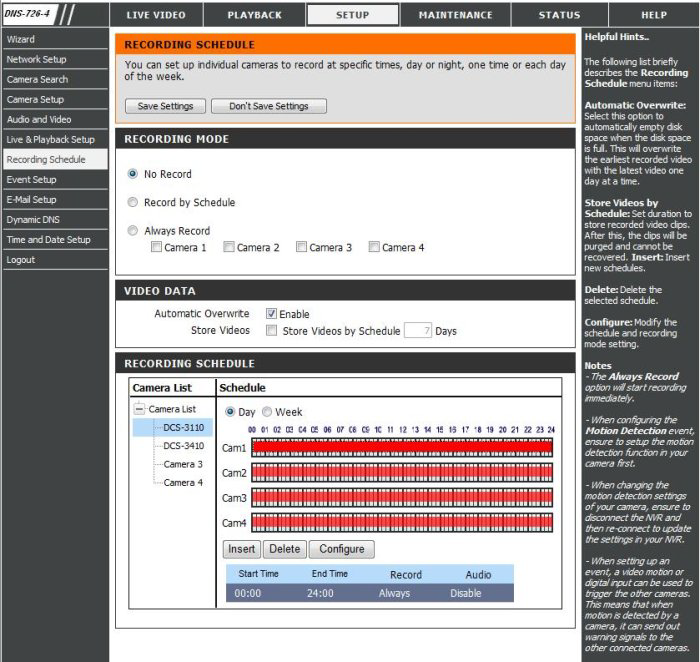
Step 4: Select your camera you would like to configure and click Configure.
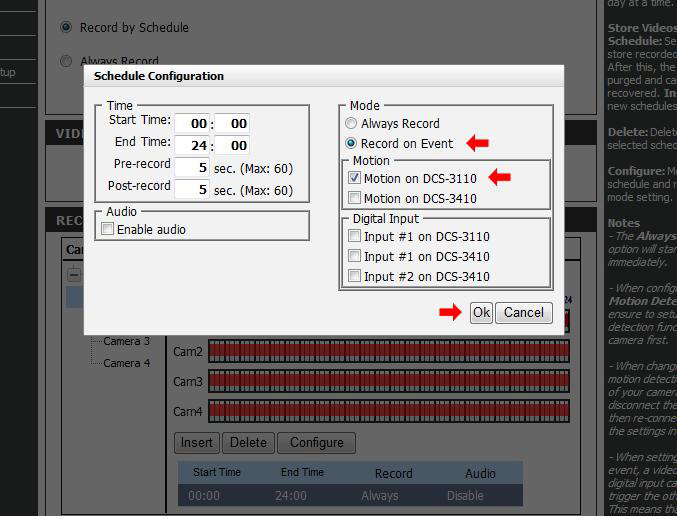
Step 5: Select Record on Event and check the checkbox's of the cameras you would like to start recording on the event of motion detection on the camera and click OK.
Step 6: Save Settings.