Step 1: Log into the ShareCenter Pro.
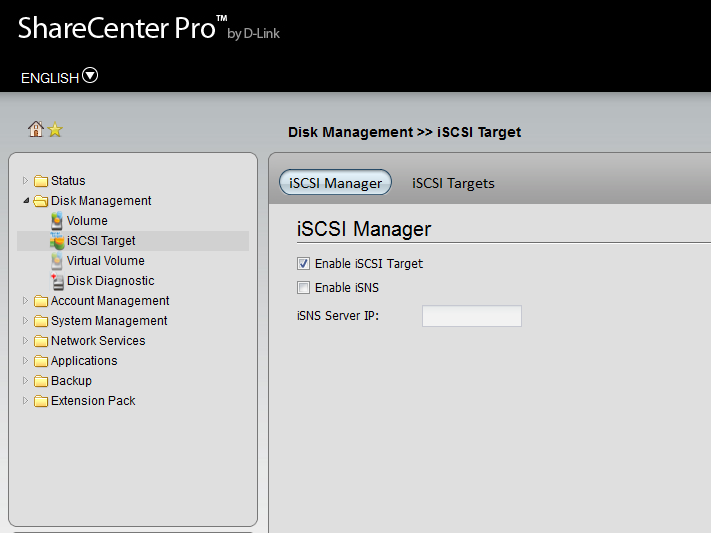
Step 2: Click on Disk Management and then iSCSI Target
Step 3: Check Enable iSCSI Target
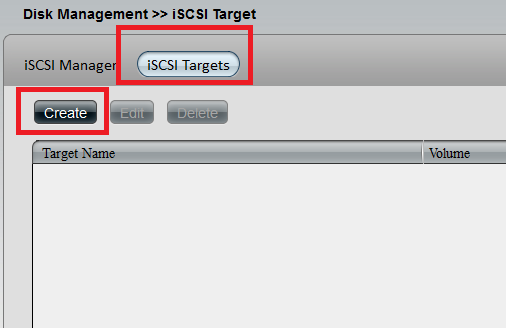
Step 4: Click the iSCSI Targets Tab and Click Create
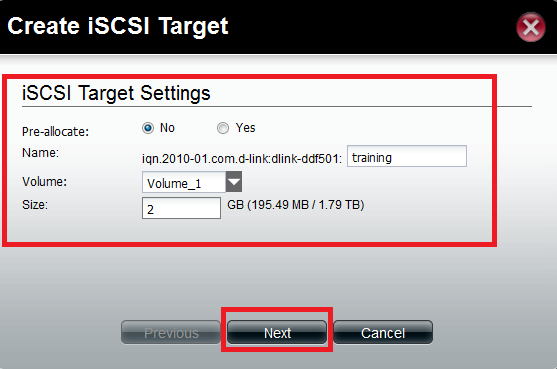
Step 5: Select Pre-Allocate , Enter a name for the target then Select Volume and Select Size
NOTE: Pre-Allocate: Click Yes to reserve a certain amount of capacity on the target in advanced. Click No to enable thin provisioning which provides just enough storage space for immediate use
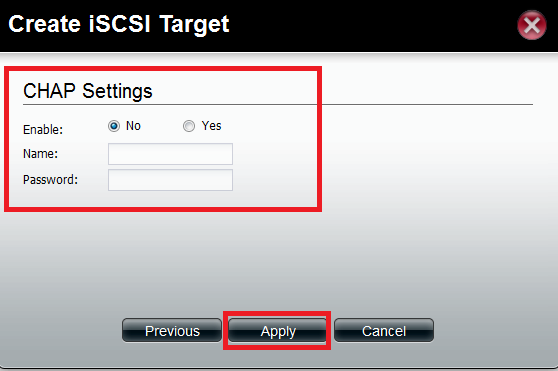
Step 6: Enable Chap Security on Target (If required)
Step 7: Click Apply
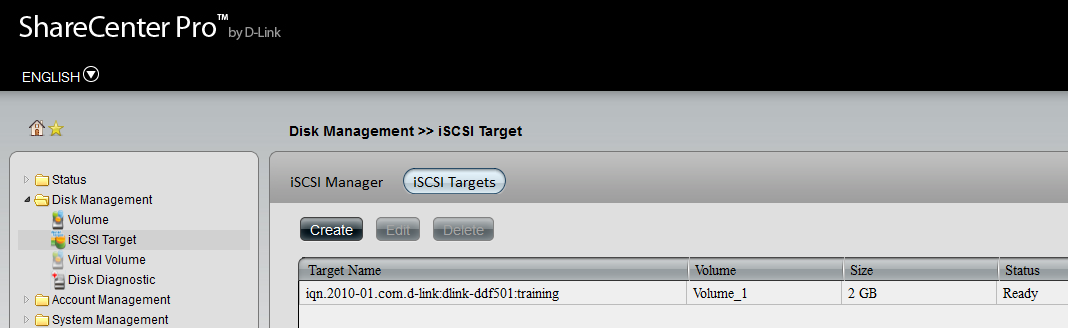
Result: