Step 1: Plug the power adapter into the DSL-2320B and turn on the power by pressing the button on the back of the unit. When the modem has fully boot up, you should only see the power and DSL LEDS lit solid indicating no activity.
Step 2: Plug one end of the USB cable into the modem and the other end into one of your PCs USB ports. The found new hardware wizard should detect a new network device.
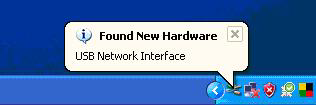
It should then prompt you to install the drivers for the device.
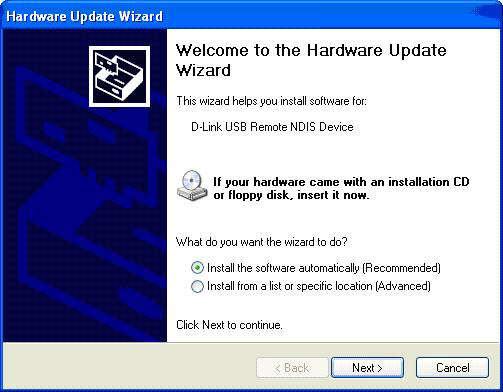
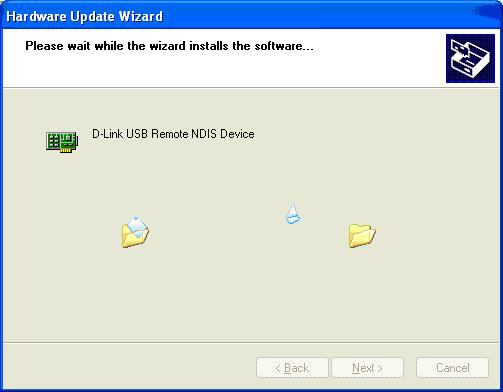
Step 3: At this time insert the CD that came with the modem. It should automatically install the correct driver without any interaction.
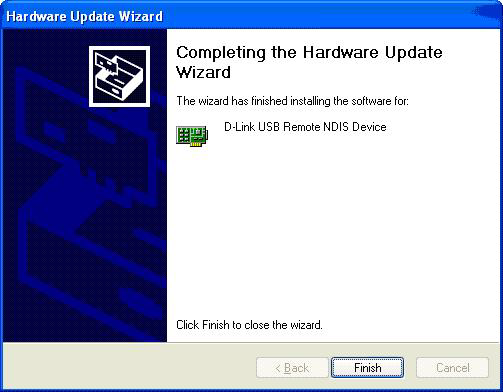
The driver should now be installed and ready for use. Click Finish.
Step 4: Now open a command prompt and type ipconfig. Verify that the PC has received an IP address of 192.168.1.x. Now type, ping 192.168.1.1 to verify that the PC can talk to the modem. If you get replies you are now ready to log into the modem and configure the connection with your ISP.
Step 5: Log into the modem by typing the default IP address of the modem into the address bar, http://192.168.1.1 and hit Enter. This will take you to the login prompt.
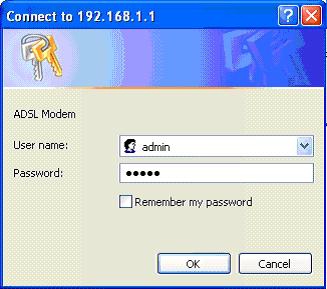
Step 6: Type admin for the username and admin for the password and hit the OK button. This will take you to the Home page of the routers Interface.
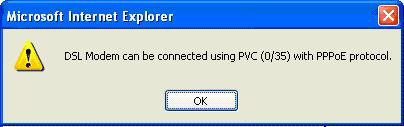
Step 7: On the home page, check the box that says DSL-Auto-Connect, and click the Next button.
The modem will search for the appropriate virtual connection that coinsides with your DSL providerGÇÖs service. When it is done it will tell you which PVC parameters can be used. Click the OK button.
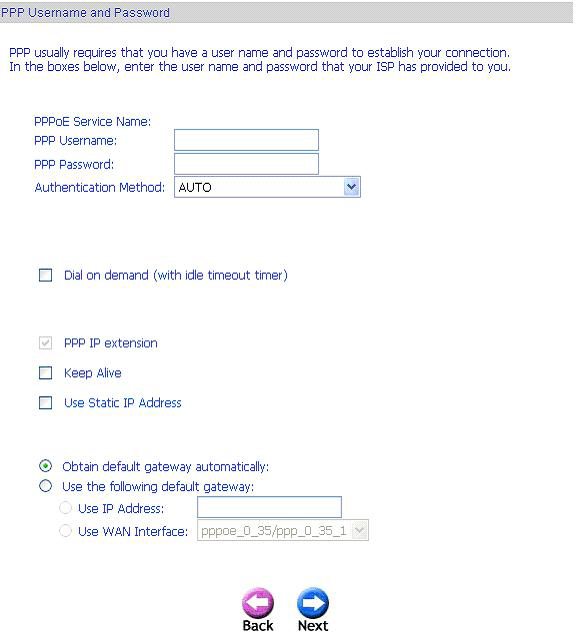
Step 8: This will bring you to the PPP Username and Password screen. On this page you will input the username and the password used for you internet connection, that is provided to you by your ISP for your DSL connection. Then click Next.
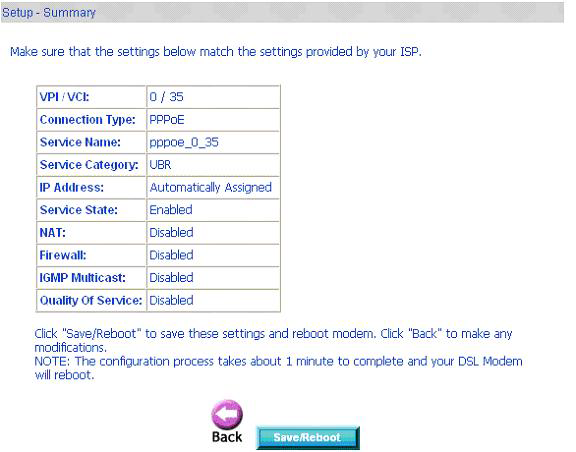
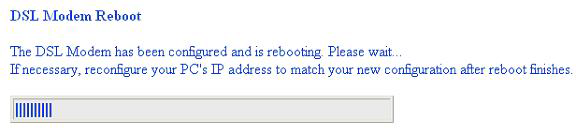
Step 9: The setup summary page will display the configuration settings that you have set. Now click on the Save and Reboot button.
When you reboot, a screen will display showing your progress.
When the progress is finished, a prompt will appear telling you the modem has rebooted and is up and running.
Step10: Now to verify connectivity, open a command prompt and type ipconfig and hit Enter.
You should see a valid bridged WAN IP address that may resemble the one below.
