Configuration of DFL-210/800/1600
Step 1: Open the web browser and type the IP address of the router in address bar (default is 192.168.1.1) and press Enter.
Step 2: On the left side, click on Objects, select Authentication Objects and click on Pre-shared key.

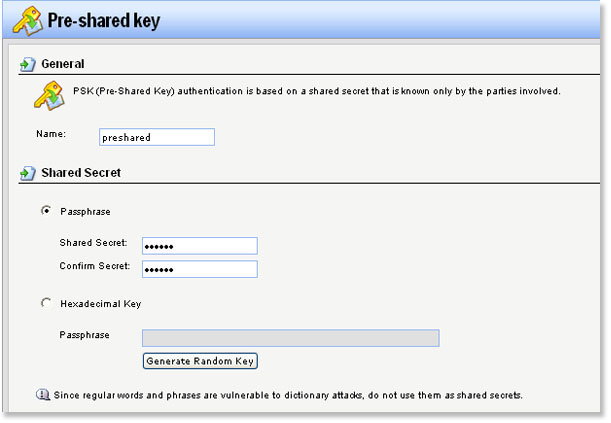
Step 3: Configure the Pre-Shared Key as followed:
- Name: enter a name as desired (preshared in this example)
- Shared Secret: enter desired preshared key
- Confirm Secret: re-enter the key
Click OK.
Step 4: Click on Interfaces and select IPsec. Click Add and select IPsec Tunnel.

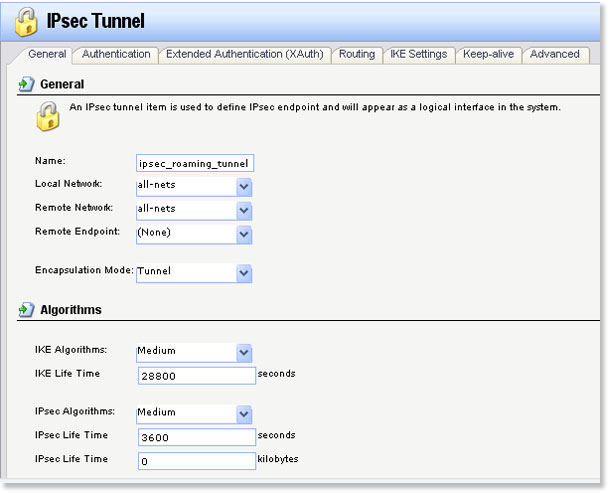
Step 5: Configure the IPsec Tunnel as followed:
- Name: enter a name as desired (ipsec_roaming_tunnel in this example)
- Local Network: all-nets
- Remote Network: all-nets
- Remote Endpoint: None
- Encapsulation Mode: Tunnel
- IKE Algorithms: Medium
- IKE Life Time: 28800 secs
- IPsec Algorithms: Medium
- IPsec Life Time: 3600 secs
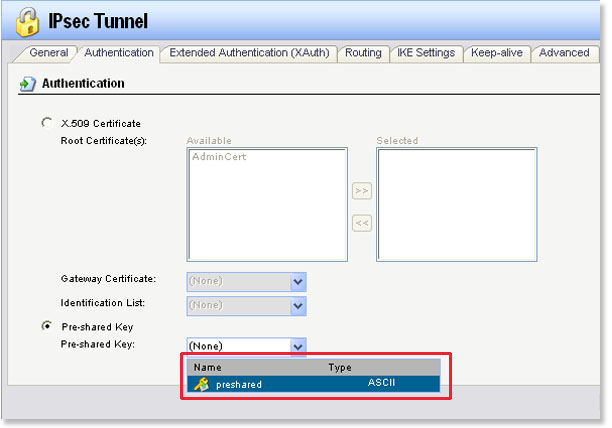
Step 6: Select the Authentication tab and select preshared (created in step 3) from the Pre-Shared Key dropdown option.
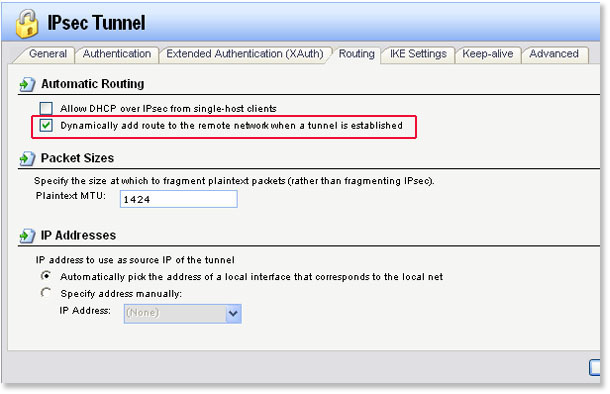
Step 7: Select the Routing tab and check the box labeled Dynamically add route to the remote network when a tunnel is established and click OK.
Step 8: Click on Rules and select IP Rules. Click Add and select IP Rule Folder.
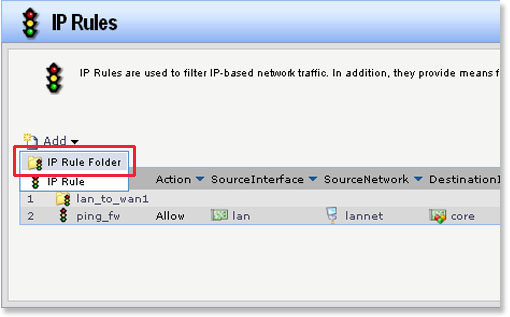
Step 9: Enter a name for the folder and click OK.
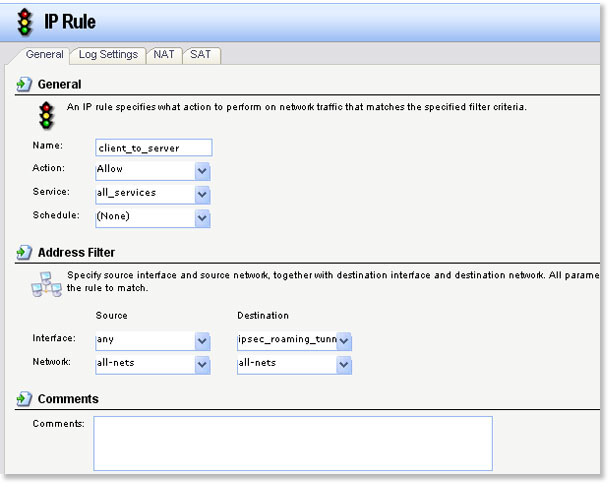
Step 10: Click Add and select IP Rule. Configure the IP Rule as followed:
- Name: enter a name as desired (client_to_server in this example)
- Action: Allow
- Service: all_services
- Schedule: None
- Source interface: any
- Source network: all-nets
- Destination interface: ipsec_roaming_tunnel (created in step 5)
- Destination network: all-nets
Click OK.
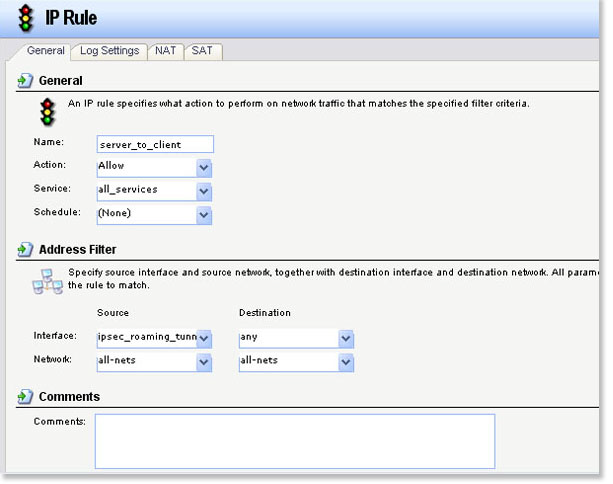
Step 11: Click Add and select IP Rule. Configure the IP Rule as followed:
- Name: enter a name as desired (server_to_client in this example)
- Action: Allow
- Service: all_services
- Schedule: None
- Source interface: ipsec_roaming_tunnel (created in step 5)
- Source network: all-nets
- Destination interface: any
- Destination network: all-nets
Click OK.
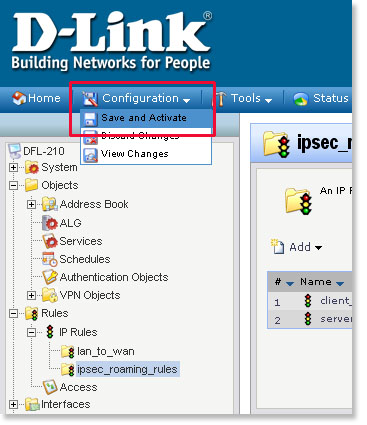
Step 12: Select the Configuration tab and select Save and Activate. Click OK to save and activate the changes.
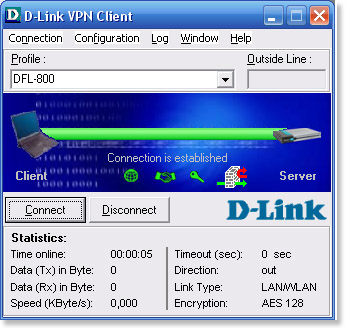
Configuration of DS-601/605 VPN client software
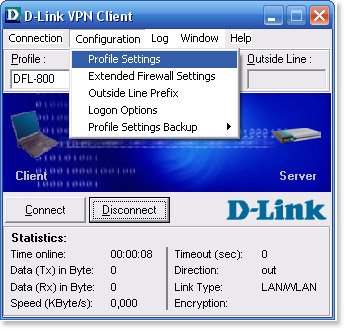
Step 1: Click Configuration and select Profile Settings .
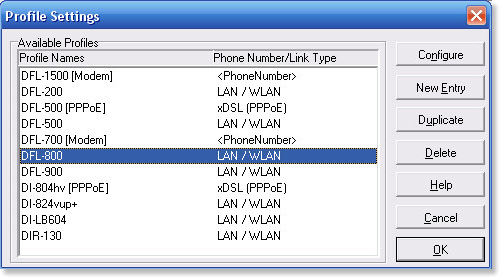
Step 2: Select DFL-800 in the profile settings and click on Configure. If the profile does not exist, click New Entry to create a new profile.
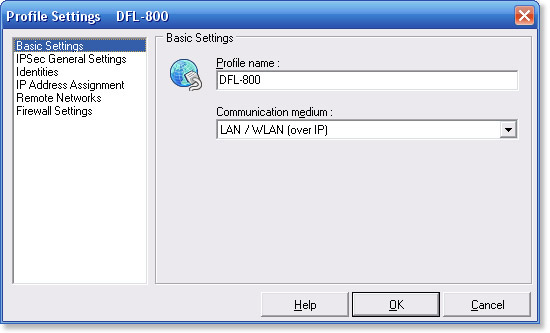
Step 3: Select Basic Settings and configure as followed:
- Profile name: enter a name for the profile (DFL-800 for simplicity)
- Communication medium: select the type of internet connection on the client side
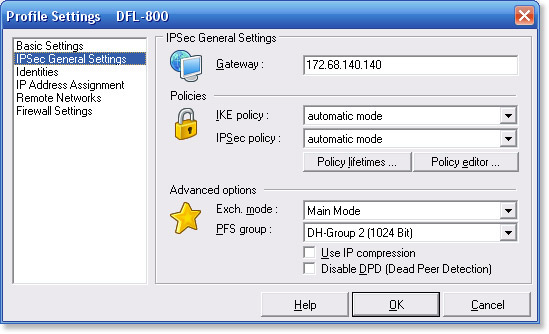
Step 4: Select IPSec General Settings and configure it as followed:
- Gateway: enter WAN IP of the remote firewall
- IKE Policy: automatic mode
- IPSec policy: automatic mode
- Exch. Mode: Main mode
- PFS Group: DH-Group 2 (1024Bit)
Step 5: Select Identities and enter the pre-share key next to Shared secret and Confirm secret.
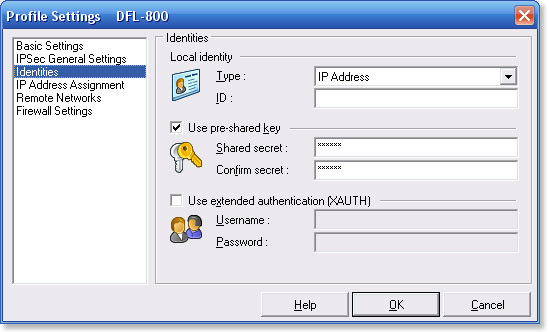
NOTE: The Pre-shared key must be identical to the one configured on the Firewall.
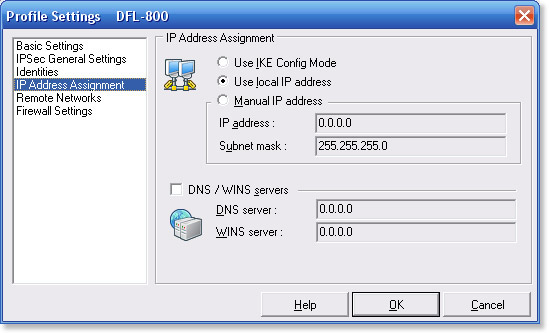
Step 6: Select IP Address Assignment and configure it according to your settings. It is recommended to keep the default settings.
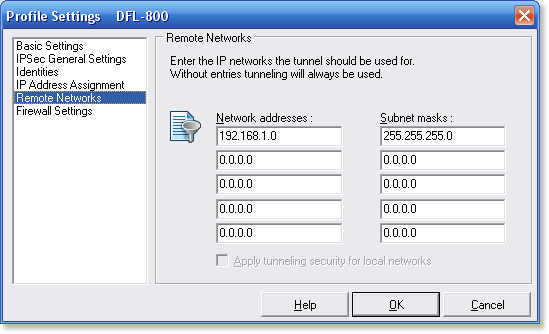
Step 7: Select Remote Networks and configure as followed:
- Network addresses: enter the network of the remote Firewall
- Subnet masks: enter the corresponding subnet mask of the remote Firewall
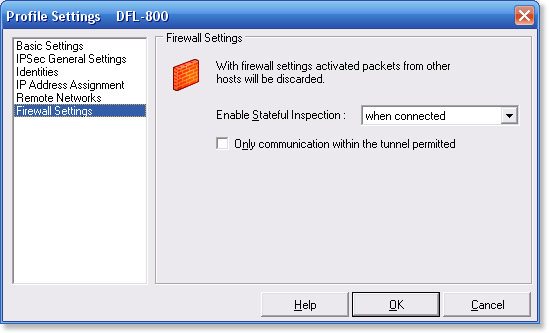
Step 8: Select Firewall Settings and set the Enable Stateful Inspection to when connected. Click OK to save the settings and then click OK again to go back to connection screen.
Step 9: Click Connect to establish the VPN connection.