Step 1: Access the SAN through the GUI by typing the Management Port IP of the SAN into a web browser and log into the unit.
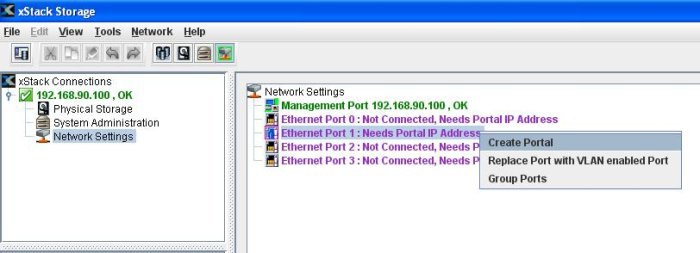
Once you have logged in Select Network Settings in the left windows pane, select and right-click on the Ethernet Port that needs a portal IP address and and Create Portal.
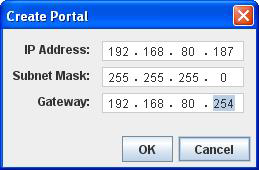
Step 2: Enter in the desired IP address, Subnet Mask and Gateway. Click OK after.
Step 3: The Ethernet Port you just modified should now show up as Online and active in Green.
