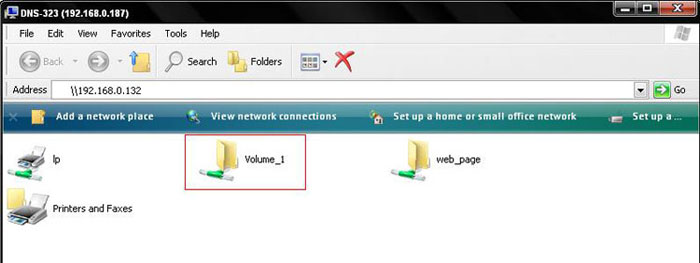
Step 1: Click Start and Click Run, type \\IP of DNS-323 (eg. \\192.168.0.32) and Press OK.

Step 2: Explore the root directory of the DNS-323 (This Example- Volume_1)
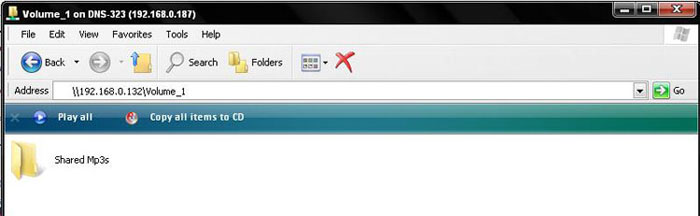
Step 3: Create a folder to hold your MP3GÇÖs. (Ex. Shared Mp3GÇÖs)
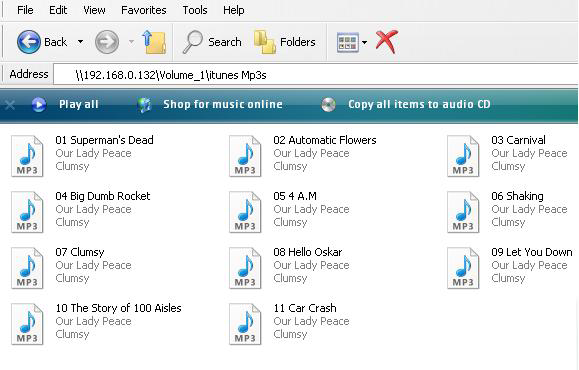
Step 4: Add MP3s to the folder.
Step 5: Log into the DNS-323. The default username is admin (all lower case) and the default password is blank (nothing). Click on Config.
Step 6: Click on the Advanced tab at the top and then click on iTunes SERVER on the left hand side.
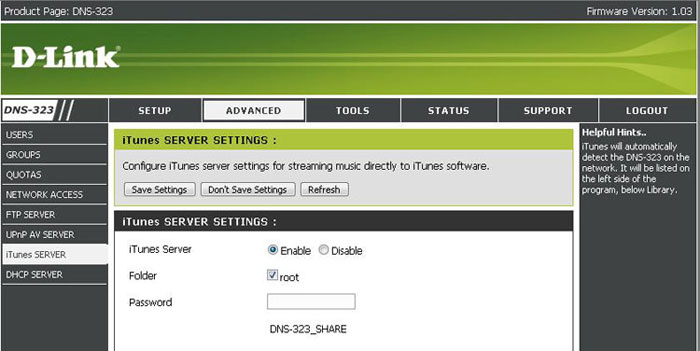
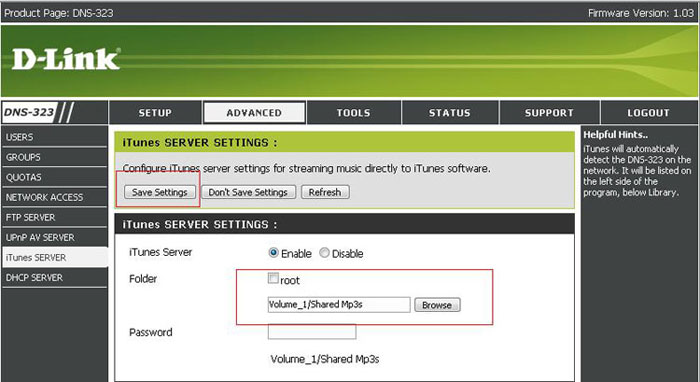
Step 7: Click Enable, Uncheck root and click Browse.
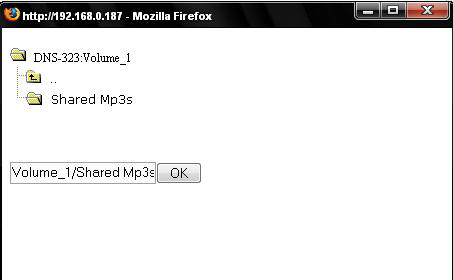
Step 8: Select your created MP3 Directory and press OK.
Step 9: Click Save Settings.
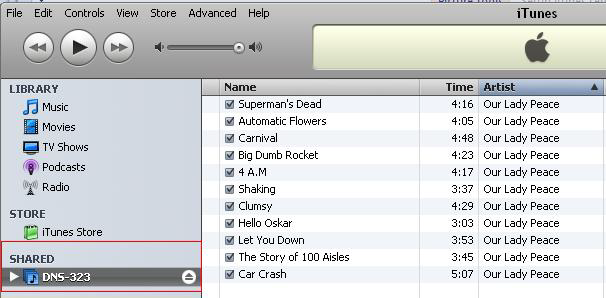
Step 10: Open iTunes, select the DNS-323 on the Left Panel