Step 1: Access the SAN by typing in the Management Port IP of the SAN into a web browser. Click on the Click Here link to run the xStack Storage now.

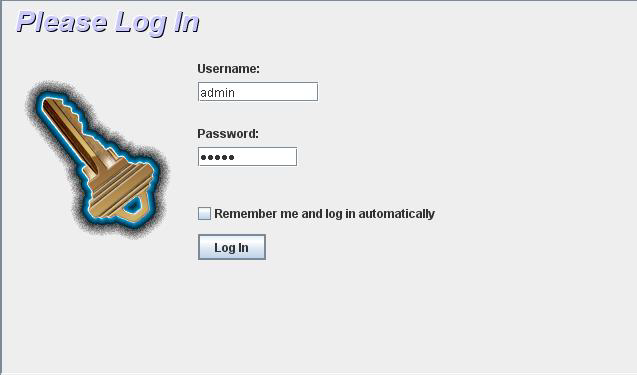
Step 2: Log into the SAN
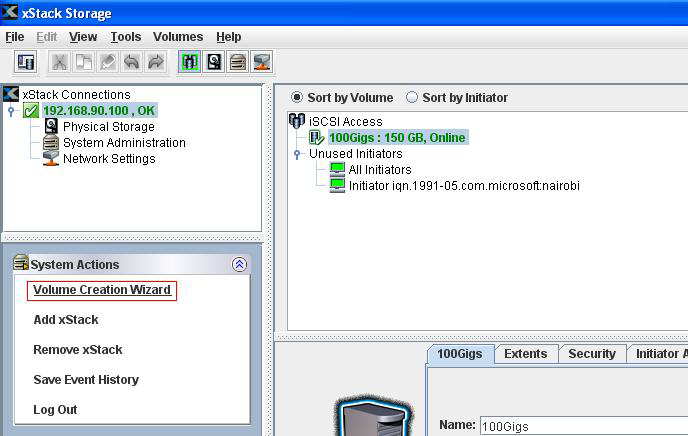
Step 3: Once you have logged in, click on the Volume Creation Wizard link located in the left window pane.
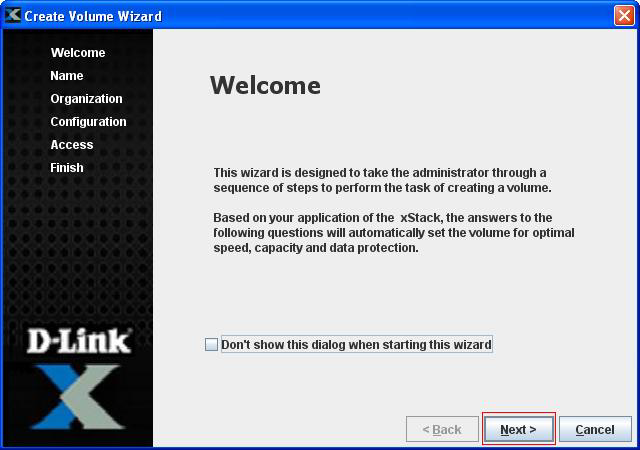
Step 4: The create Volume Wizard will pop open. Click on Next
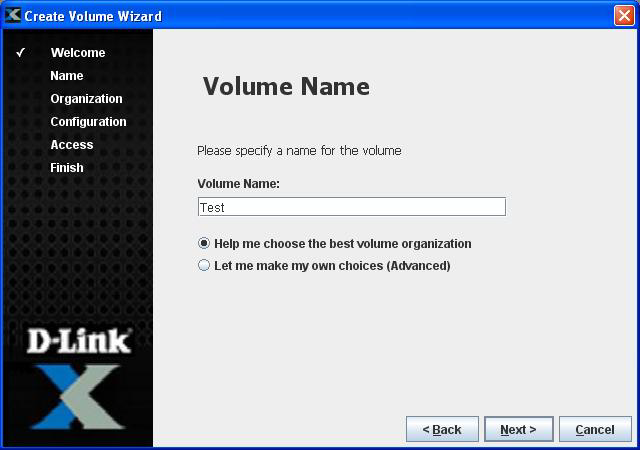
Step 5: Create a Name for the volume. You will have the option to configure the volume to your specific needs. In this example we will select "Help me choose the best volume organization".
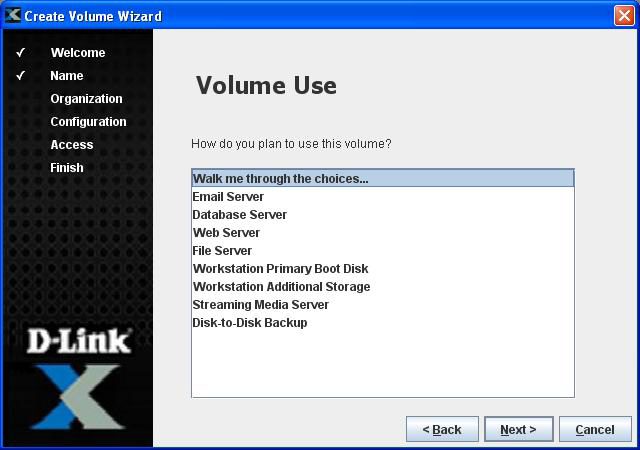
Step 6: Click Next to Walk me through the choices...
Step 7: If the Data is very Important we will select Very Important

Step 8: Click Next for Complete Copy
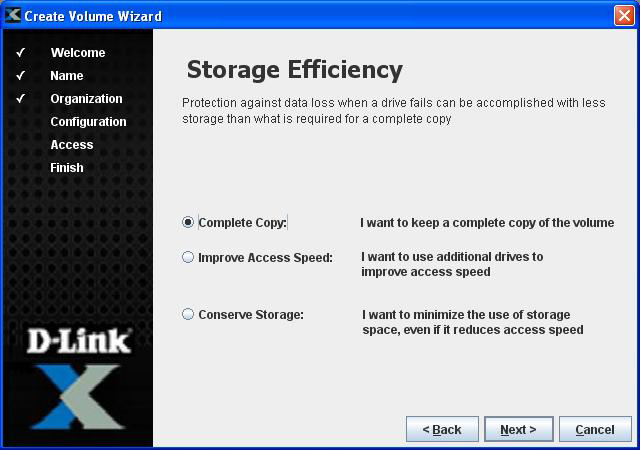
Step 9: Select No if you want to use the fewest drives possible.

Step 10: Select the desired size of the volume and click Next
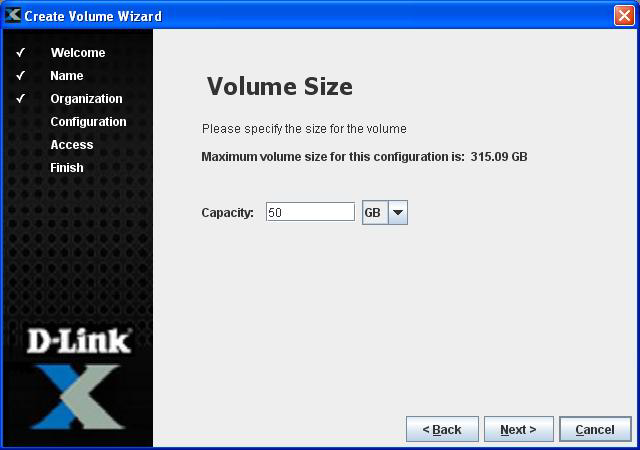
Step 11: If you have an Initiator currently active you can Specify and select a certain Initiator or Grant access to an Initiator not on the list, or even Grant access to ALL initiators. Click Next
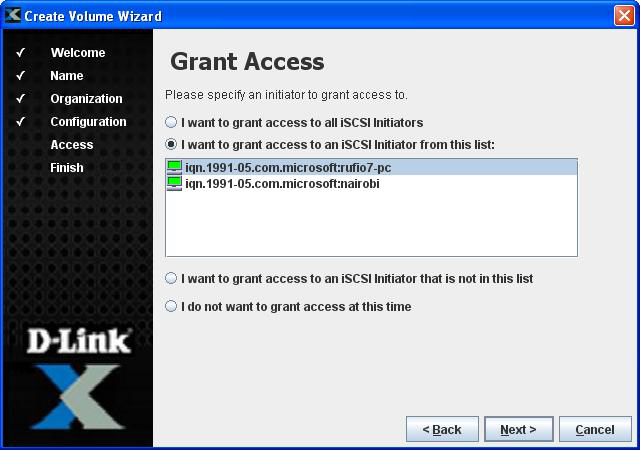
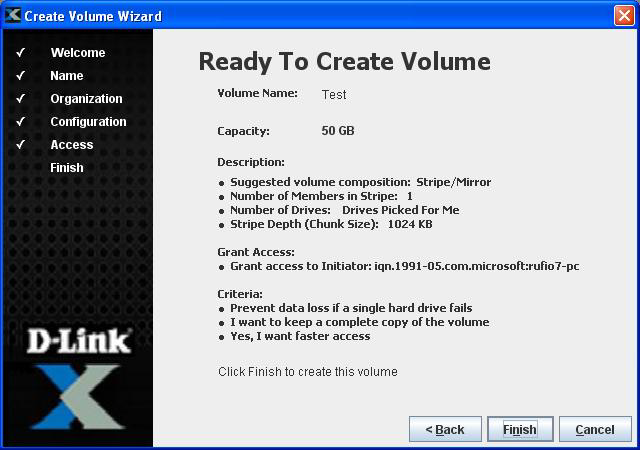
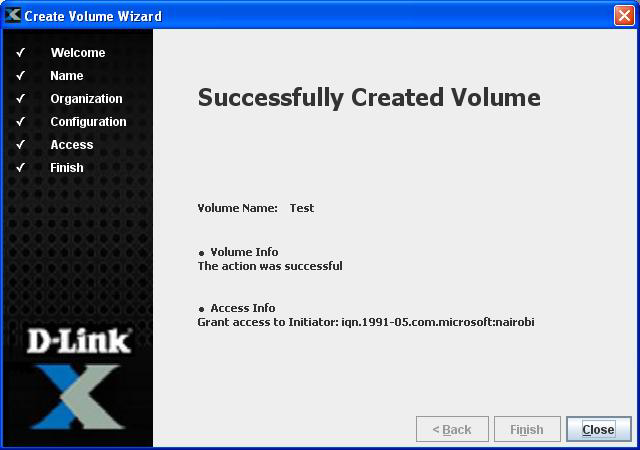
Step 12: Click Finish and Close.
