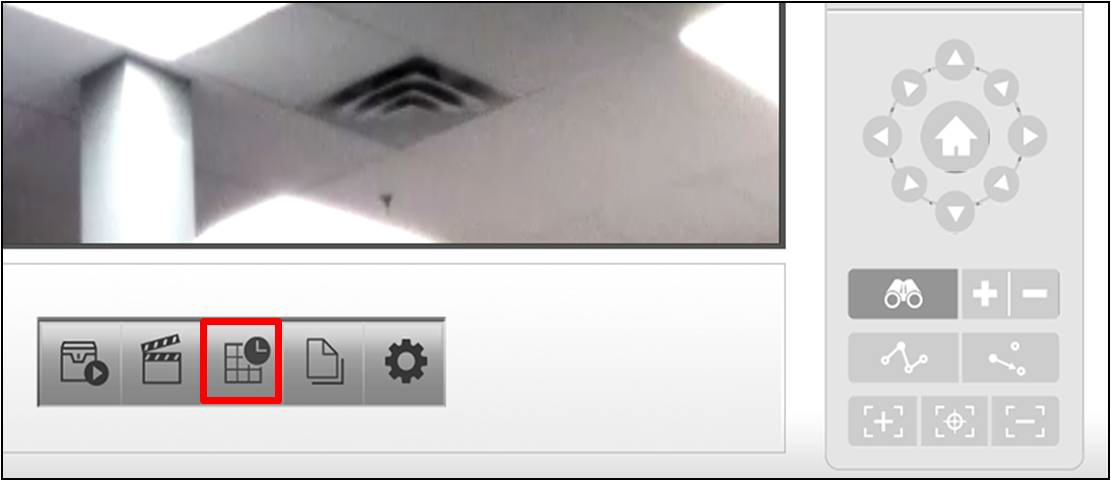
Step 1: Launch D-ViewCam and click Schedule Configuration
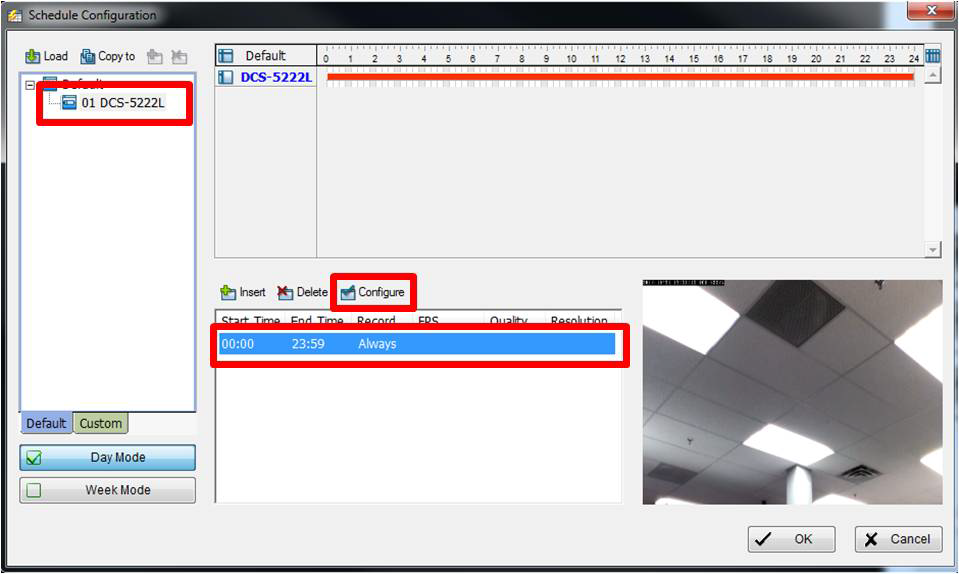
Step 2: Select the camera(s) you want to apply the motion detection rule to, select or create a schedule (by default it is 24 Hours) and click Configure
Step 3: Under Mode, Select Record on Motion
Step 4: Under the Original Video Box, Draw a box or multiple boxes around what you want to monitor for motion.
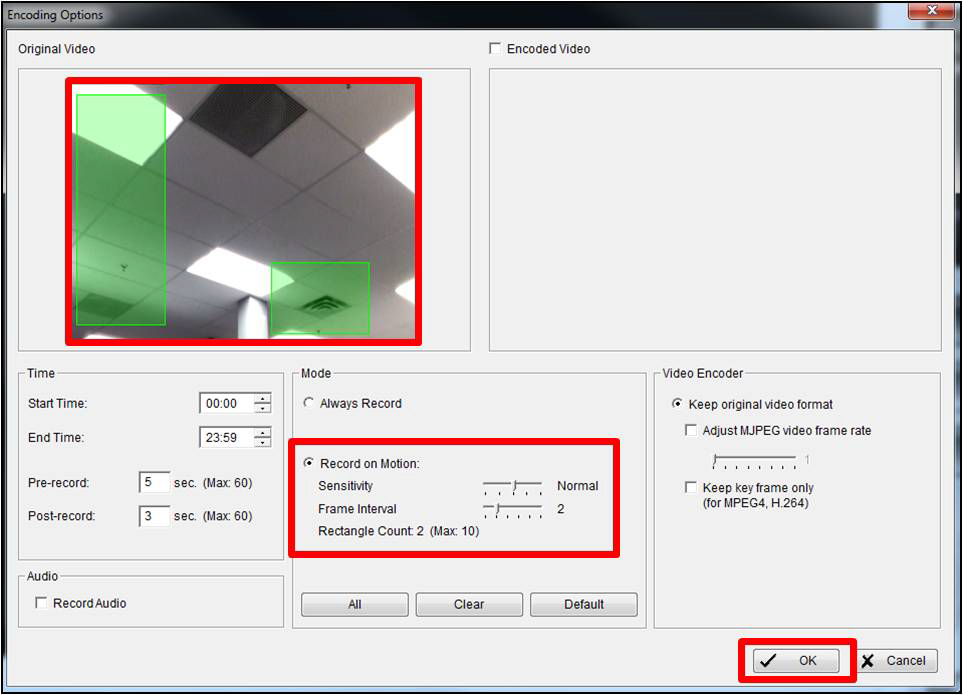
Click OK to close the Encoding Options and Click OK again to Close the Schedule Configuration.
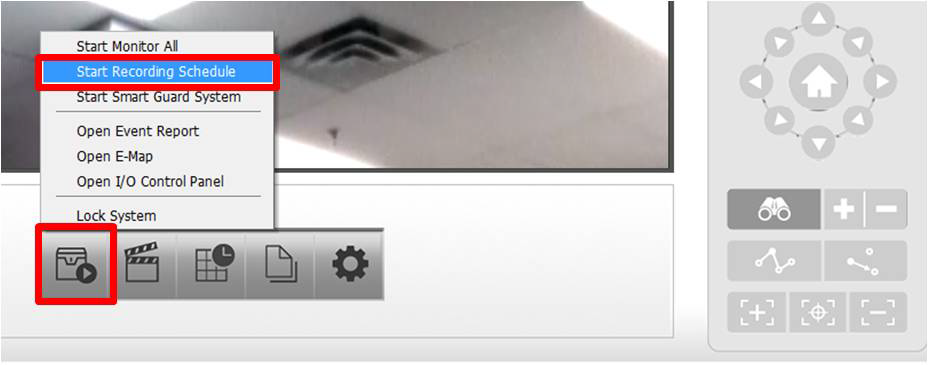
Step 5: Click the Start Menu and click Start Recording Schedule
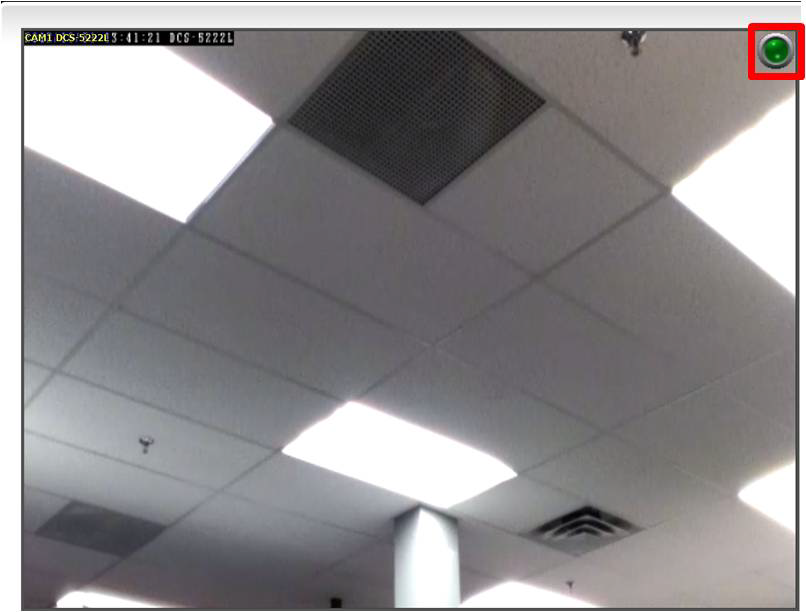
A Circle will appear in the top right corner of each camera with Recording Configured.
- Green = No Motion Detected
- Red= Motion Detected