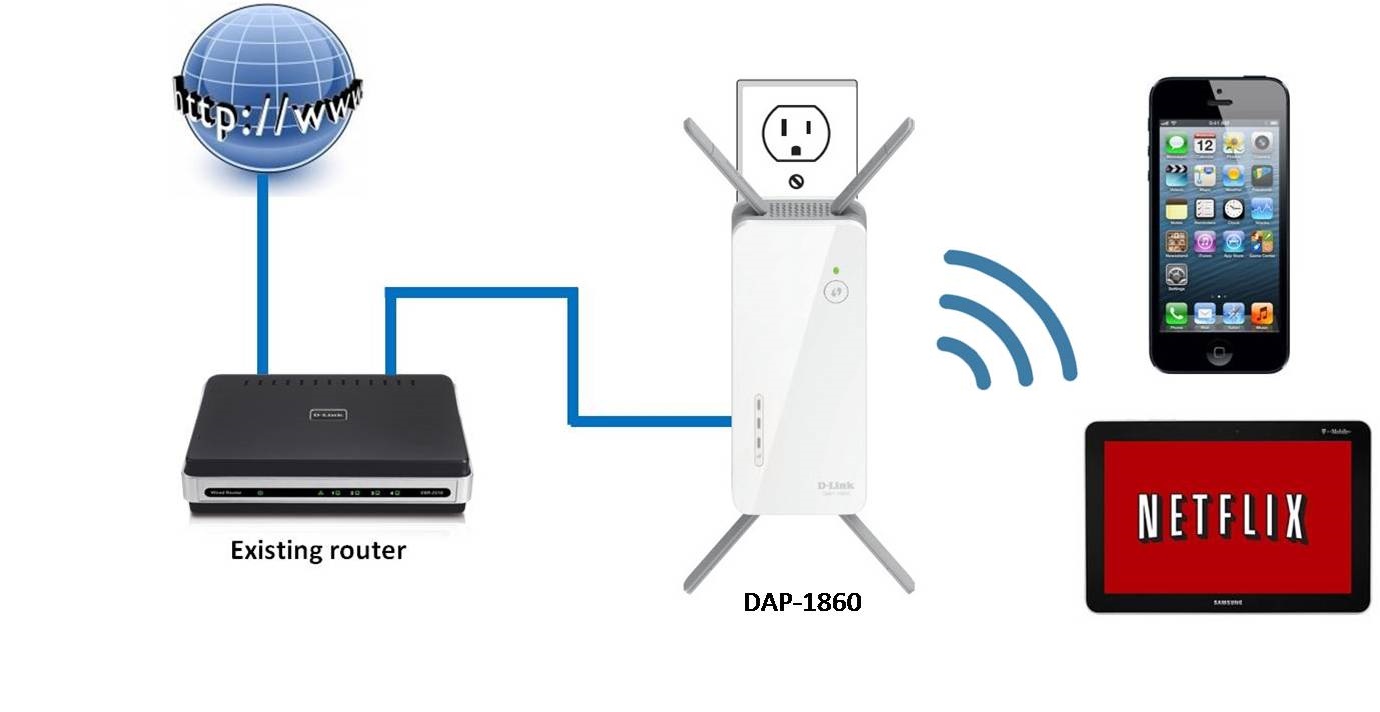
Follow the steps below to configure your range extender as an access point. This will convert an Ethernet connection to wireless.
Please select your Range Extender:
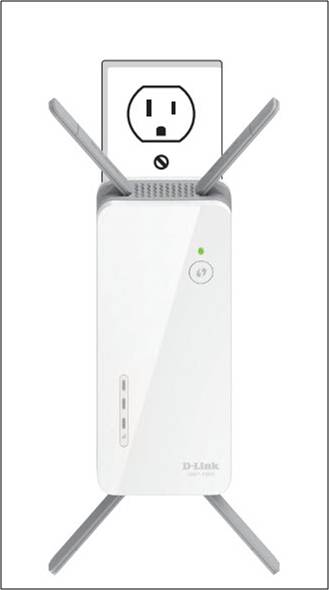
DAP-1860
Step 1: Plug in the DAP-1860 to an available power outlet. The light should turn red and then start blinking orange.
Step 2: From a wireless computer/device, scan for available networks and connect to the pre-defined SSID (located on the configuration card supplied with the DAP-1860 and on the back of the DAP-1860).
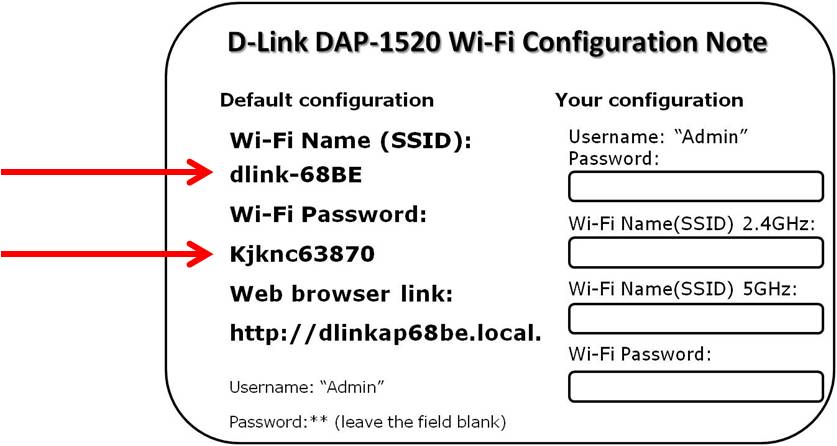
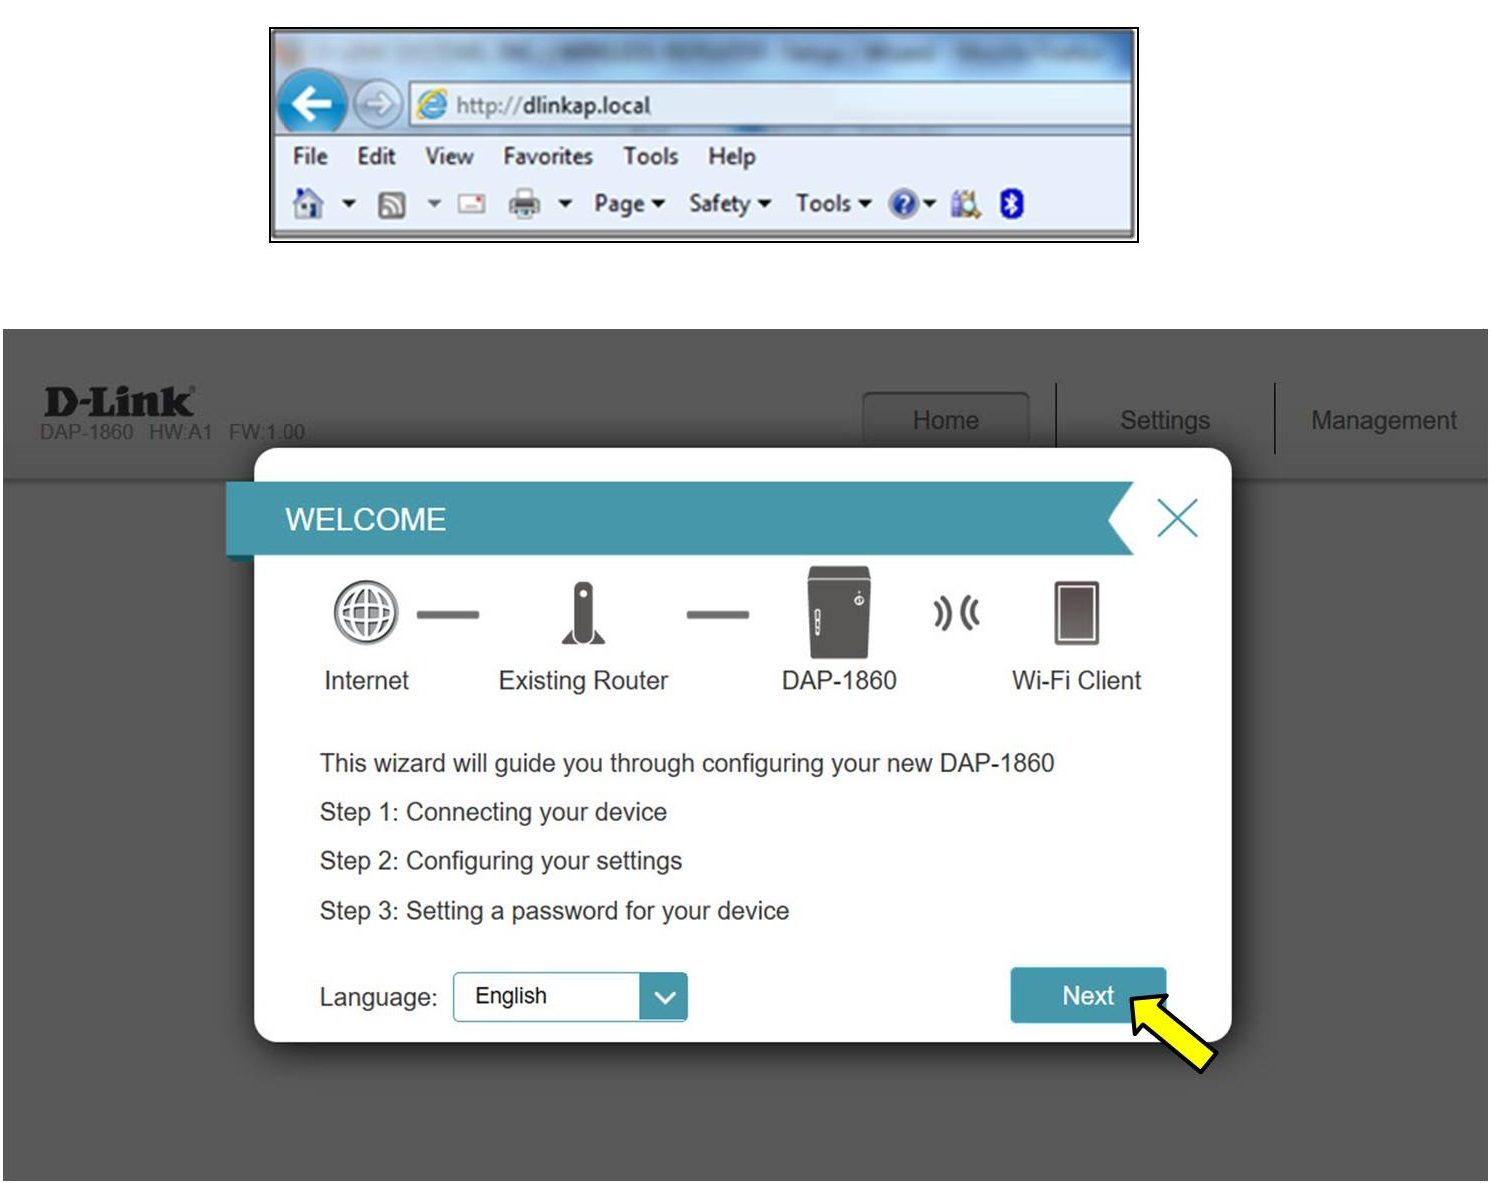
Step 3: Open a Web browser and go to http://dlinkap.local. You should be directed to the DAP-1860 configuration page and the Install Wizard will appear.
Note: If you cannot access it using http://dlinkap.local, try http://192.168.0.50. YOU MUST BE CONNECTED TO THE DAP-1860 WI-FI SIGNAL TO ACCESS THE ABOVE SITE; YOU WILL NOT HAVE INTERNET ACCESS DURING THE SETUP PROCESS.
- Select your desired language and click Next.
Step 4: Select the option Ethernet.
Step 5: Click Skip. You will connect to the router in a later step.
Step 6: Here you can specify what wireless network name your DAP-1860 will broadcast.
NOTE: The DAP-1860 has smart connect enabled by default. With this enabled the DAP-1860 will broadcast a single SSID. The DAP-1860 will automatically determines whether to connect your device to 2.4Ghz or 5Ghz.
- Enter a new network name and password and Click Next.
Step 7: Create a password for the configuration page access. This will be used if you want to make changes to the extenders settings in the future.
- Click Next.
Step 8: Review your settings and then click Finish.
- The DAP-1860 will then reboot and apply your settings.
Step 9: Connect the LAN port of the DAP-1860 into your router or existing network.

Setup Complete
DAP-1325/1330/1610/1620
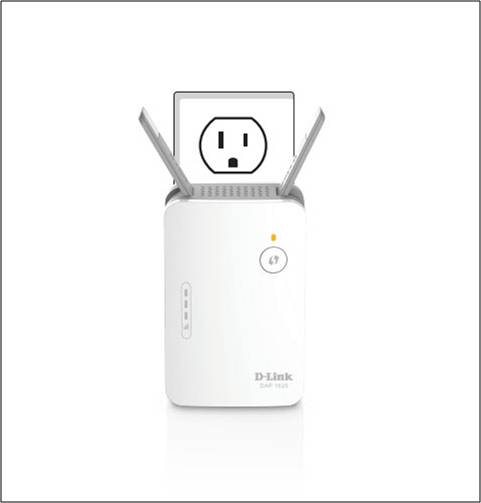
Step 1: Plug in the extender.
Note: The light should turn red and then start blinking orange.
Step 2: From a wireless computer/device, scan for available networks and connect to the pre-defined SSID (located on the Configuration Card supplied or on the back of the extender).
Step 3: Open a web browser and go to http://dlinkap.local. You should be directed to the extender's configuration page and the Install Wizard will appear.
Note: If you cannot access it using http://dlinkap.local, try http://192.168.0.50.
IMPORTANT: YOU MUST BE CONNECTED TO THE EXTENDER'S WI-FI SIGNAL TO ACCESS THE ABOVE SITE; YOU WILL NOT HAVE INTERNET ACCESS DURING THE SETUP PROCESS.
- Select your desired language and click Next.
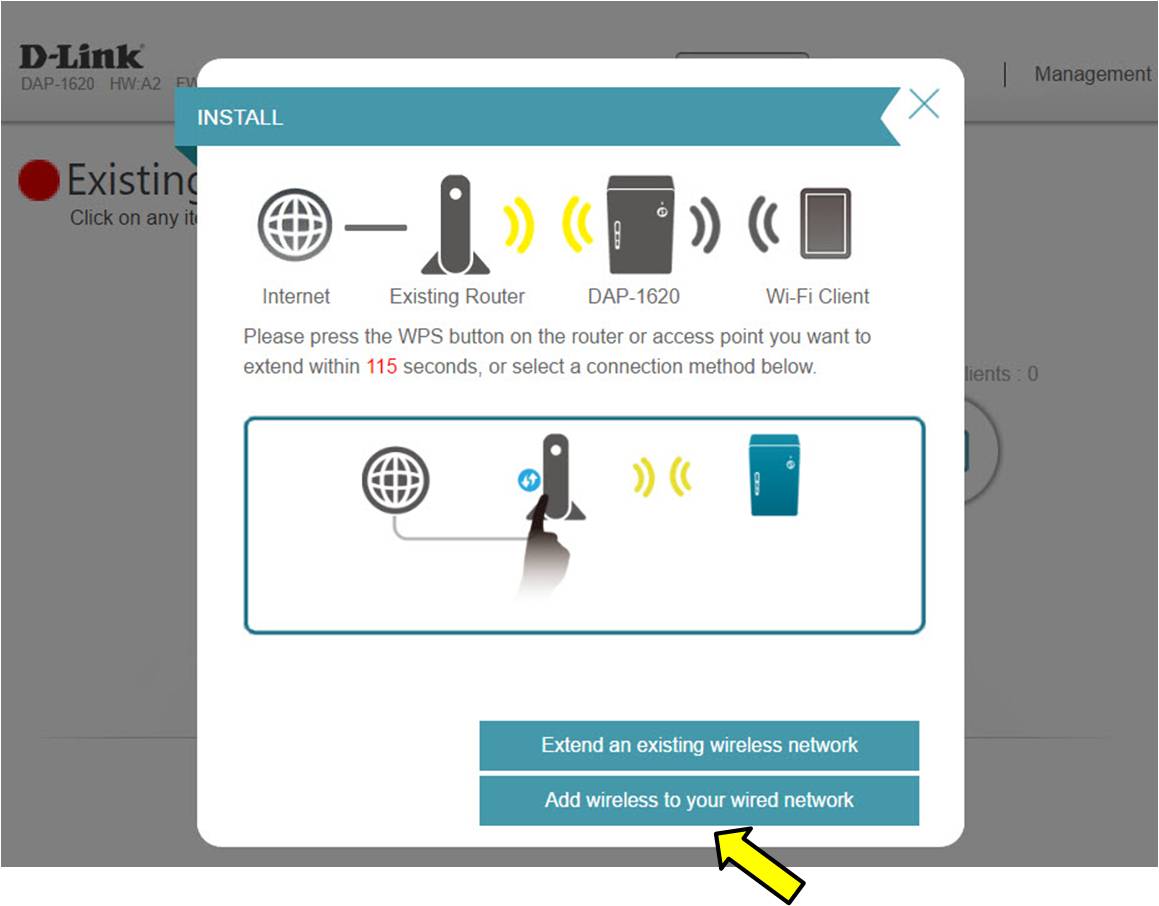
Step 4: Select the option Add wireless to your wired network.
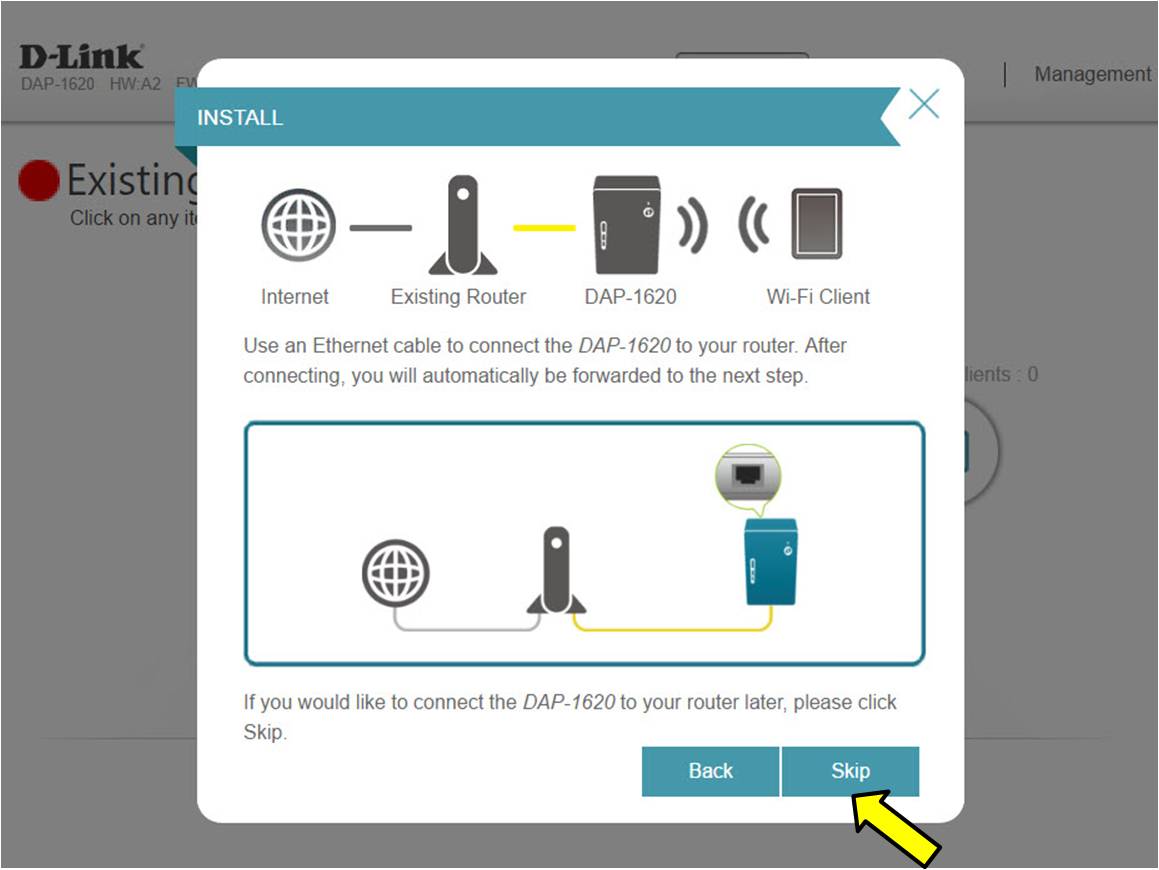
Step 5: Click Skip.
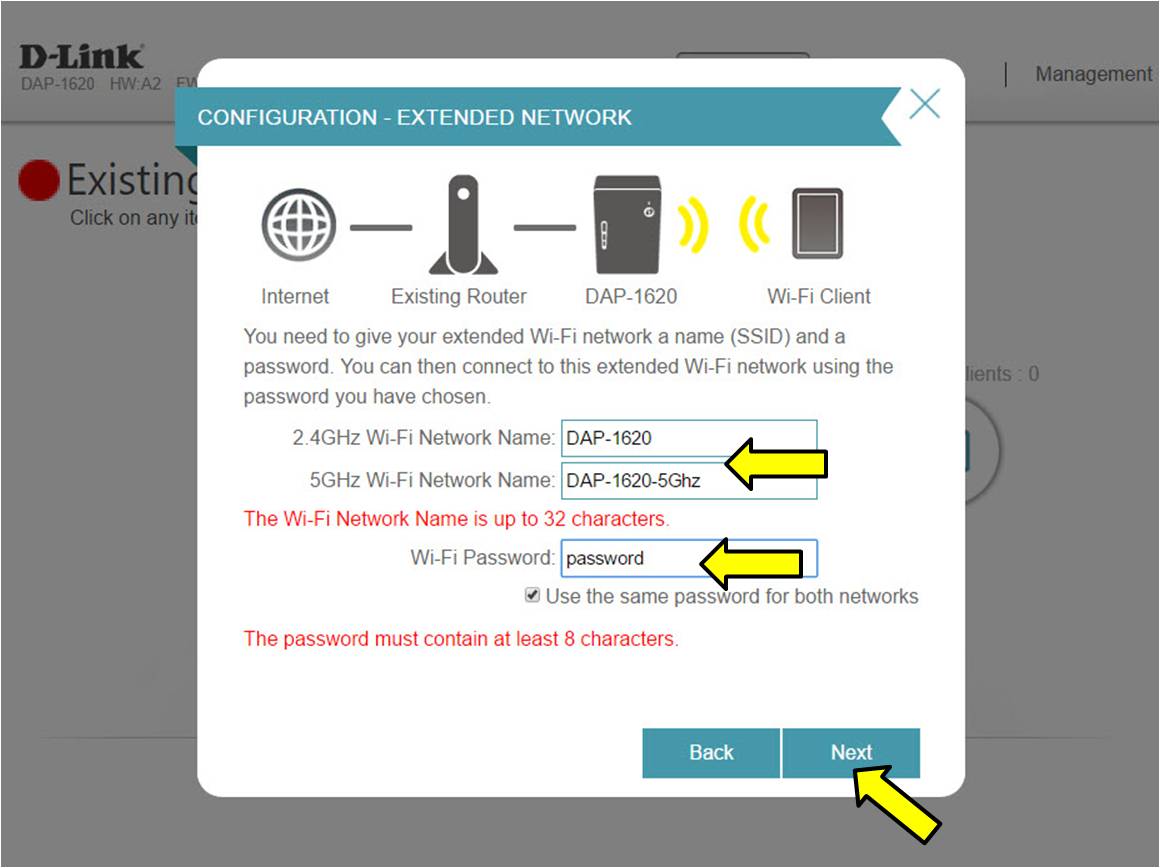
Step 6: Here you can specify what wireless network name your extender will broadcast.
NOTE: The DAP-1325 and 1330 only supports 2.4Ghz band.
- Enter a new network name and password and Click Next.
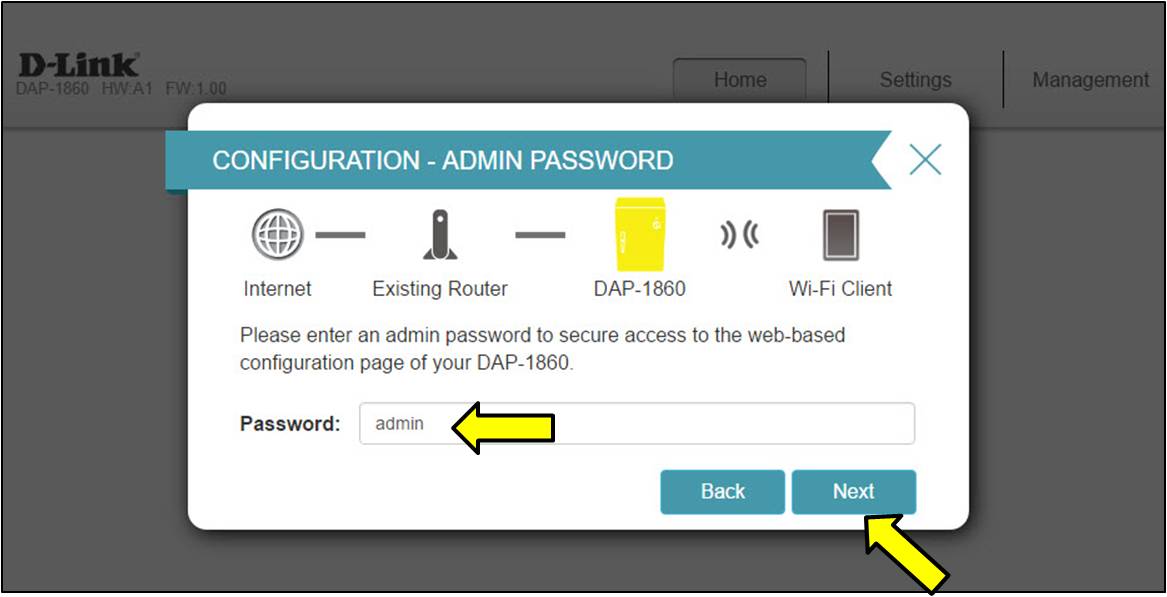
Step 7: Create a password for the configuration page access. This will be used if you want to make changes to the extenders settings in the future.
- Click Next.
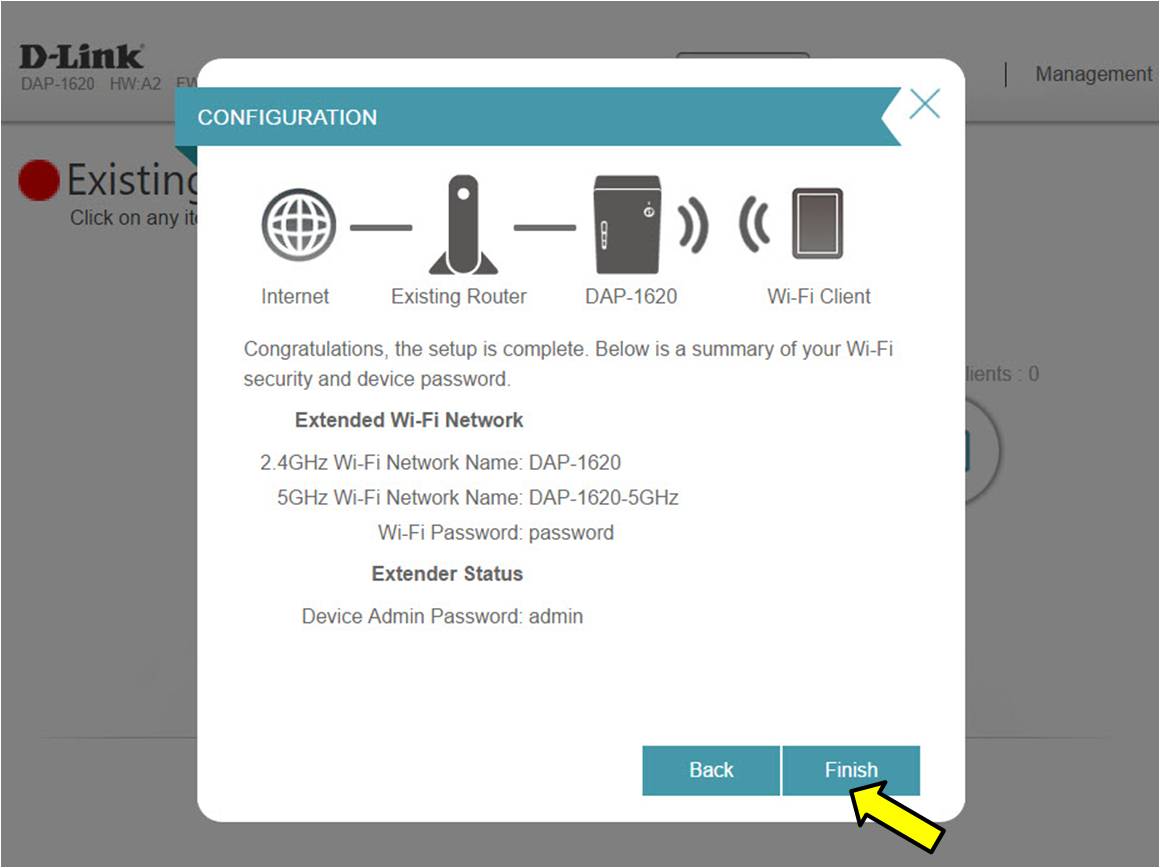
Step 8: Review your settings and then click Finish.
-The extender will then reboot and apply your settings.
Step 9: Connect the LAN port of the extender into your router or existing network.
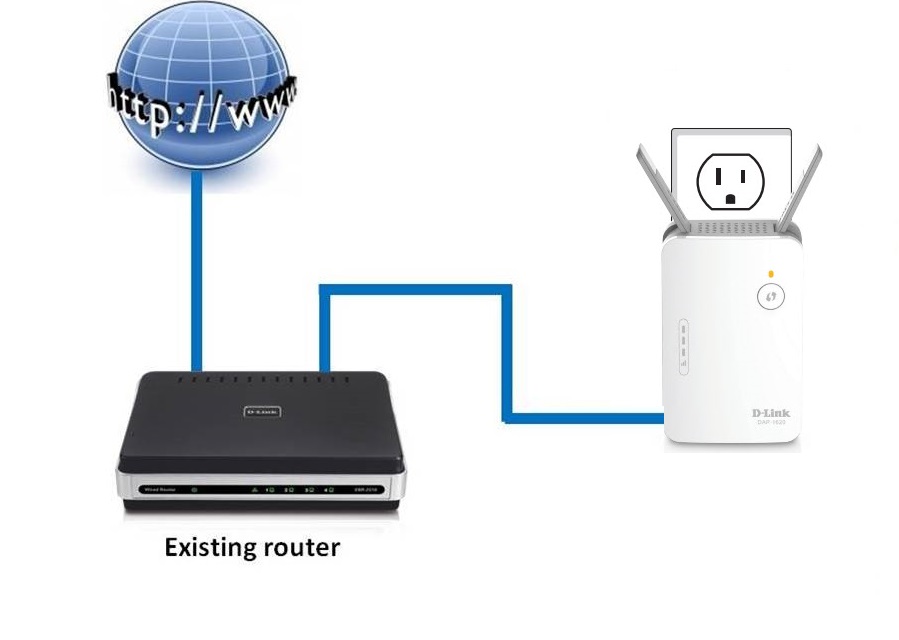
Setup Complete