Important Note: When connecting a USB drive to the DNR-202L, it will need to be formatted by the device in order to function. All Data on the drive(s) will be permanently erased.
Also, cameras you want to connect the DNR-202L must already be installed and connected to your router/network.You must know the login password for your camera(s).
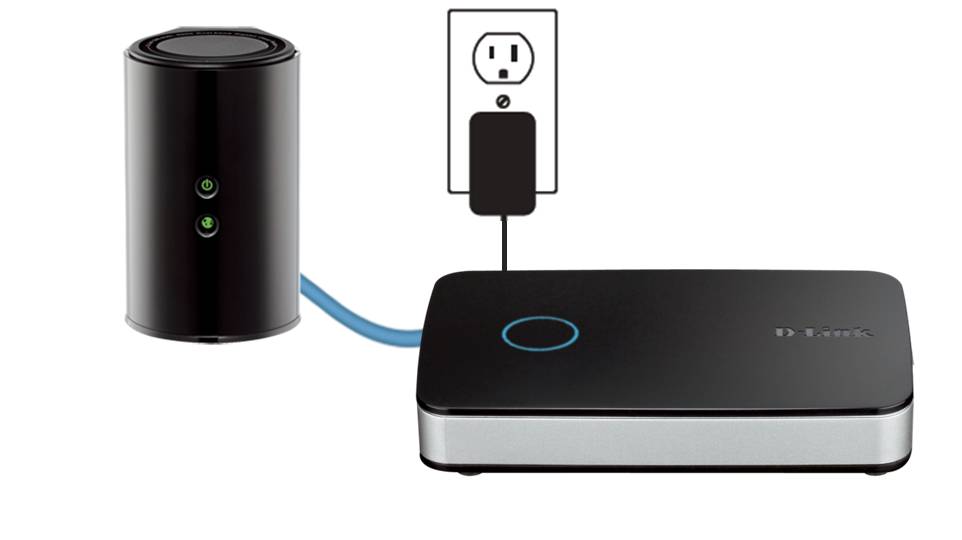
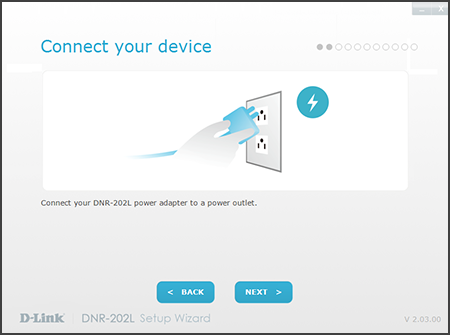
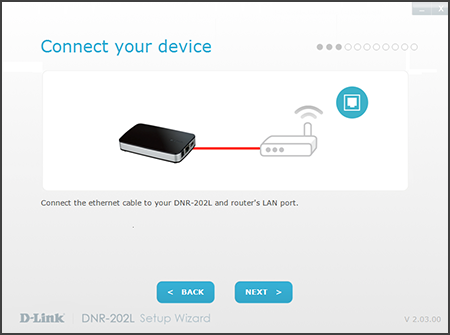
Step 1: Power on your DNR-202L and connect it to your router (or network) using an Ethernet cable.
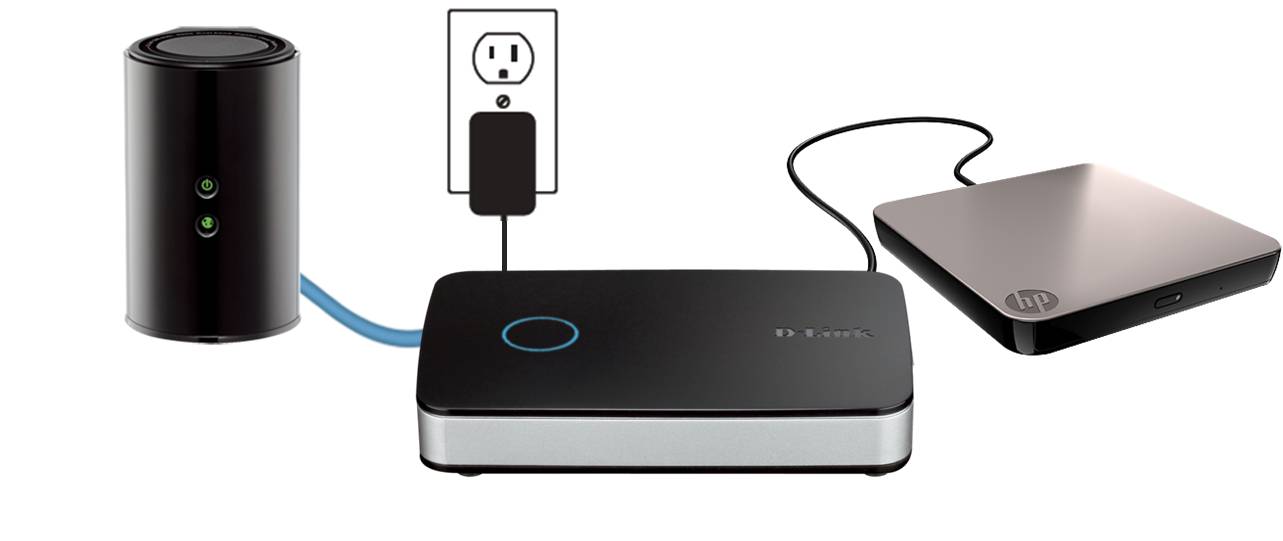
Step 2: Connect a USB hard drive (or 2) to the DNR-202L. If your USB drive included a power adapter, connect to your drive and plug it in.
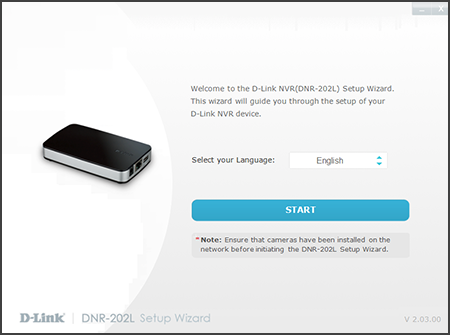
Step 3: Launch the DNR-202L Setup Wizard. This can be found on the Included CD or can be downloaded here (under Downloads).
Step 4: Run/launch the software once downloaded. At the welcome screen click Start.
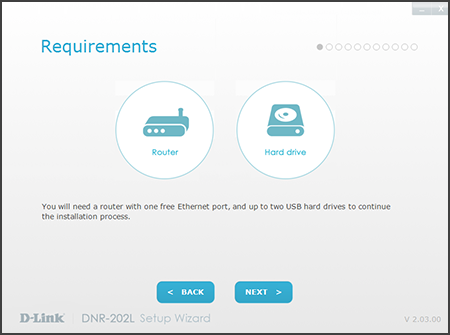
Step 5: Click Next.
Step 6: Click Next.
Step 7: Click Next.
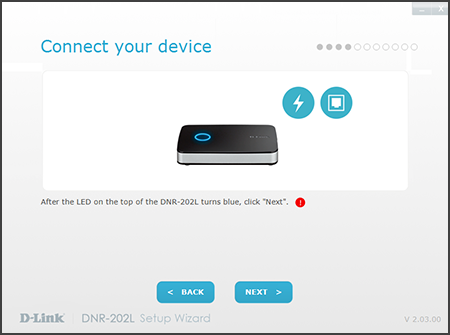
Step 8: When the LED on the DNR-202L is blue, click Next.
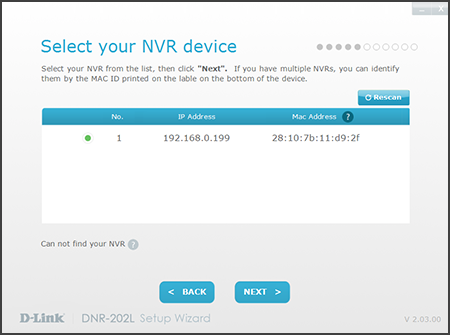
Step 9:The software will scan for your DNR-202L. Once found, click it and then click Next. If it cannot find it, click Rescan.
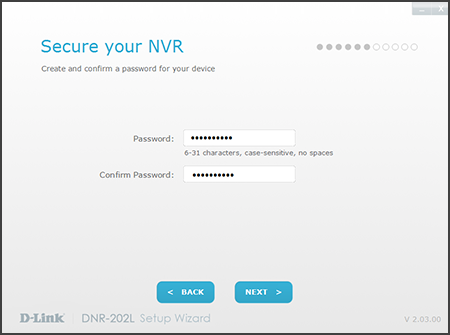
Step 10: Create a password for your DNR-202L. This is the administrator password for the device and is used to access the user interface. Click Next.
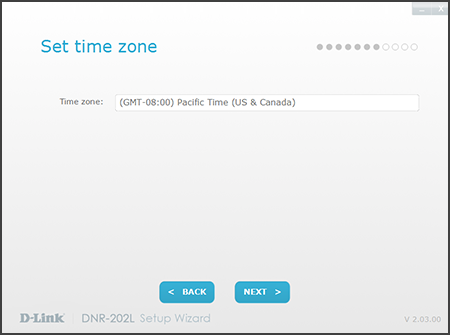
Step 11: Select your time zone and then click Next.
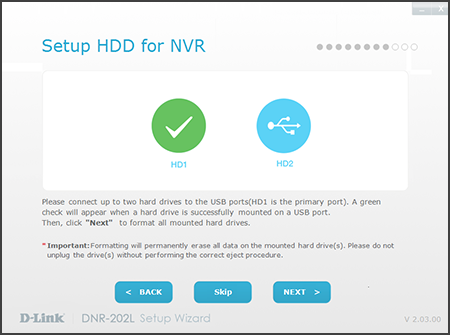
Step 12: Connect the USB drive(s) if you haven't already. Wait for a green check mark and then click Next.
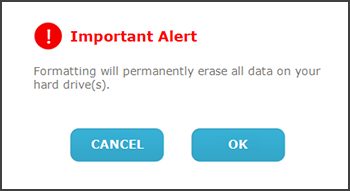
Step 13: Click OK. Note that formatting may take several minutes. Do not turn off the DNR-202L or remove your hard drive(s) during this process.
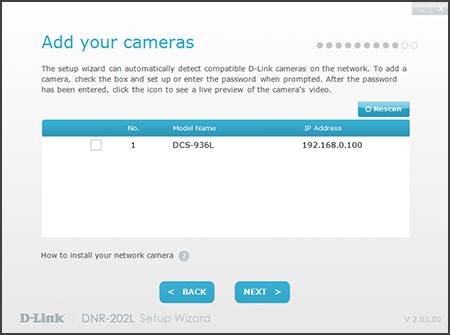
Step 14:Once formatting is complete, you can now add your camera(s). The software will scan for cameras on your network. Click Rescan if they are not showing up.
Check the box next to all the cameras (up to 4). When you click the box, a password box will appear. Enter the admin password for the camera and then click OK. A green check mark will appear. Once all the cameras you want are checked, click Next.
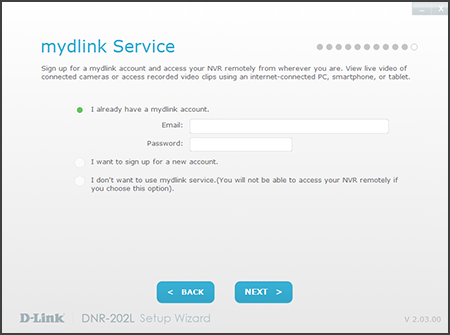
Step 15: Here you can either enter your mydlink account information to add the DNR-202L to your account, create a mydlink account, or skip. Click Next.
Step 16: Click Finish. Setup is now complete.
Please visit http://support.dlink.com/ProductInfo.aspx?m=DNR-202L for firmware, documentation, the HDD Viewer software, and other resources inclucing FAQs.