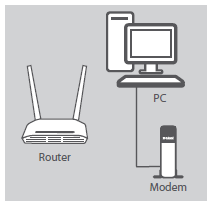
Step 1: Position your DIR-816L near your Internet-connected modem and PC . Keep the router in an open area for better wireless coverage.
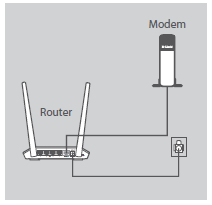
Step 2: Unplug the modem’s Ethernet cable connected to your computer and plug it into the port labeled ‘INTERNET ’ on the back of the router. Connect the supplied power adapter to the router and a power outlet, then verify that the power LED is on.
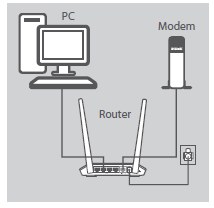
Step 3: Plug one end of the supplied Ethernet cable into the port labeled ‘1’ on the back of the router, and the other end into the Ethernet port on your computer. To set up the DIR-816L through Wi-Fi, go to your computer or mobile device's Wi-Fi settings and select the network name listed on the included Wi-Fi Configuration Note (ex: dlink-A8FA). Enter Wi-Fi password which is also listed on the Configuration Note (ex: akbdj19368).
Step 4: Open an Internet browser (such as Internet Explorer) and enter http://dlinkrouter, http://dlinkrouter.local or http://192.168.0.1 into the address bar. Press Enter.

Step 5: If this is your first time logging in to the router, the Setup Wizard will start automatically.
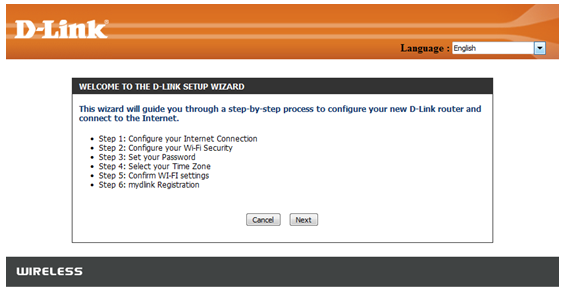
This wizard will guide you through a step-by-step process to configure your new D-Link router and connect to the Internet. You can change the language using the drop-down menu in the top right-hand corner of the page. Clink Next to contnue.
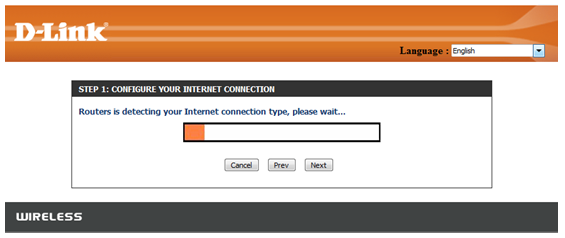
Wait while your router detects your Internet connection type. Depending on your Internet connection, you may need to enter additional information such as the username and password supplied by your Internet Service Provider (ISP).
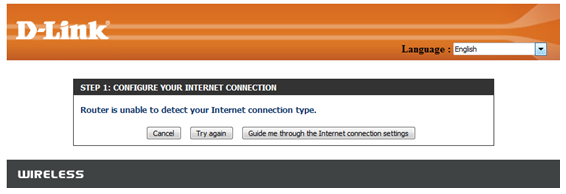
Step 6: If the router detects an Internet connection, but does not dect the type of Internet connection you have, the below screen will appear. Click "Guide me through the Internet connection settings" to display a list of connection types to choose from.
Select your Internet Connection type: DHCP Connection (Dynamic IP Address) or Username/Password (PPPoE) DHCP Connection – This type of connection is most commonly used for cable Internet services. You will most likely not need to provide any extra information if you use this connection type.
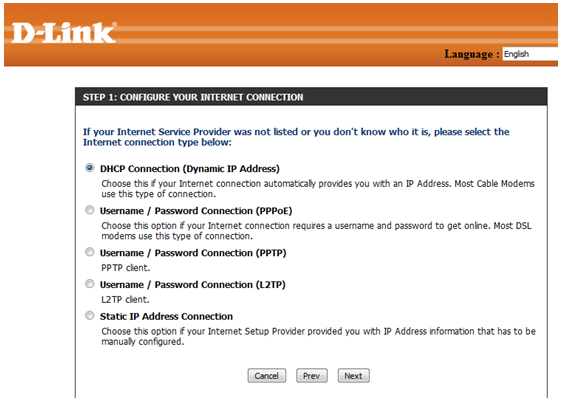
PPPoE – This type of connection is most commonly used for DSL Internet connections. You will most likely need to provide some additional information before you can connect to the Internet:
· Username - Your Internet service username (provided by your Internet Service Provider)
· Password - Your Internet service password (provided by your Internet Service Provider)
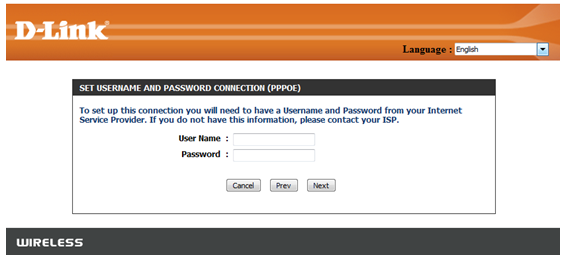
Step 7: Enter the required information, and click Next to continue.
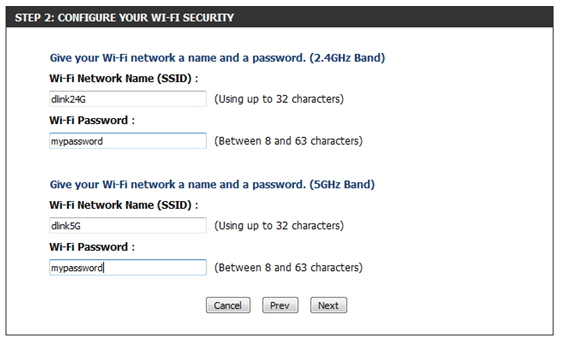
Step 8: For both the 2.4 GHz and 5 GHz wireless bands, create a name (SSID) for your Wi-Fi network. Each Wi-Fi network will also need a password of at least 8 characters. Your wireless clients will need to have this password or key to be able to connect to your wireless network. Click Next to continue.
(Password suggestion: It is suggested that you choose a password that is easy for you to remember, but difficult for others to guess. Strong passwords should include a combination of letters and numbers).
Step 11: In order to secure your router, create a password to access the router’s web-based configuration interface. This should be different from the password to connect to the Wi-Fi network. Enter your password in the field provided, and again in the Verify field.
Click Next to continue.
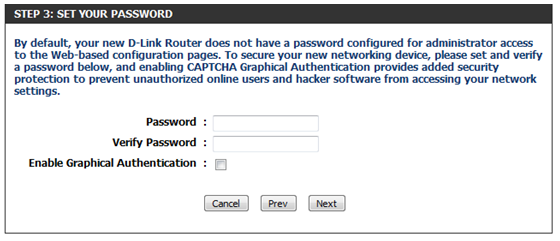
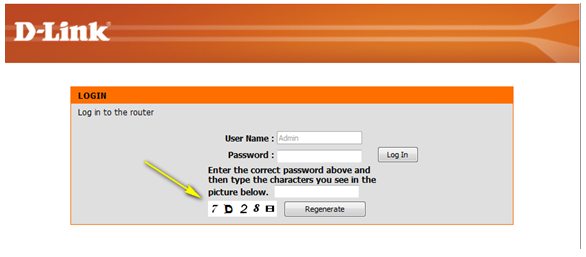
You can check the Enable Graphical Authentication box to enable CAPTCHA authentication for added security. Graphical authentication uses a challenge-response test to prevent unauthorized users from attempting to gain access by automated means:
Step 12: Select your time zone from the drop-down menu and click Next to continue.

A confirmation window will appear to signify the completion of the setup wizard. A simmary of your wireless network settings will also be displayed. It is recommended that you make a record of this information for future reference. Click Next to continue.
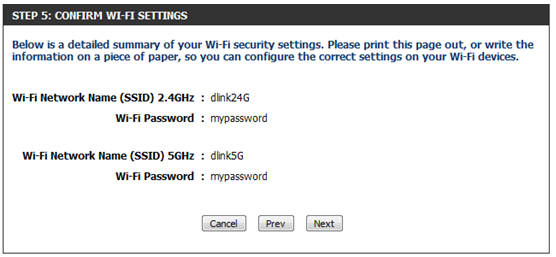
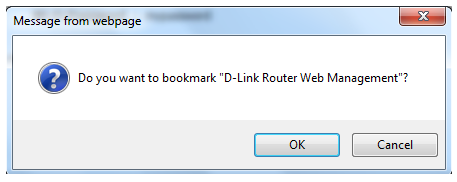
Your browser will ask you whether you wish to make a bookmark for the router’s configuration page. If you wish to create a bookmark, click OK, otherwise click Cancel.
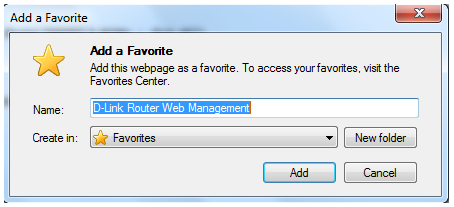
If you clicked Yes, a window may appear (depending on your web browser) to create a bookmark. Follow the on-screen instructions.
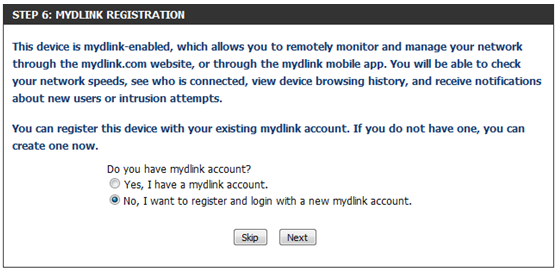
mydlink Cloud Services registration:
With mydlink Cloud Services, you can remotely manage, control, and monitor your home network from anywhere using the mydlink Lite mobile app or mydlink web portal. You can check up on your network’s Internet activity, and see what devices are connected to your network. You can also use the mydlink SharePort app to remotely access content on a USB drive connected to your router.
You may choose Next to register this device with mydlink for free. Or you may choose Skip to register later.
To get started with mydlink Cloud Services, you are required to have a mydlink account and need to register this router to the mydlink account. Select Yes, I have a mydlink account if you have previously registered a mydlink account; or select No, I want to register and login with a new mydlink account if you would like to create a new mydlink account. Click Next to continue.
a) If you selected “Yes, I have a mydlink account,” please enter your existing mydlink account name and password. Then click Login.

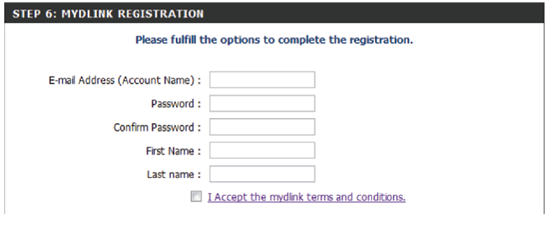
b) If you selected “No, I want to register and login with a new mydlink account,” please fill in the required information in order to create a new mydlink account.
Note: The mydlink password is the password to log in to the mydlink web portal and mydlink mobile apps. This is NOT the same as your router’s login information or wireless security password.
