Important Notice: If you were contacted by your ISP and advised to disable UPnP; After performing the steps below, The issue has been fixed. No other settings require changes.
To test if your router is affected please click this link: GRC UPnP Exposure Test
- Click Proceed
- Click the GRC's Instant UPnP Exposure Test button
Please select your Configuration Interface:
▼ [ORIGINAL GUI - Black and Orange]
▼ [NEW GUI - White and Blue]
[ORIGINAL GUI - Black and Orange]
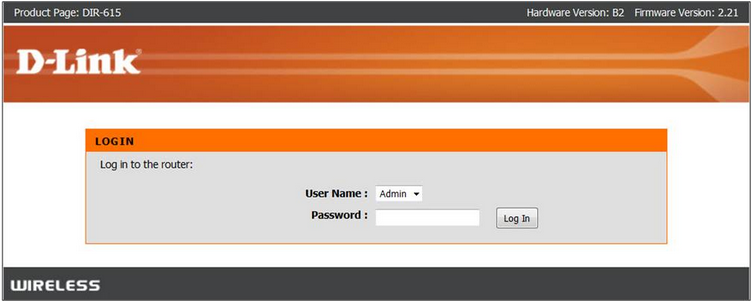
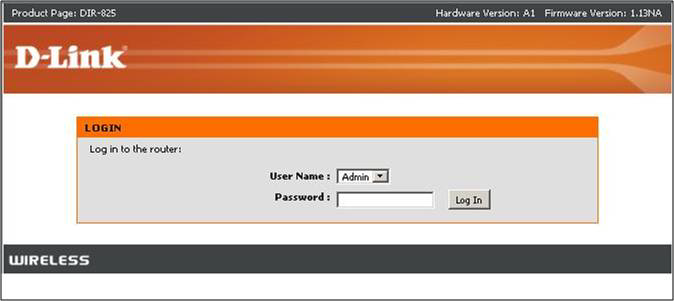
Step 1: Open your Internet browser and type the IP address of the router in the address bar. The default IP address is 192.168.0.1. At the login, enter the username (admin) and your password (default password is blank).
DIR-619L-ES users: Log in using 192.168.60.1. After logging in, click Advanced at the bottom to continue.
Step 2: Click on the Advanced Tab at the top and Advanced Network on the left side.
Step 3: From the UPNP section, uncheck the box labeled "Enable UPnP" to disable UPnP funtionality. Removing the checkbox will disable the UPnP function.
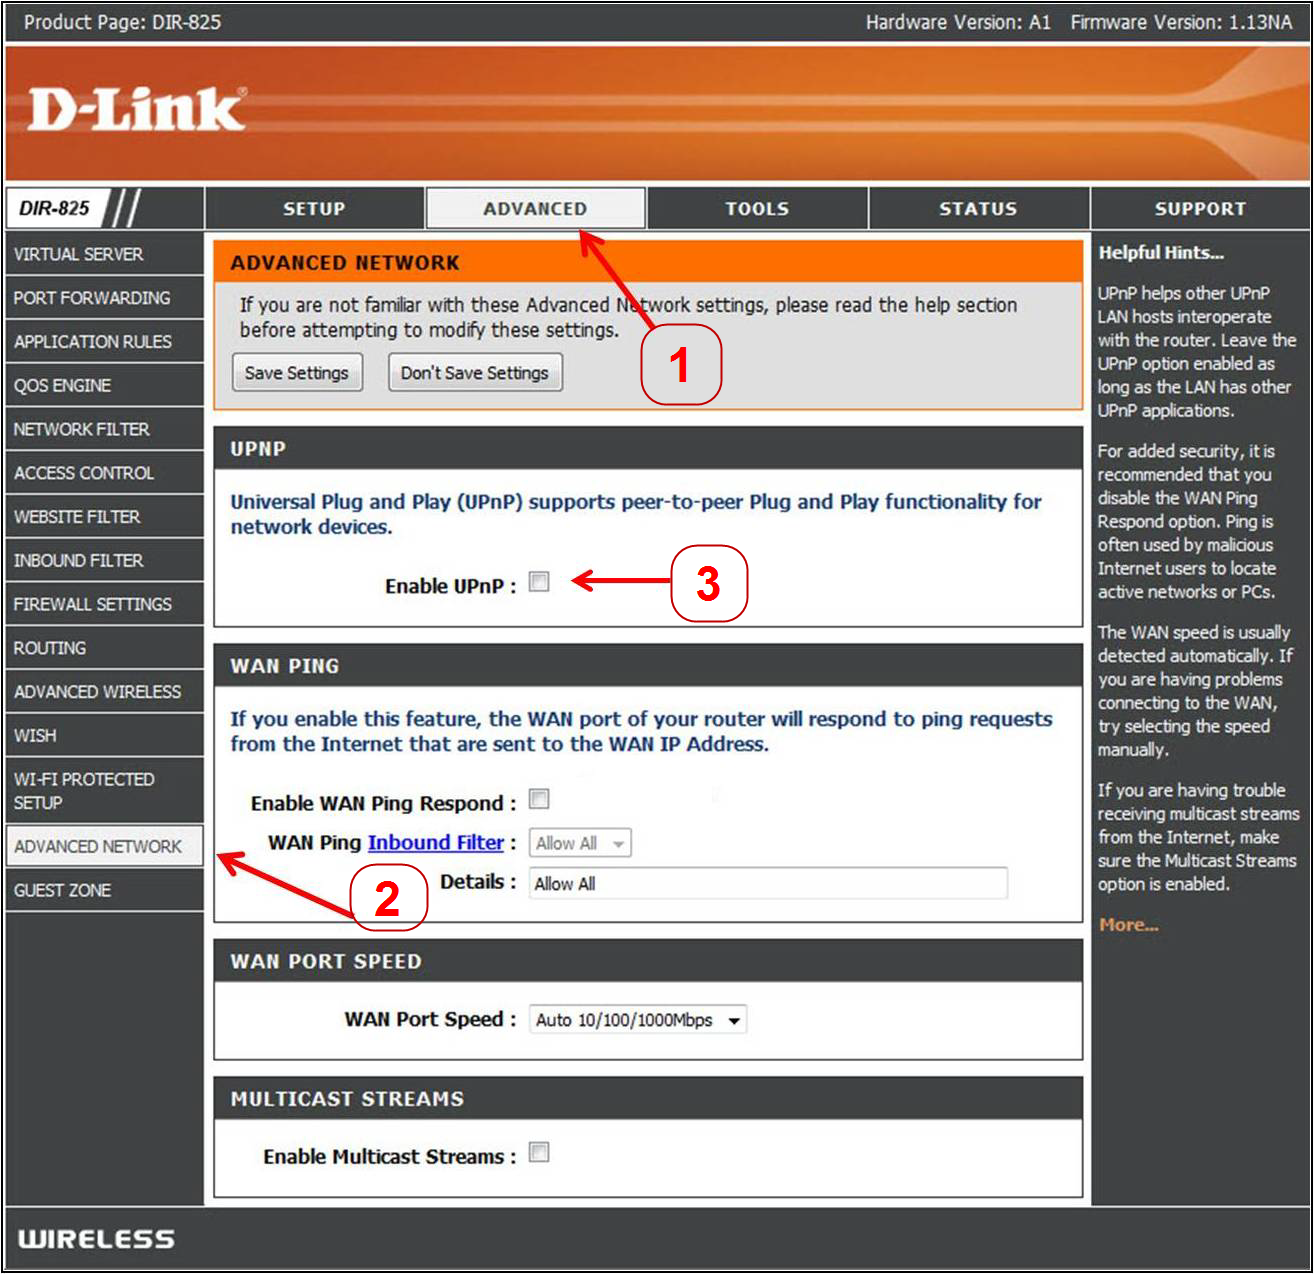
Step 4. Click Save Settings

Depending on the model, some units will ask for a manual reboot, other will reboot automatically. You have now finished disabling UPnP funtion.
[NEW GUI - White and Blue]
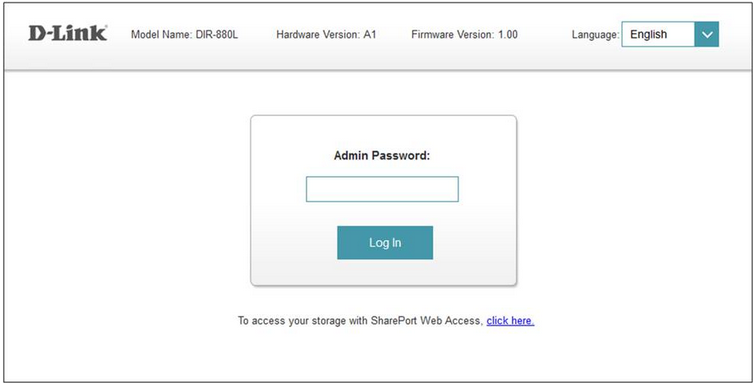
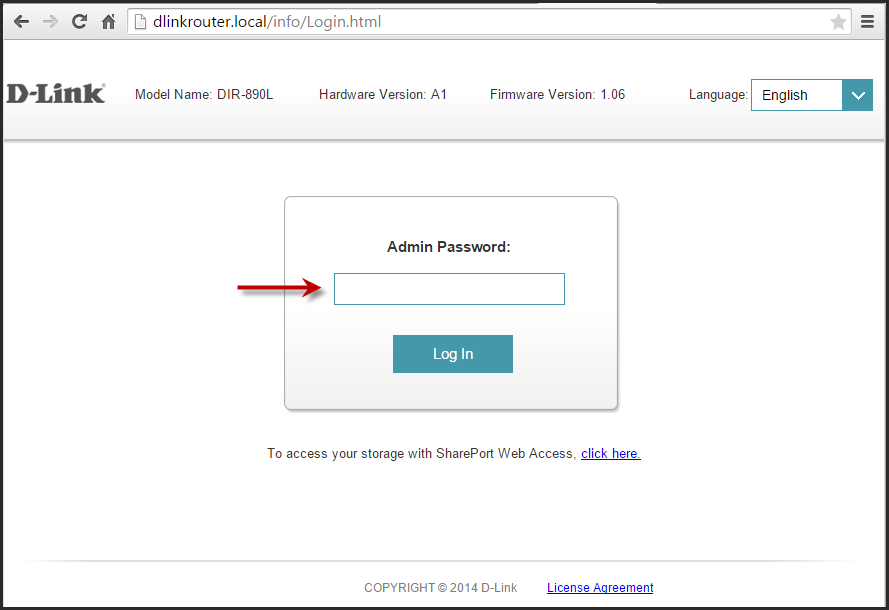
Step 1: Open your Internet browser and type the IP address of the router or friendly DNS name (FDNS) in the address bar. The default IP address is http://192.168.0.1 and the default FDNS name is "http://dlinkrouter.local". At the login, enter your password (default password is blank). Use the password set at the initial intallation to login to a previously configured router.
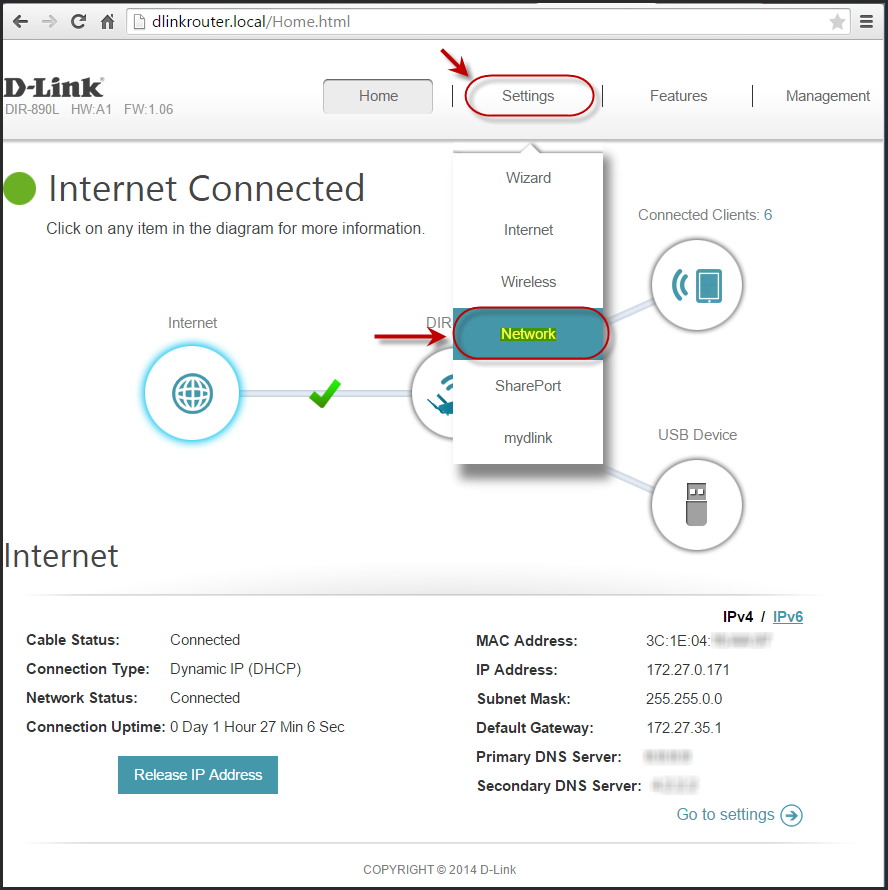
Step 2: Click on Network under the settings options:
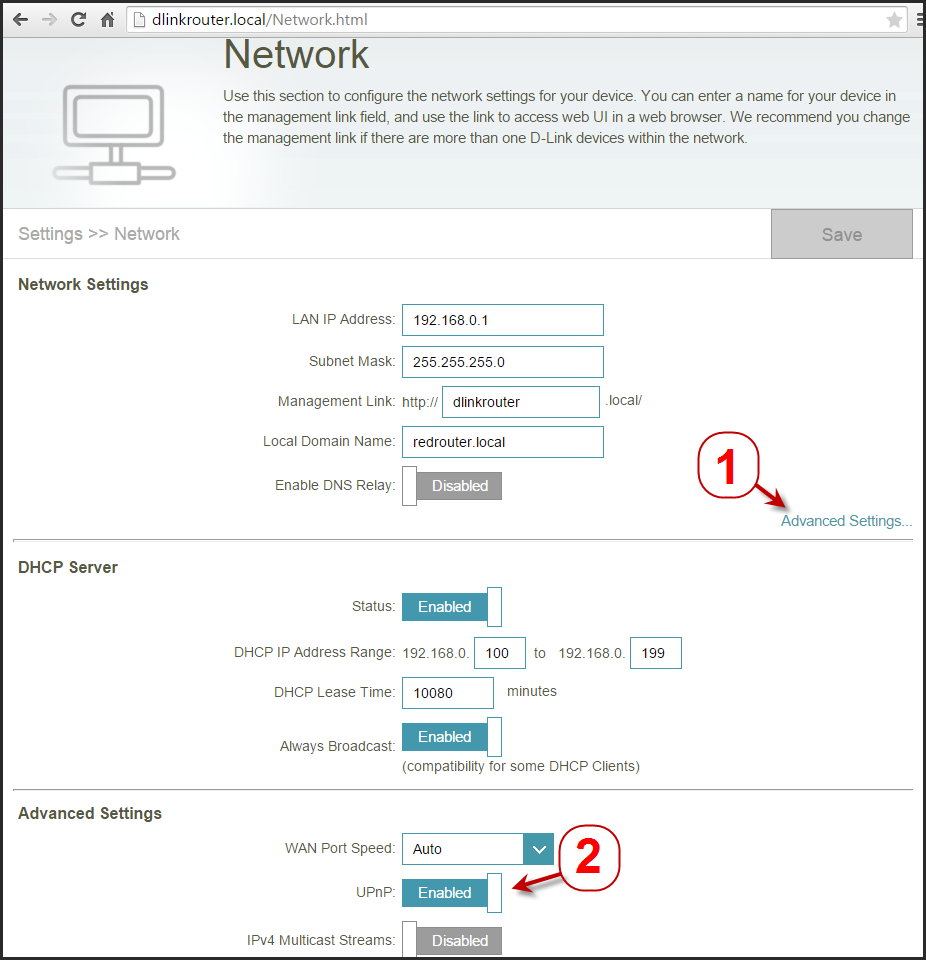
Step 3: Under the Network Settings section, click the Advanced Settings link found at the lower right corner to open the advanced settings view. Click the UPnP slider to disable the UPnP funtion.
Step 4. Click Save Settings
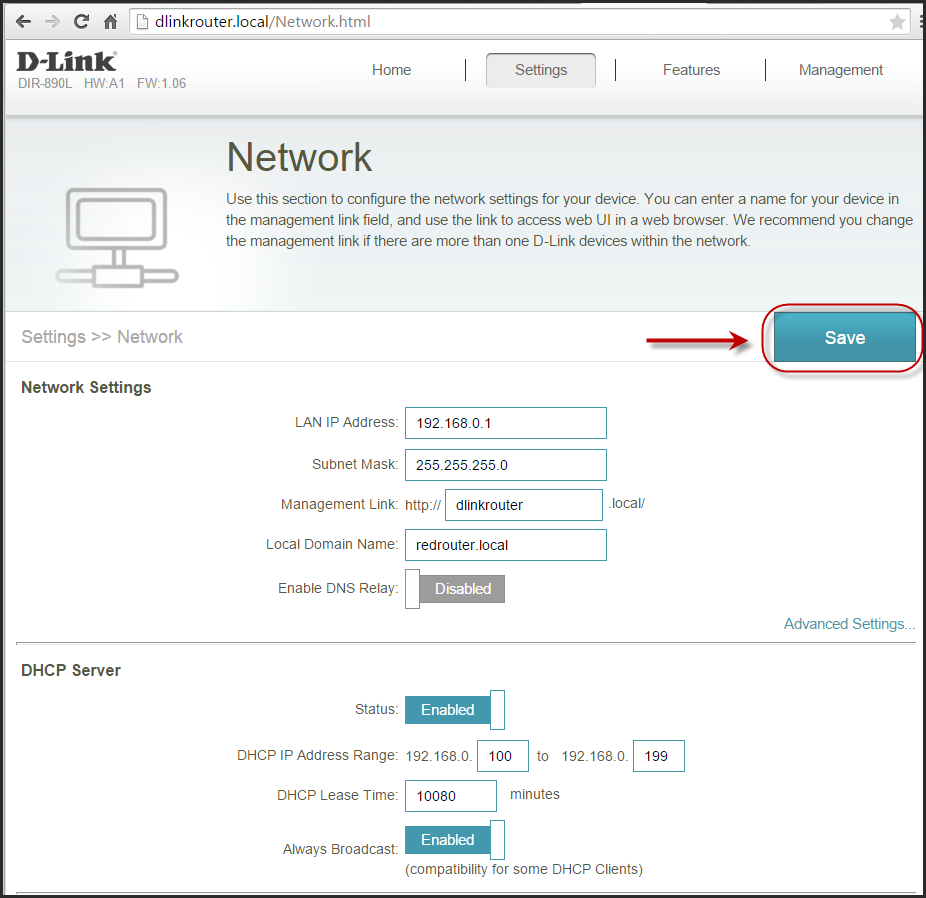
Your router will save the settings and reload the network page. You have now finished disabling UPnP funtion.