Note: The latest firmware for the DIR-505/505L can be found at https://legacy.us.dlink.com
Step 1: Unplug the DIR-505/505L from the wall outlet, move the selector switch to Router/AP Mode.and plug it back in.
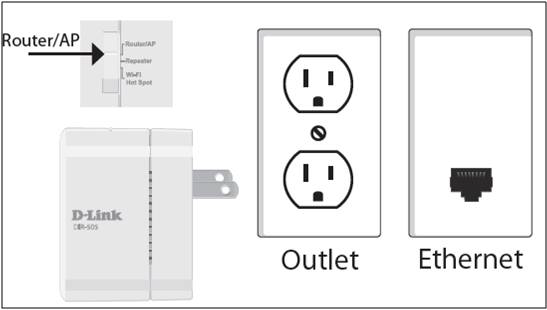
Step 2: From your wireless computer, scan for available wireless networks and connect to the pre-defined SSID (Located on the Companion Card supplied with the DIR-505 and on the bottom of the DIR-505) e.g. dlink-E81A

Step 3: Open your web browser and type:http://192.168.0.1 or http://dlinkrouter
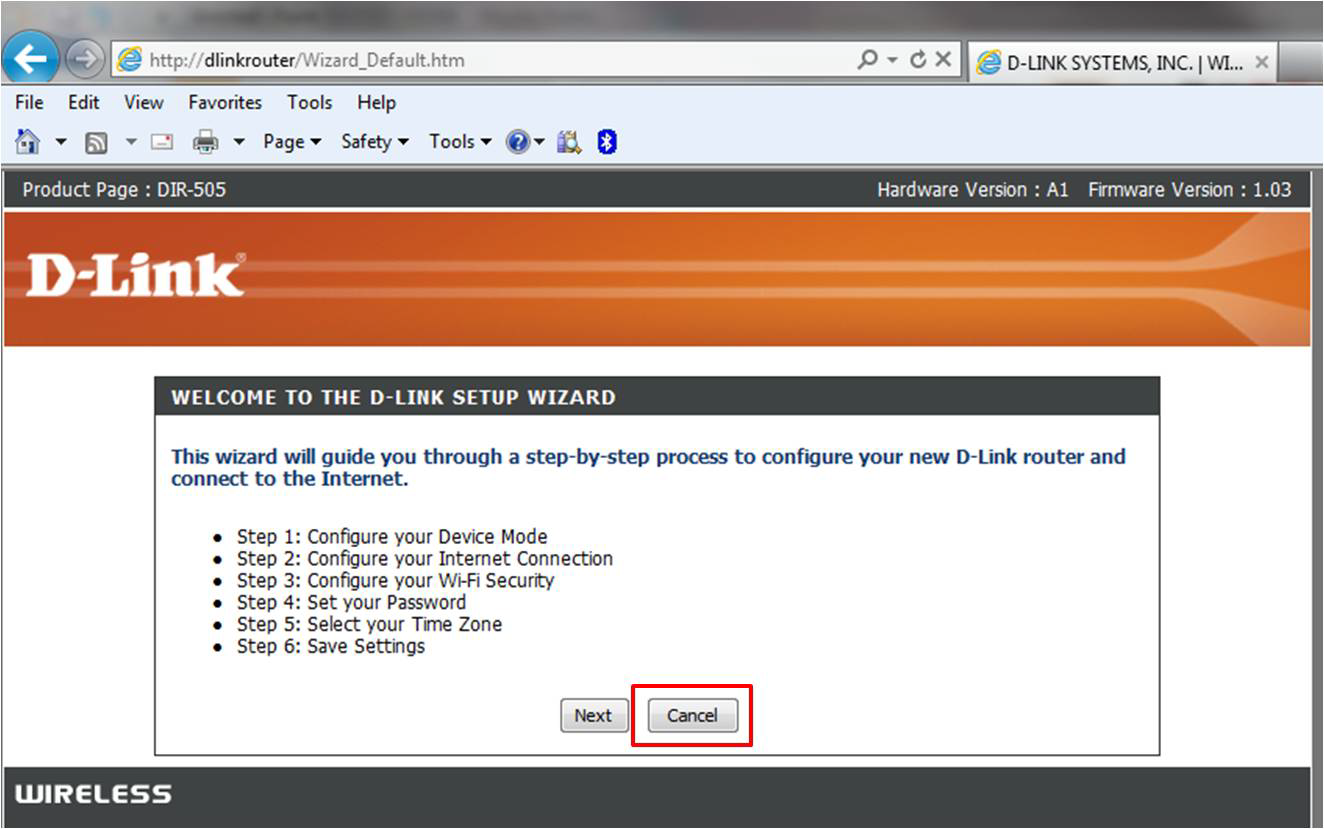
Step 4: Click Cancel when the D-Link Setup Wizard Appears (If applicable)
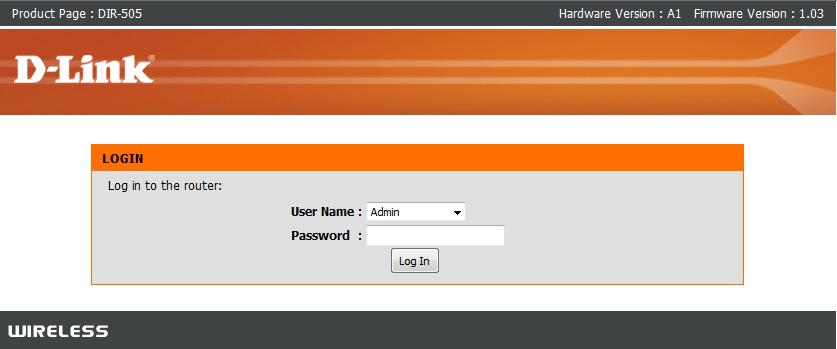
Step 5: Log into the DIR-505/505L. The default username is admin and there is no password
Step 6: Click Maintenance > Firmware
Step 7: Click Browse and select the firmware file to upload and click the upload button
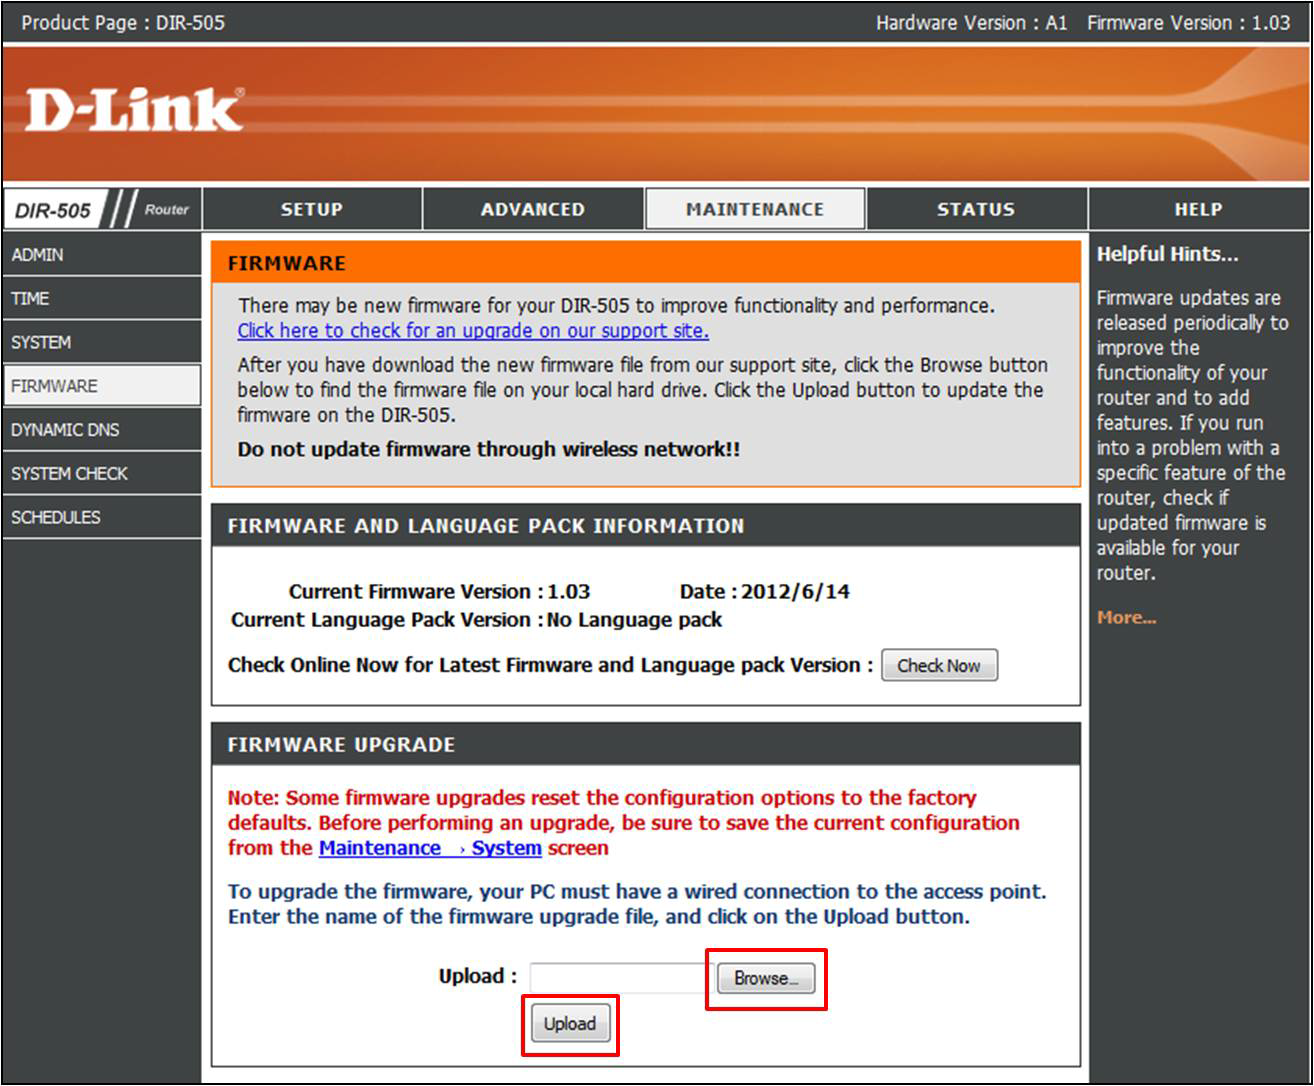
Step 8: The firmware will start the upgrade process. This process will take approx 150 seconds
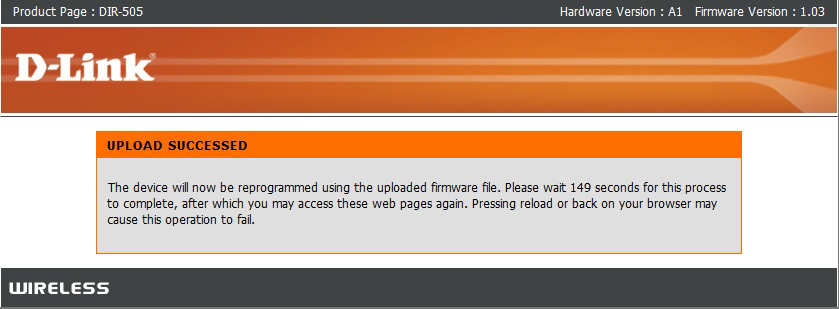
Once the router finishes rebooting, the firmware will be upgraded.