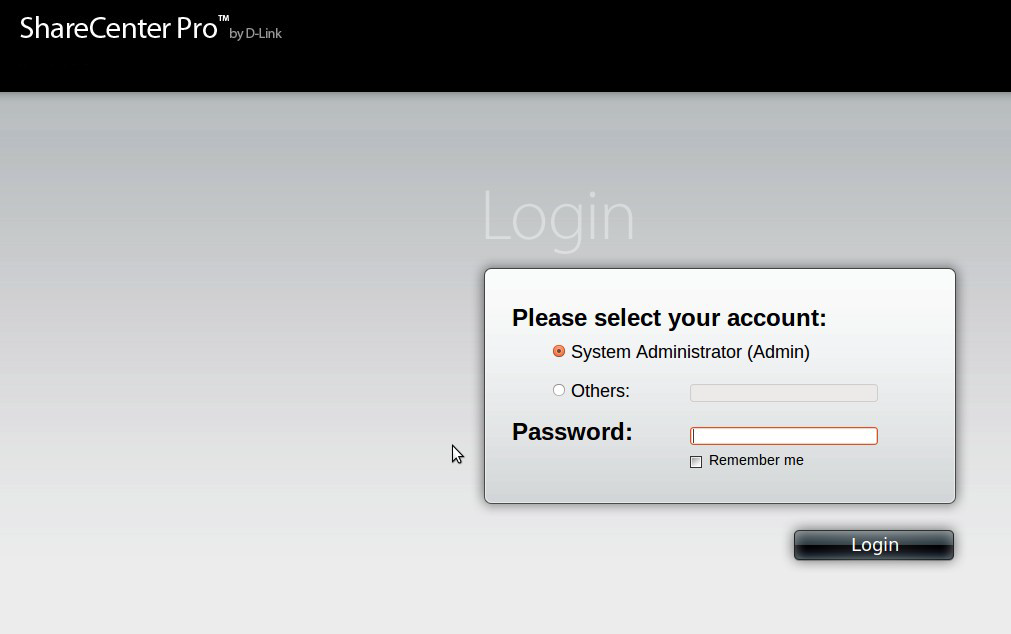
Step 1: Log into your DNS-1200-05. The Default username is admin and the password is password
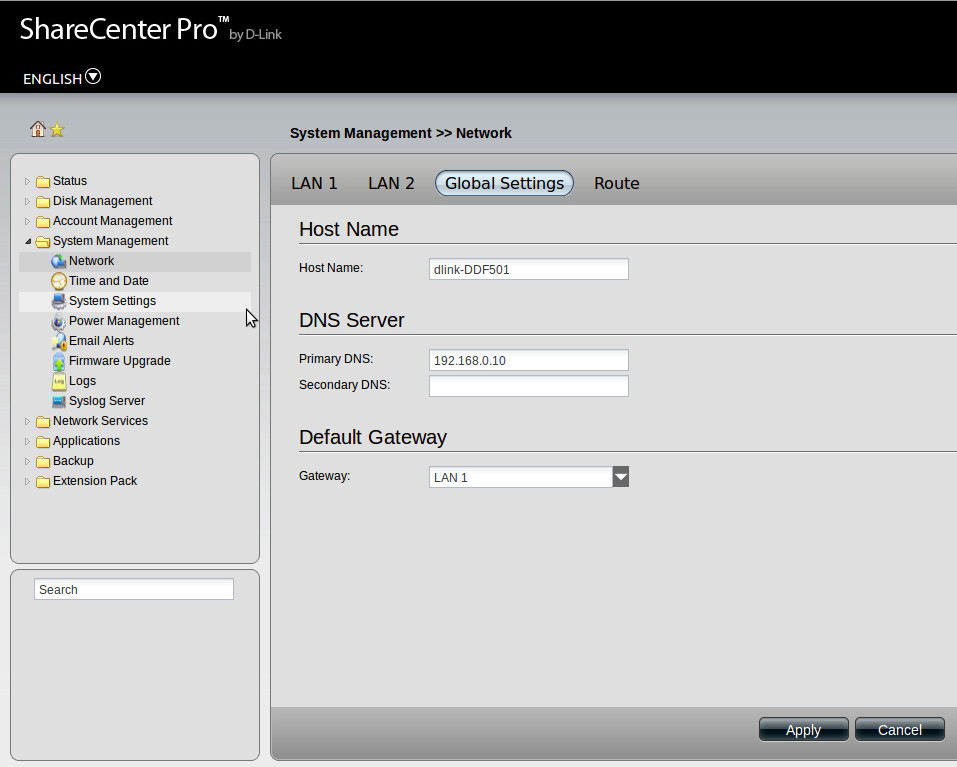
Step 2: Click on System Management and then Network
Step 3: Set your Primary DNS address to point to your Active Directory server
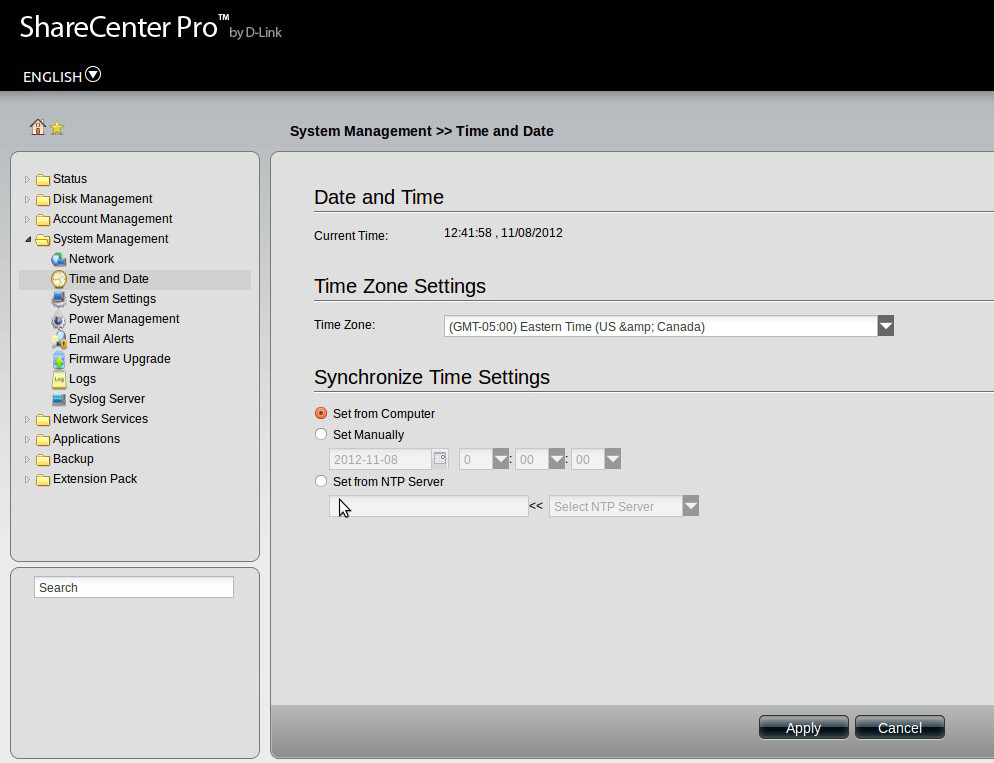
Step 4: Click on Time and Date and set the time and date to match with what your Active Directory servers Time and date settings.
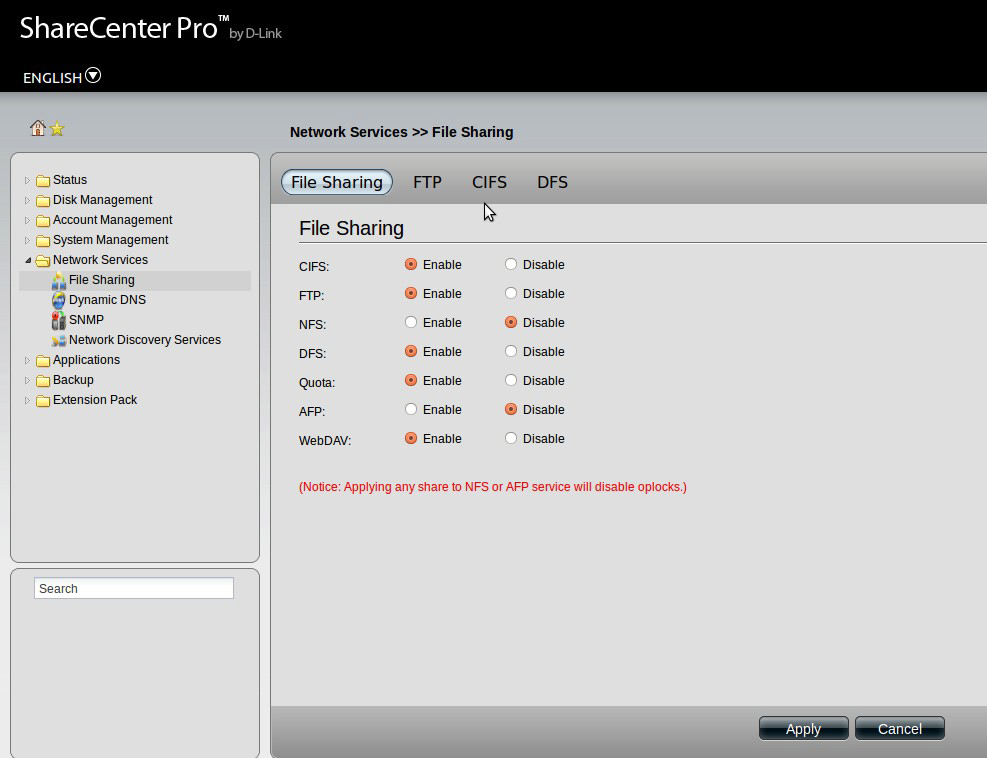
Step 5: Click on Network Services and then on File Sharing and make sure that CIFS is enabled.
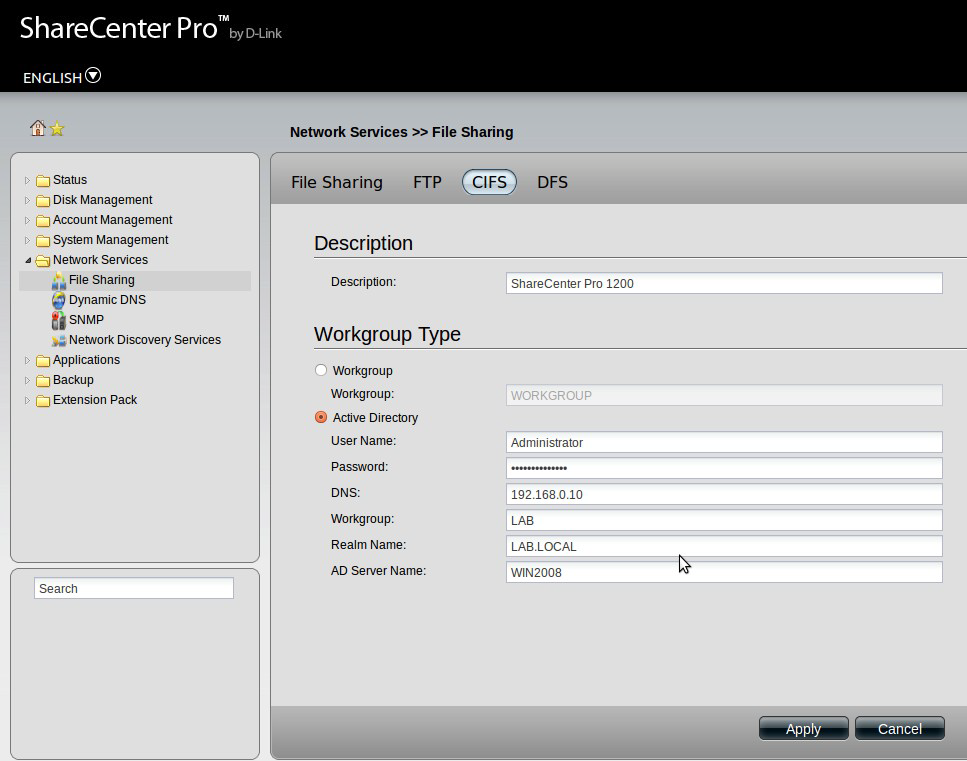
Step 6: Click on CIFS and Enter your Active Directory information
Username: <Username of an administrator user and password> e.g. Administrator
Workgroup: The workgroup the AD/Windows server is associated with
Realm Name: <Realm name of AD/Windows Server>
AD Server Name: <Active Directory Server name>
DNS1: <IP of your Active Directory/Windows Server>
Step 7: Click on Apply
The DNS-1200-05 should now successfully be connected to your Active Directory
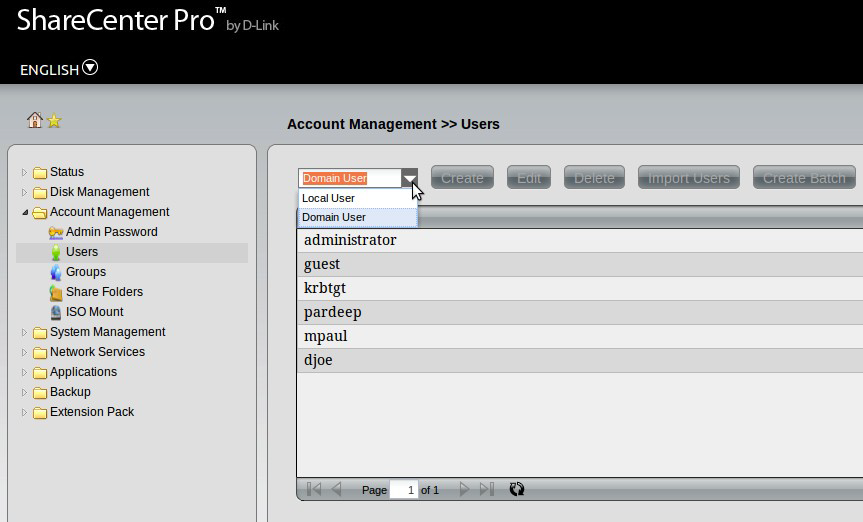
Step 8: Click on Account management and then click on Users and select Domain users from the drop down menu