Step 1: For Windows XP, Click Start > Run and type \\IP of DNS-323 (eg. \\192.168.0.132) and press OK.
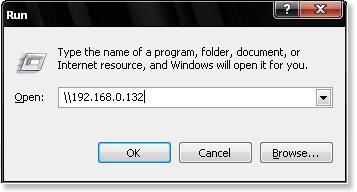
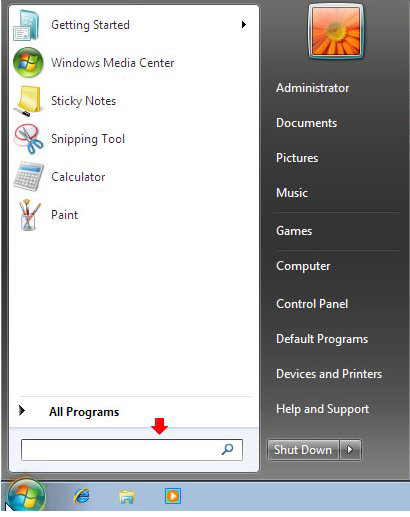
For Vista or Win7 this command line is located right above the Windows Button.
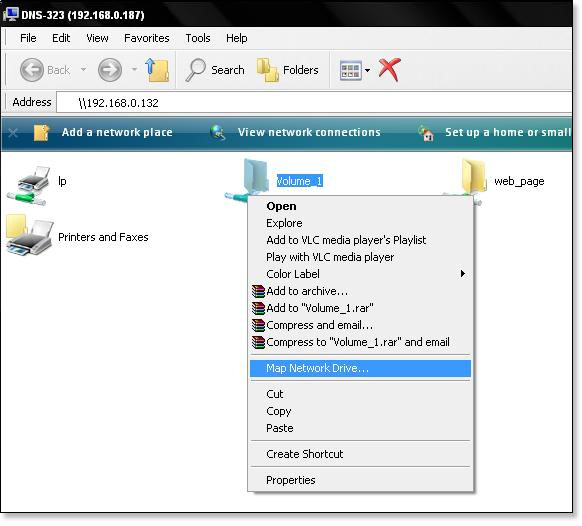
Step 2: Right-click the drive/folder in which to access and select Map Network Drive (Volume_1 used in this example).
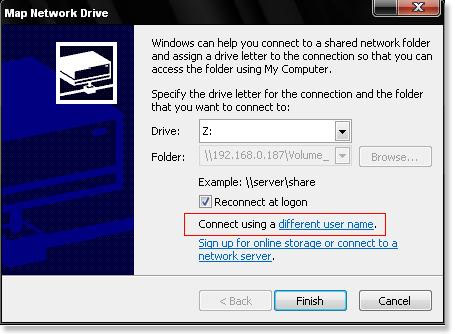
Step 3: Choose a drive letter to Map Drive and select Connect using a different user name If credentials are required or just click Finish if users have not been created.
Step 4: Enter the Username and Password for the selected folder.
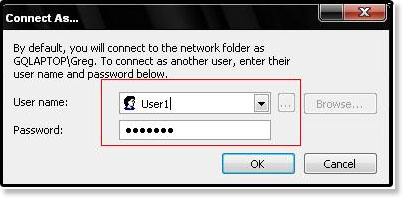
Step 5: Click OK.
Step 6: Click Finish.
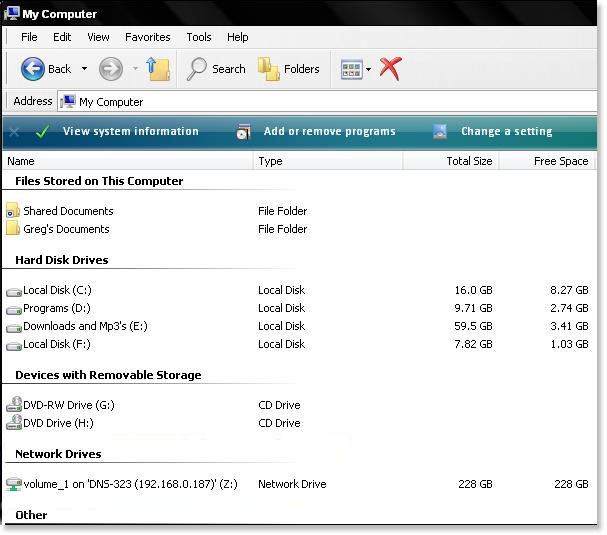
The Drive is now mapped and Accessible.
Note: Windows 10 users - Go to Control Panel > Programs and Features > Turn Windows features on or off. Make sure SMB 1.0/CIFS File Sharing Support is checked.

Thanks jtma67