For firmware 3.x or higher, download the SSL VPN Config Guide below:
Download SSL VPN Config Guide
Older GUI
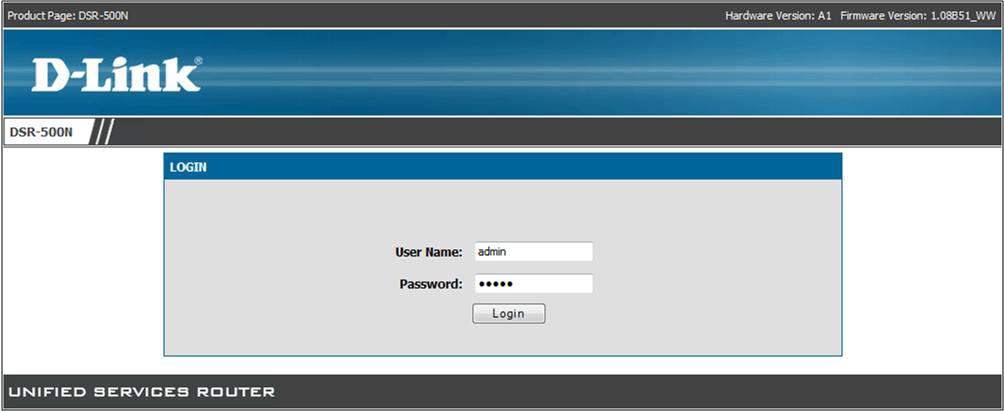
Step 1: Log into the DSR interface. The default IP address is 192.168.10.1 (eg. https://192.168.10.1)
Step 2: Click the Tools Tab on the top, Click Admin > Remote Management on the left side
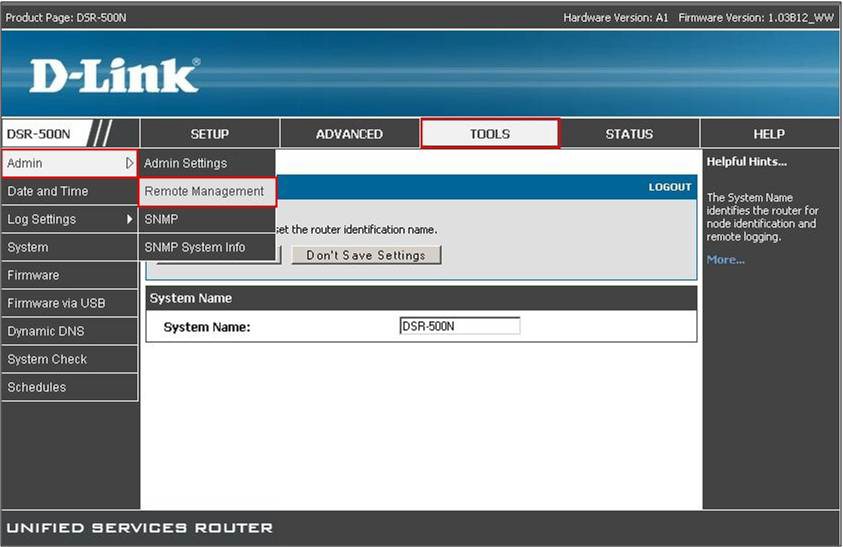
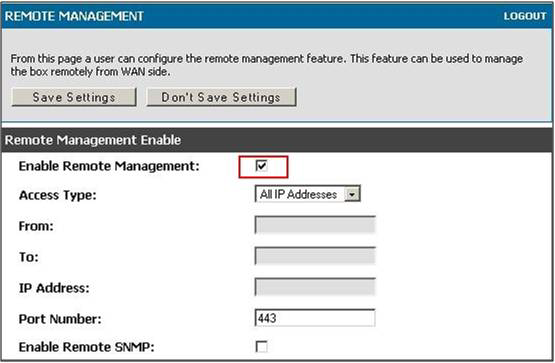
Step 3: Enable Remote Management and Click Save Settings
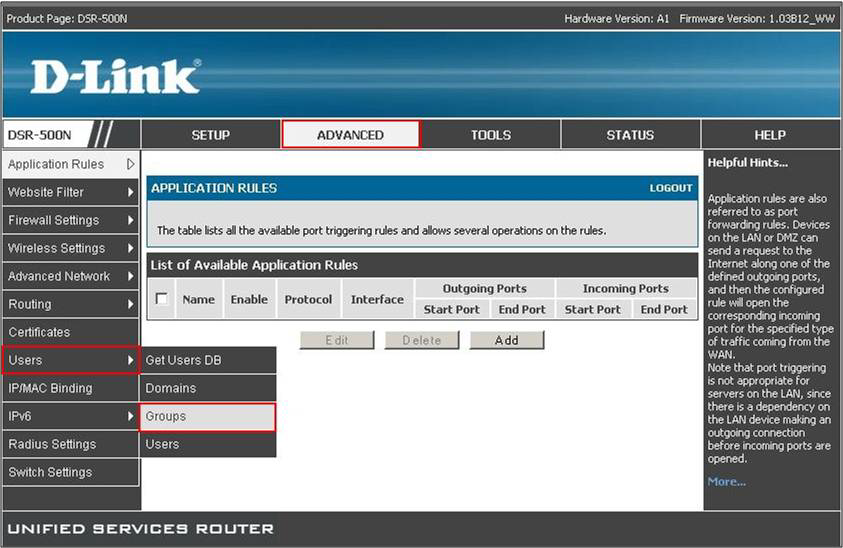
Step 4: Click the Advanced Tab on the top, click Users on the left side and select Groups
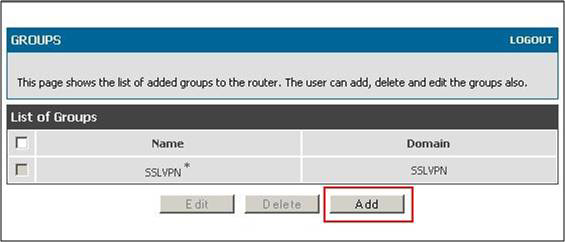
Step 5: Click Add
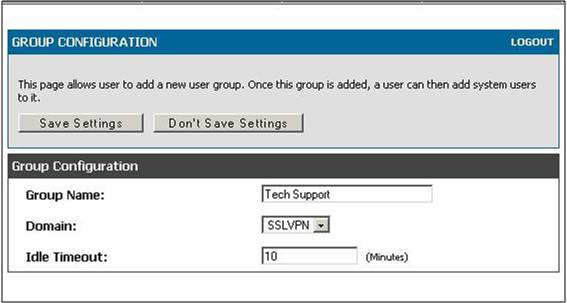
Step 6: Configure your group:
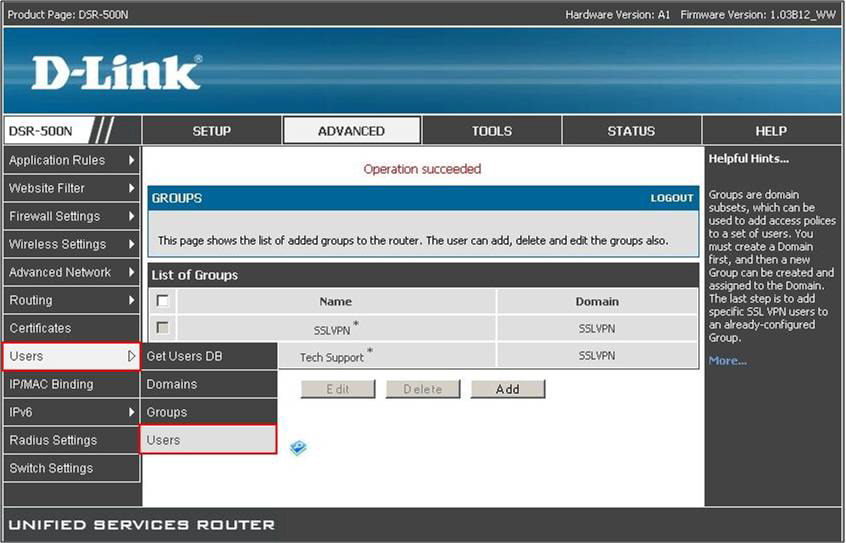
Step 7: Select Users on the left and click Users
Step 8: Click Add

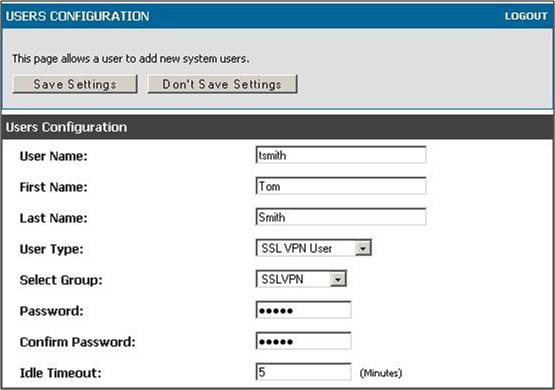
Step 9: Create User
-
Username: username for login (eg. tsmith)
-
First Name: Users Name (eg. Tom)
-
Last Name: Users Last Name (eg. Smith)
-
User Type: SSLVPN
-
Select Group: created group (ie. Tech Support)
-
Password: password for VPN login
-
Confirm Password:
-
Idle Timeout: The timeout value of the user (eg. 5)
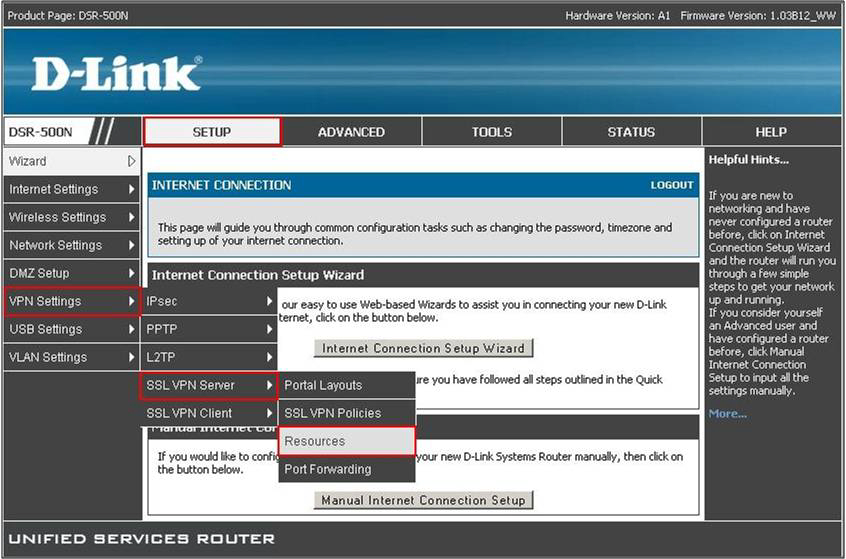
Step 10: Click Setup on the top and VPN Settings>SSL VPN Server>Resources on the left side
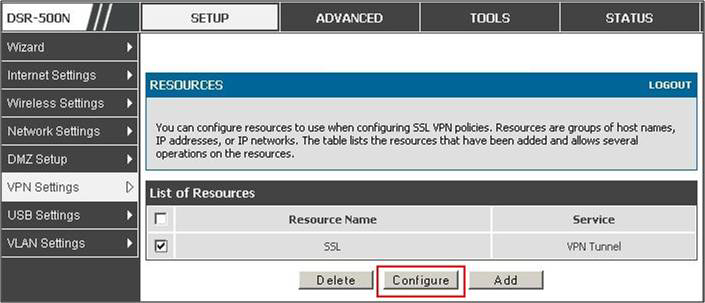
Step 11: Place a Check next to the SSL VPN Resource and click Configure
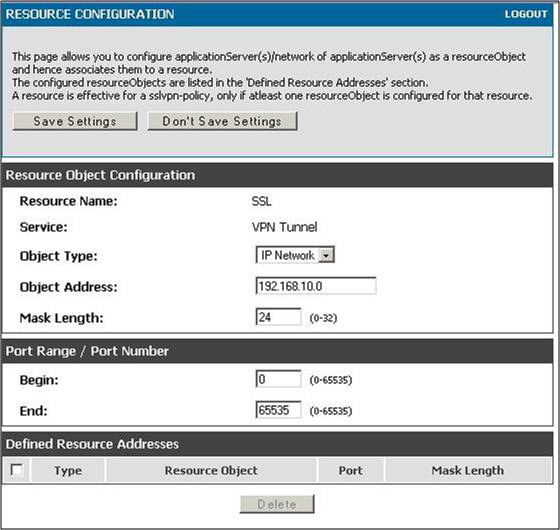
Step 12: Configure:
-
Object Type: Select the Access for SSL User (ie. Single IP or Network)
-
Object Address: Single IP address or Network (eg. 192.168.10.0)
-
Mask Length: Netmask of network (eg. 24)
-
Port Range: Ports that can be accessed by SSL Users
Note: In this example, SSL VPN users can access the entire 192.168.10.x network and have access to all ports.
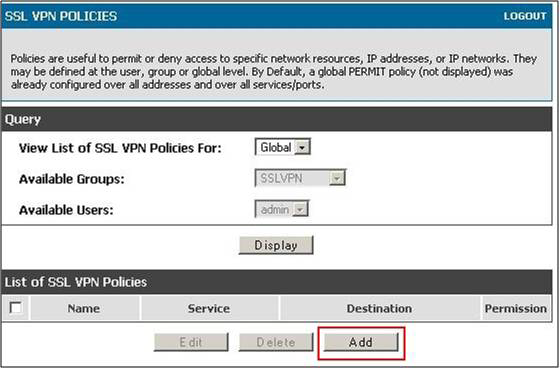
Step 13: Click Setup on the top and VPN Settings>SSL VPN Server>SSL VPN Policies on the left side
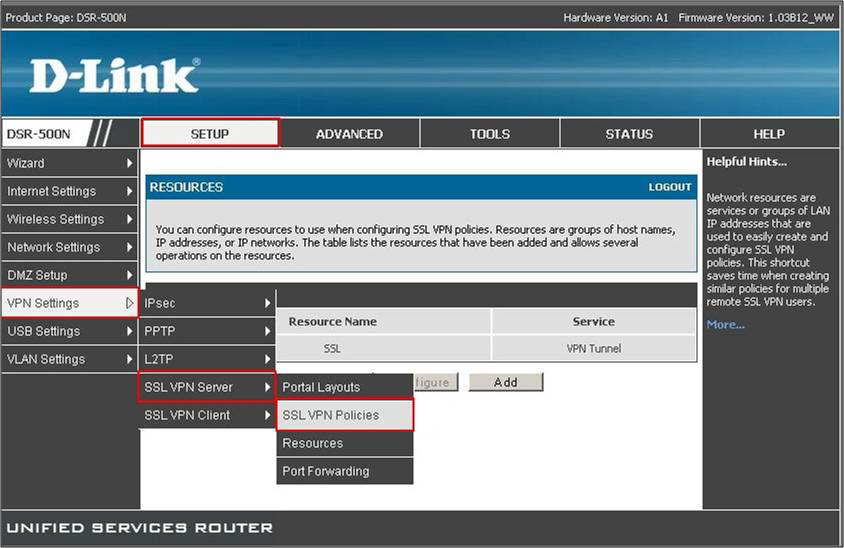
Step 14: Click Add
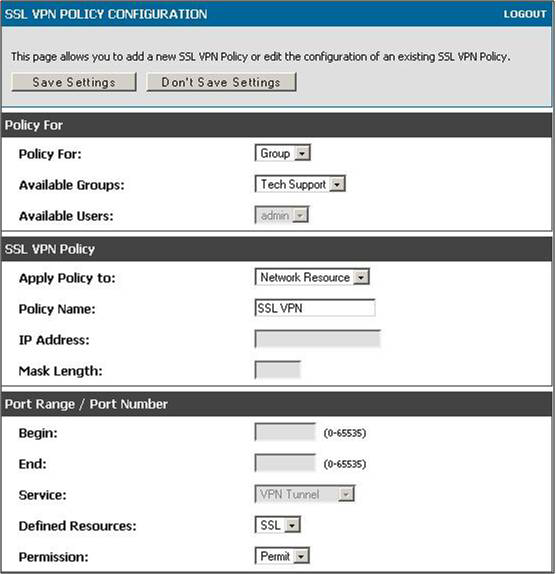
Step 15: Configure VPN Policy:
-
Policy For: Select who the policy is for (eg. Group)
-
Available Groups: Select the Group to apply this policy (eg. Tech Support)
-
Apply Policy to: Network Resource
-
Policy Name: Enter name for Policy (eg. SSL VPN)
-
Define Resources: Your SSL Resource (Eg. SSL) (From Step 9)
-
Permission: Permit
Connecting to the SSL VPN:
Step 1: Open an internet browser
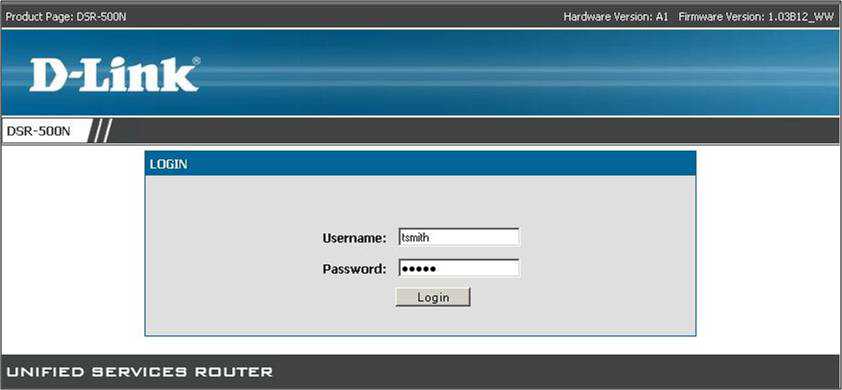
Step 2: Enter the DSR's public/WAN address into the address bar and click Go (eg. https://24.13.31.13)
Step 3: At the DSR Login Screen, enter your SSL Username and Password and click login
Step 4: Click on the VPN Tunnel Tab at the top
Step 5: Click the SSL VPN Icon to launch the installer
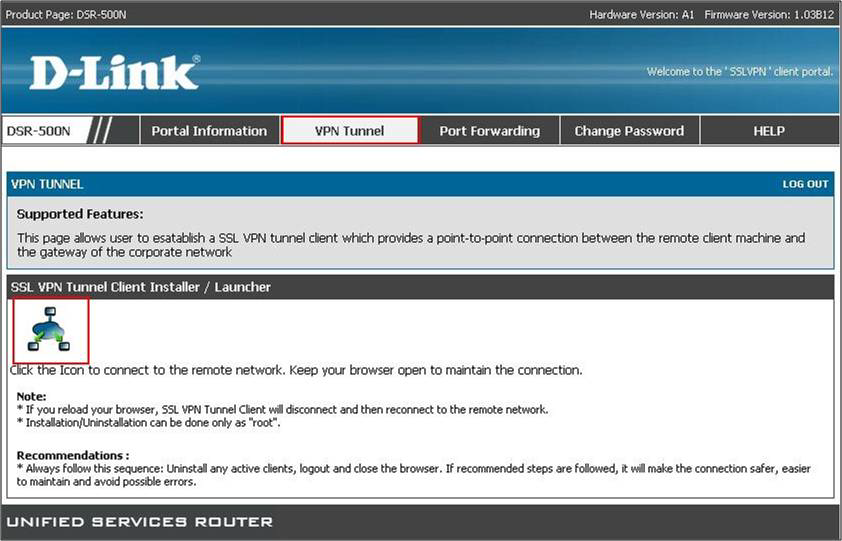
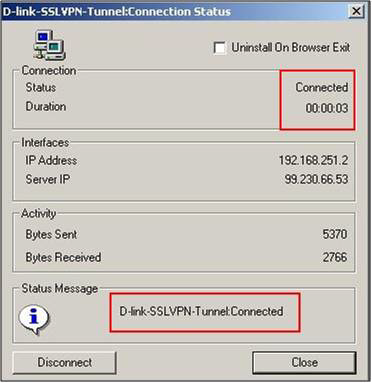
Once the installer launches it will automatically connect to your SSL VPN.