To allow traffic from the internet to enter your local network, you will need to open up ports or the router will block the request.
Because our routers use NAT (Network Address Translation), you can only open a specific port or ports to one computer at a time. For example: If you have 2 web servers on your network, you cannot open port 80 to both computers. You will need to configure 1 of the web servers to use port 81 (or any other non-80 port). Now you can open port 80 to the first computer and then open port 81 to the other computer.
Step 1 Open a web browser and type the IP address of the WBR router into the address bar (default is 192.168.0.1).
Step 2 The default username is admin (all lower case) and the default password is blank (nothing). Click on OK.
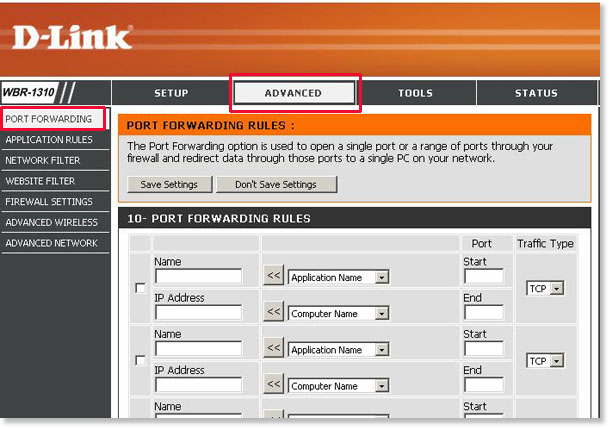
Step 3 Click on the Advanced tab along the top and then click on Port Forwarding on the lefthand side.
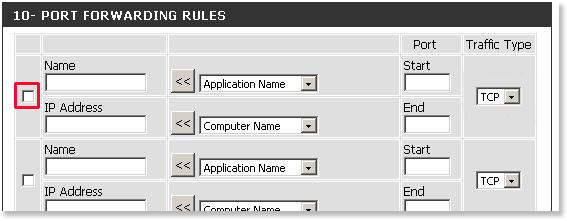
Step 4 Next to IP Address, enter the IP address of the computer, or select your computer from the drop down box and click the arrow.

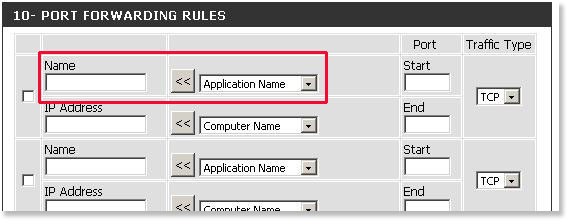
Step 5 Enter a Name for your virtual server entry.
Note: The Application Name drop down menu contains a list of predefined server types. If you select one of the predefined server types, click the arrow button next to the drop down menu to fill out the corresponding field. This will also fill in the Traffic Type, Start Port and End Port. If you choose this option, skip to Step 9.
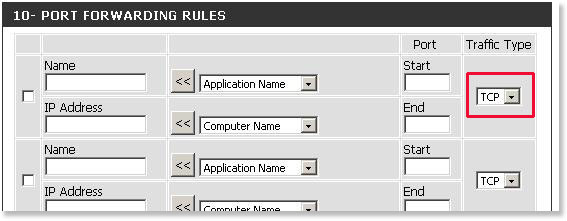
Step 6 Choose the Traffic Type from the drop down menu.
Step 7 Enter the port information under Start Port and End Port.
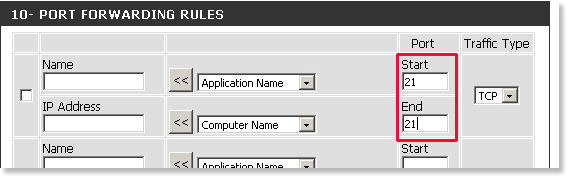
Note: This feature allows you to open a range of ports to a computer on your network. To do so, enter the first port in the range you would like to open in the Start field and last port of the range in the End field. To open a single port using this feature, simply enter the same number in both the Start and End fields.
Step 8 Click the check box to activate the entry.
Step 9 Click Save Settings at the top to save your changes.