Note: The following instructions and screenshots are for Windows® 7. Other versions of Windows may have a slightly different appearances.
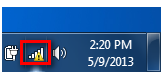
Step 1: Click on the network icon in the bottom right corner (next to the clock).
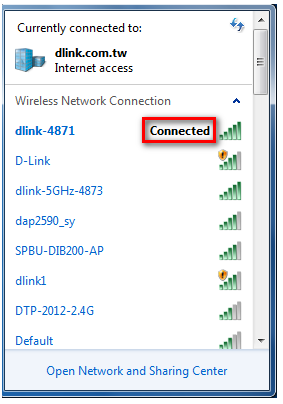
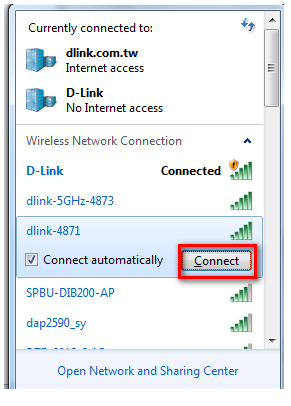
Step 2: Select the wireless network you want to connect to and click Connect.
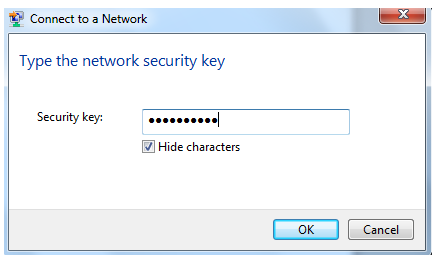
Step 3: If you have a Wi-Fi password (security key) configured on your extender, enter the password and click OK.
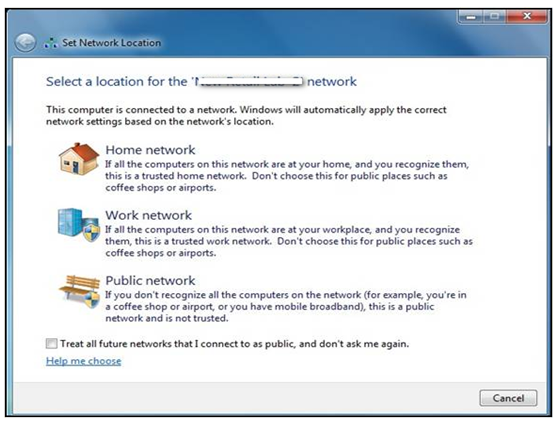
Step 4: Select the Network Type.
Step 5: Your computer is now connected. The computer should now automatically connect to this network when it is within range.