Step 1: Open the web browser and type the IP address of the firewall into the address bar (default is 192.168.1.1). Press Enter.
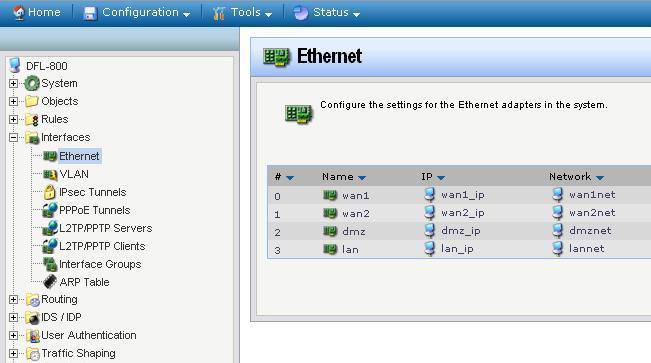
Step 2: Click on the plus sign next to Interfaces, select Ethernet, and then select Wan/Wan1 or Wan2 interface.
Step 3: Click Enable DHCP Client.
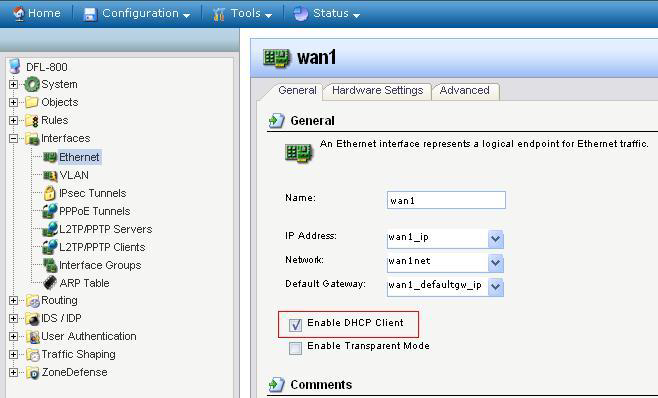
Step 4: Click OK.
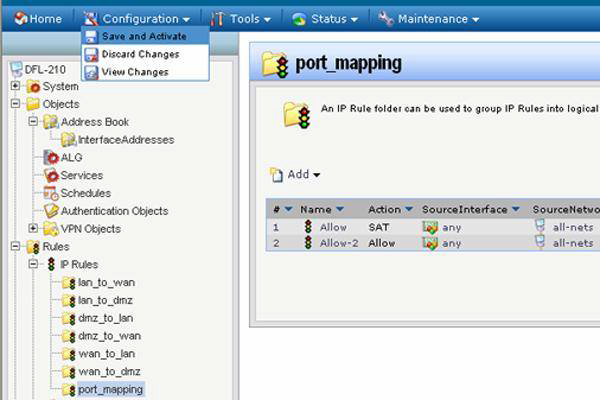
Step 5: Click on the Configuration tab and select Save and Activate from the dropdown menu. Click on OK to save and activate your changes.