Step 1: Before setting up motion recording, make sure the camera's motion detection settings are enabled and configured
Step 2: When setting up motion recording, make sure the manual recording button is disabled in the LIVE VIDEO tab
Enabled

Disabled

Step 3: Go to SETUP then Recording Schedule
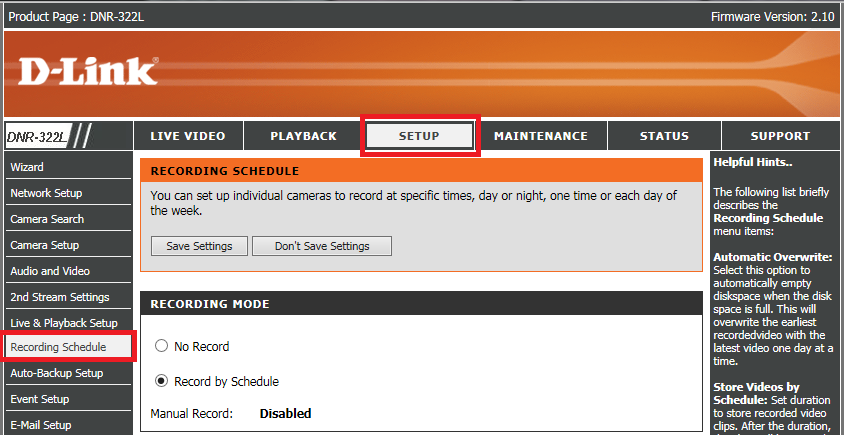
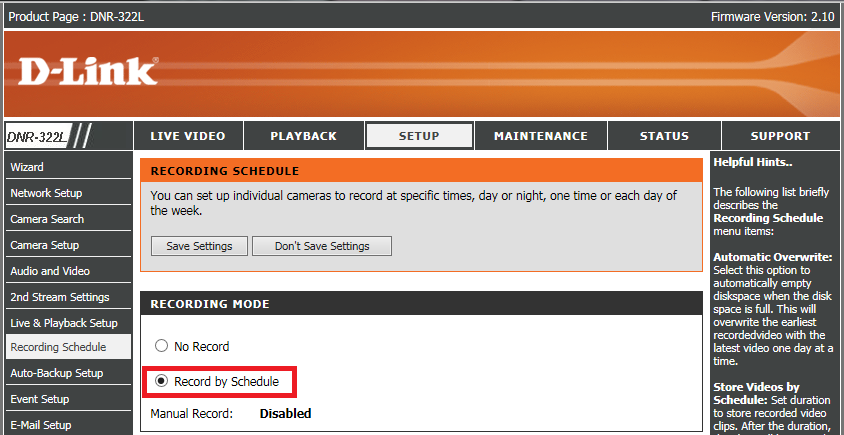
Step 4: Set the RECORDING MODE to Record by Schedule
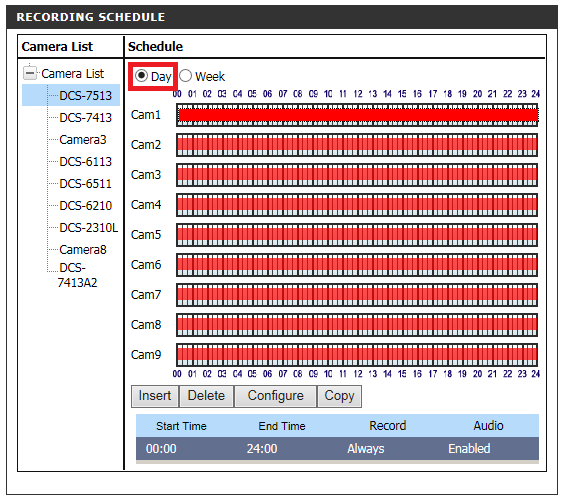
Step 5: In the RECORDING SCHEDULE, set the Schedule to Day or Week. For simplicity, in this example we will set the schedule to day.
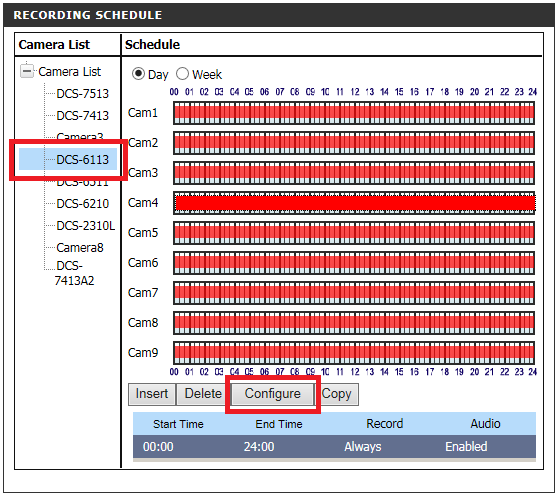
Step 6: In the Camera List, select the camera we wish to configue. Then click Configure in the Schedule section.
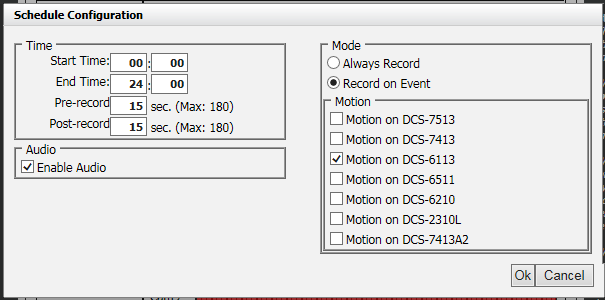
Step 7: By default the Mode set would be Always Record. If we wish to set this camera to record by motion, set the Mode to Record on Event.
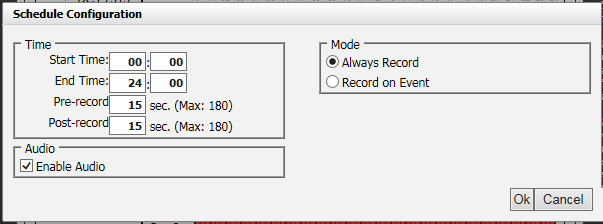
The motion window should appear, and check mark the camera we wish to record on motion.
Notice the selected camera has been changed to blue. The BLUE bar signifies the camera recording moce is set by Event, while the RED bar signifies the camera recording mode is set to Always recording.
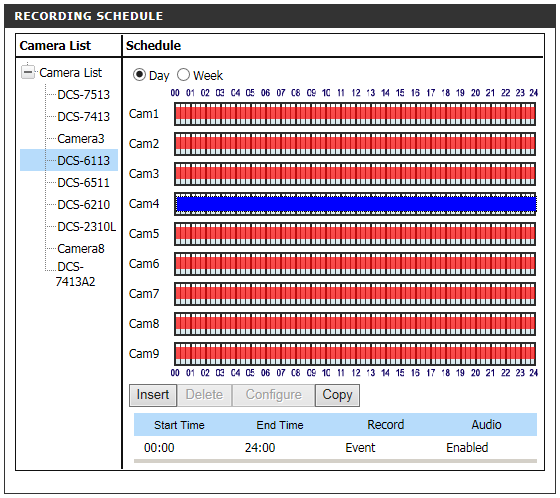
Save the settings by clicking Save Settings
Step 8: Verify if the Recording Schedule has started. Go back to the LIVE VIDEO, and on the top right corner. You should see a blue or red status icon :
- Blue - indicates recording has started but is waiting for motion to be detected in order to trigger the recording.
- Red - indicates the live feed is being recorded.
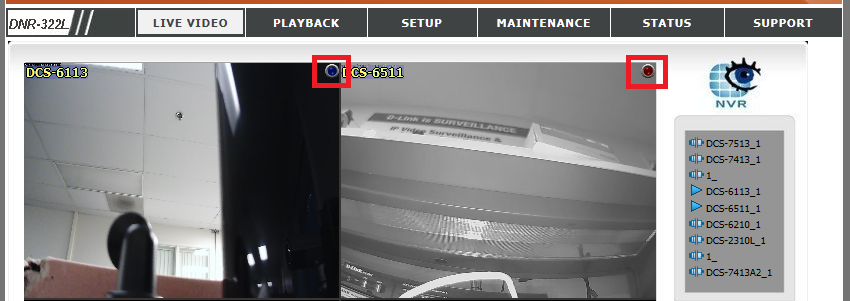
You have now configured your NVR motion recording.