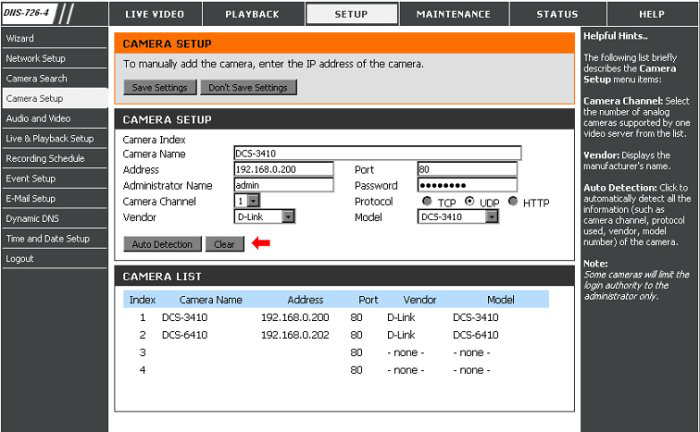
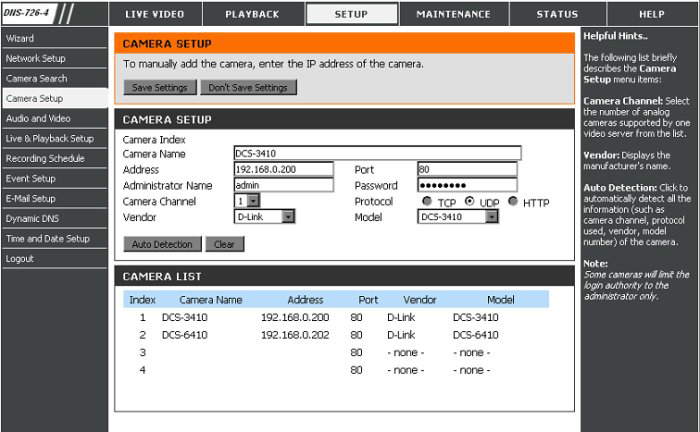
Step 1: Log into the DNS-726-4 and goto Setup > Camera Setup.
Step 2: Select the camera which you would like to modify.
Step 3: Modify its information on the top of the page.
Step 4: Click the Save Settings button.
Step 5: If you would like to replace a camera, select that camera, modify its address, port, user name, and password, and then click the Save Settings button.
Note: Some cameras will limit the login authority to the administrator only.
Remove a camera:
If you would like to simply remove a camera from the DNS-726-4 select the camera you would like to remove and click Clear and then click Save Settings.