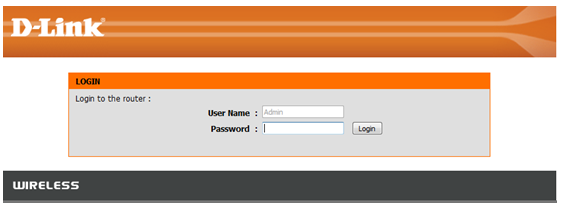
Step 1: Open your Internet browser and enter http://dlinkrouter, http://dlinkrouter.local, or http://192.168.0.1 into the address bar.

Step 2: The default username is Admin. Enter your administrator password. If you have not changed the default password, this field should be left blank. Click Login.
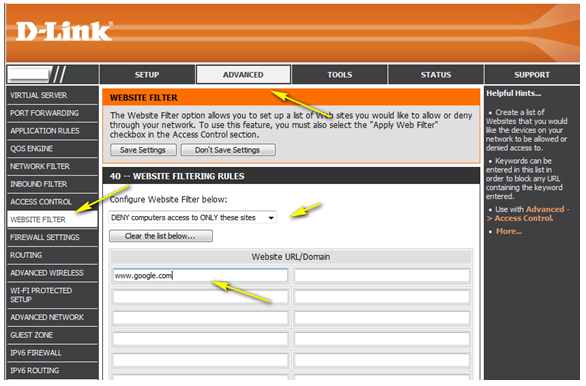
Step 3: Click the Advanced tab on the top then Website Filter on the menu at the left-hand side of the screen. Select the option “Deny computers access to ONLY these sites” from the Configure Website Filter drop-down menu. Type the website URLs to be blocked on this router in the Website URL/Domain columns. Click Save Settings when finished to save the configuration.
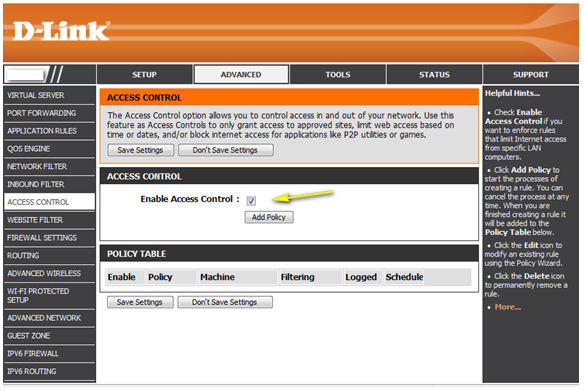
Step 4: Next, go to the Access Control tab and check the box to Enable Access Control. On Access Control page, you will need to set up a policy on the router for the Website Filter. Click Add Policy and follow the steps included in the policy wizard.
Step 5: Click Next
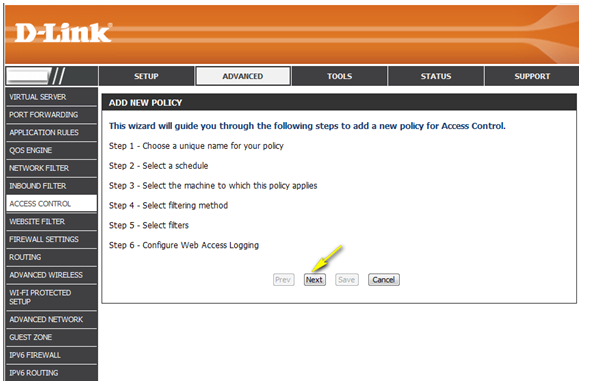
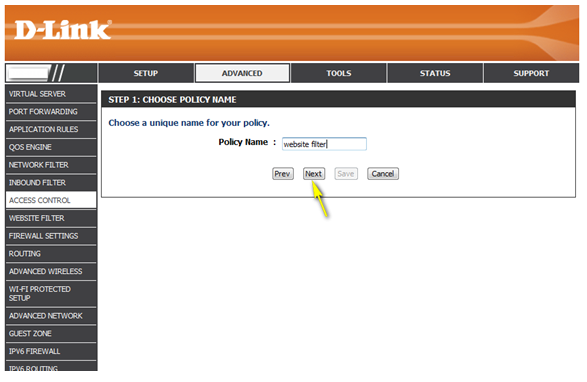
Step 6: Name the policy and click Next.
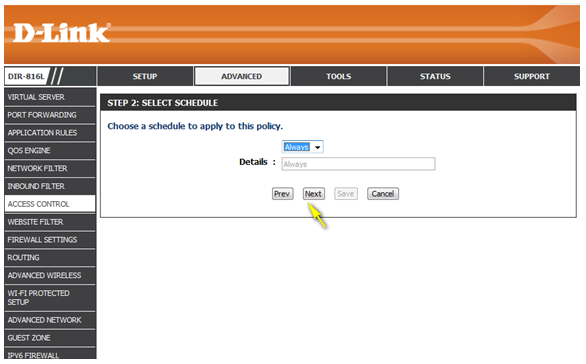
Step 7: Select a schedule and click on Next. Schedules can be created under the Tool>>Schedules section.
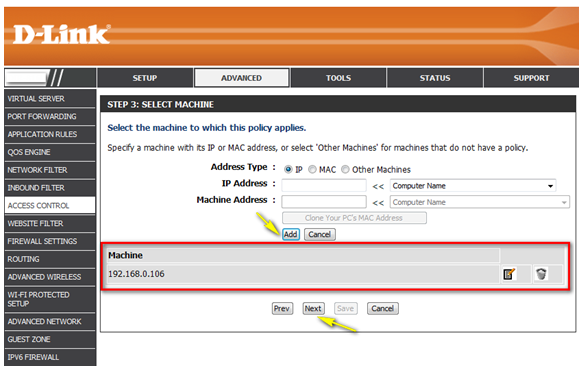
Step 8: Select the IP or MAC address of the machine(s) to which this policy applies and click Next. If the machine you wish to add to the policy is currently connected as a DHCP client, you can select it from the drop-down menus.
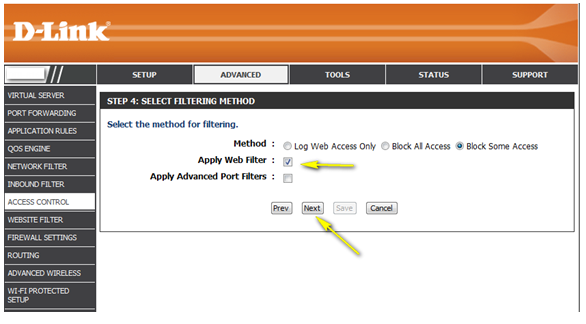
Step 9: Select Filtering Method and click Next.
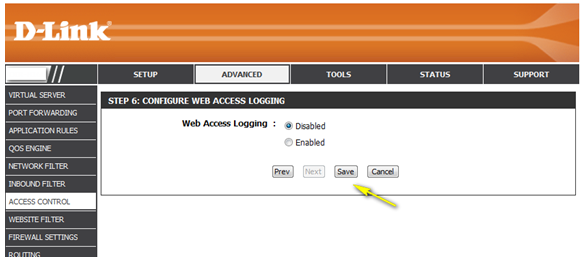
Step 10: Choose whether to Enable or Disable Web Access Logging and click Save.
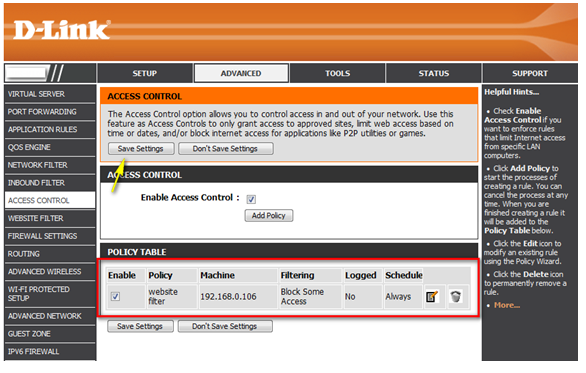
Step 11: You should now see the policy listed under Policy Table. Check the box next to the policy name to enable that policy. Click Save Settings to save the current configuration.
