Static DHCP will allow you to assign a static IP address to a computer using the DHCP server on the gaming router.
Step 1: Open a web browser and type the IP address of the gaming router in the address bar (default is 192.168.0.1). Press Enter.
Step 2: The default password is nothing (blank). Click Log In.

Step 3: Click NETWORK SETTINGS on the left side.

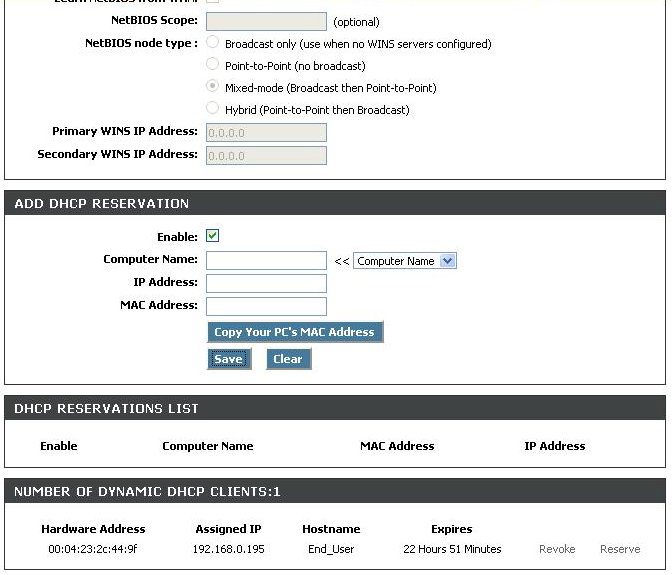
Step 4: In the ADD DHCP RESERVATION section select the checkbox next to Enable and configure the following:
- IP Address - Enter the IP address of the computer or select it using the drop-down list to the right.
- MAC Address - Enter the MAC address of the computer. If the computer you are using is the computer you want to configure a static DHCP IP address, click Clone Your Computers MAC Address.
- Computer Name - Enter the name of your computer.
Step 5: Click Save Settings to apply the changes.
Step 6: When prompted, click Reboot the Device.