Note: This example shows the setup for the DCH-S160 using Android. Setup for the DCS-S220 and setup using iOS should be the same/similar.
Please select your desired setup method:
- WPS - Select this method if you have a WPS enabled router
- Manual - Select this method if you DO NOT have a WPS enabled router
Note: WPS (Wi-Fi Protected Setup) is a feature of a router that allows you to press a button on your router when connecting devices. All newer routers support this feature.
WPS
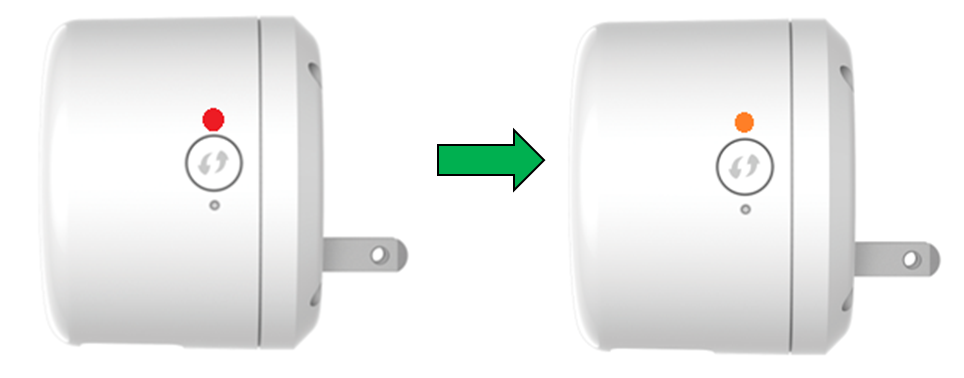
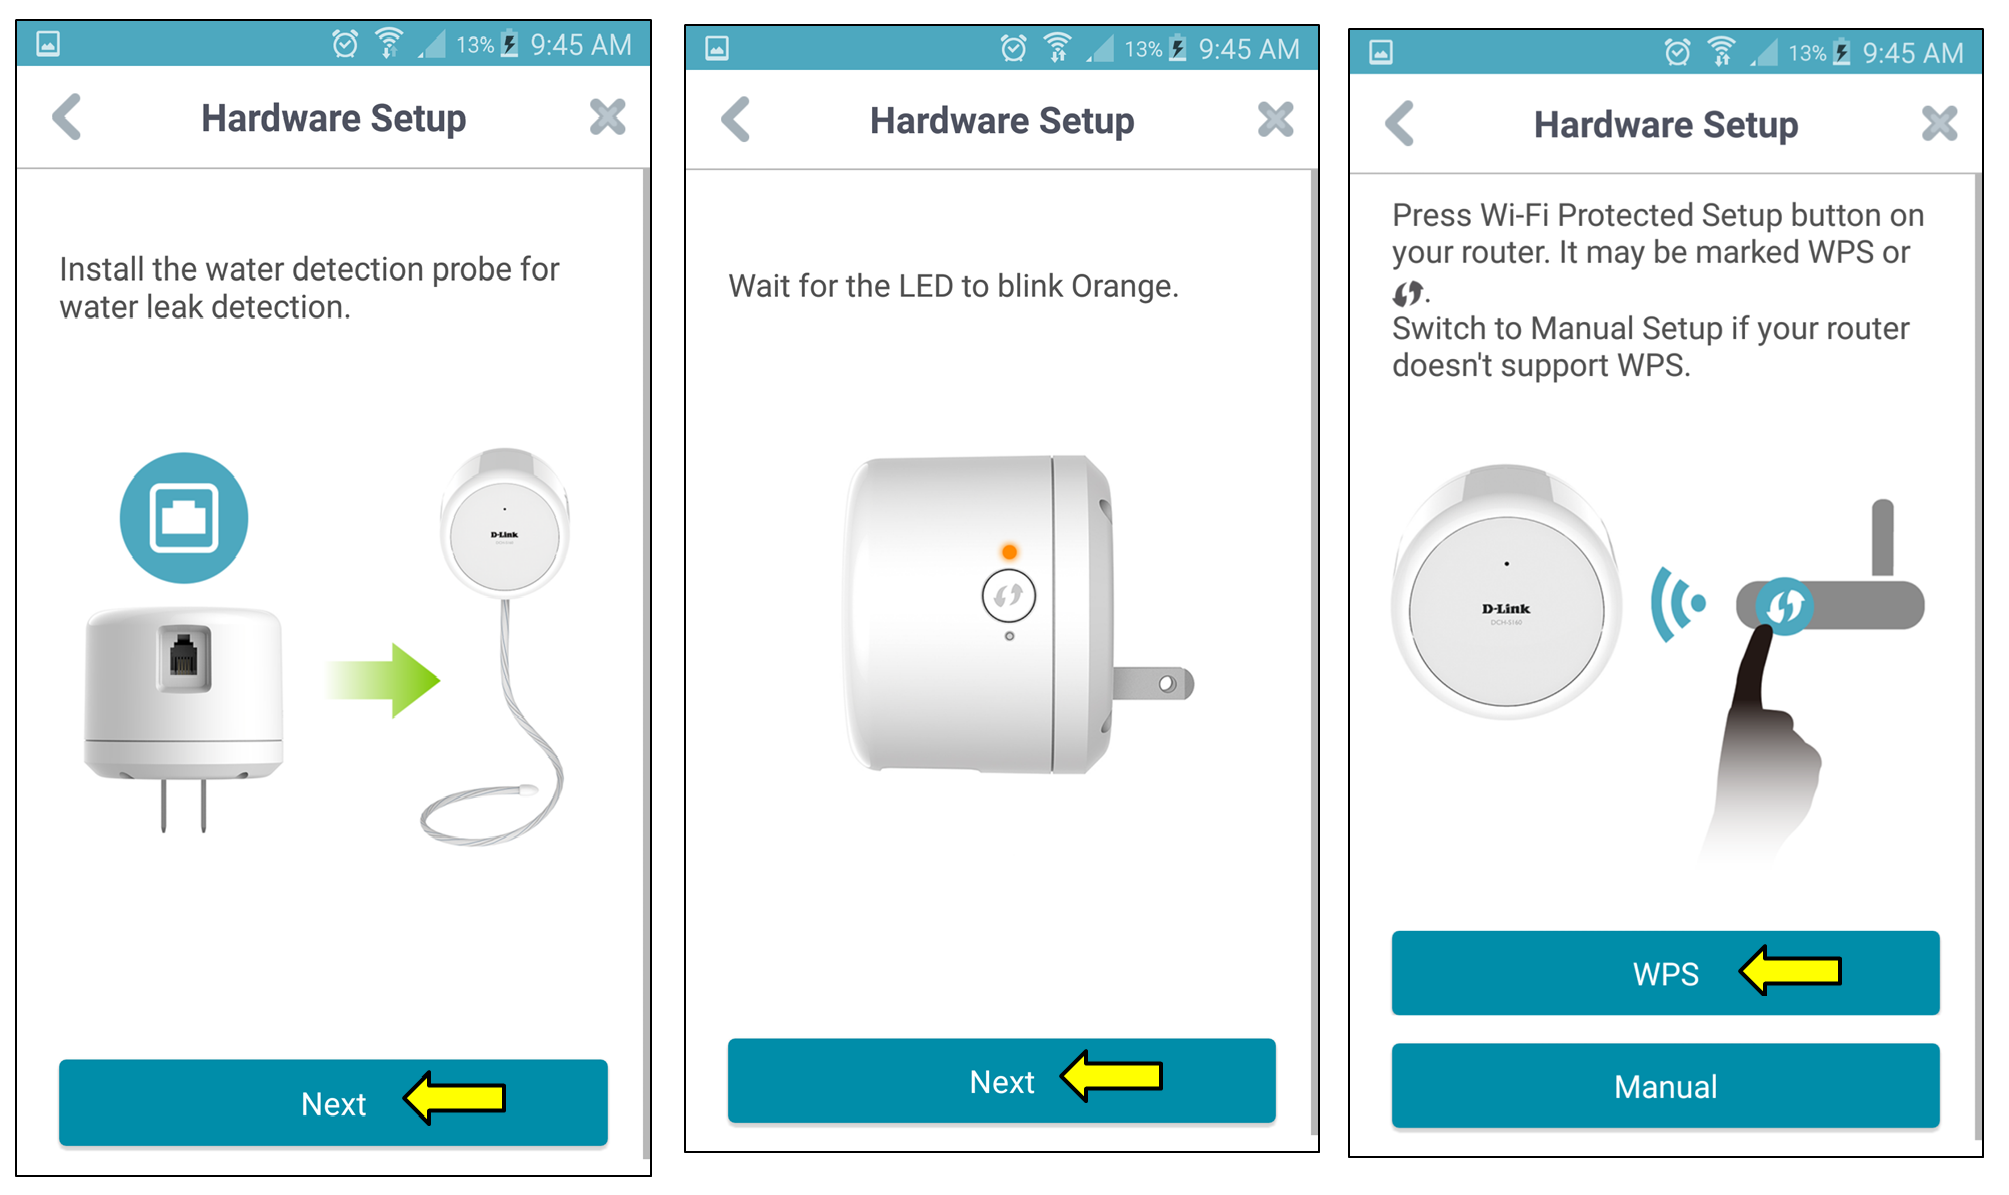
Step 1: Plug in the DCH-S160, the LED on the side will turn RED, and then will flash ORANGE (If the light turns green, it means sensor is connected to your network).
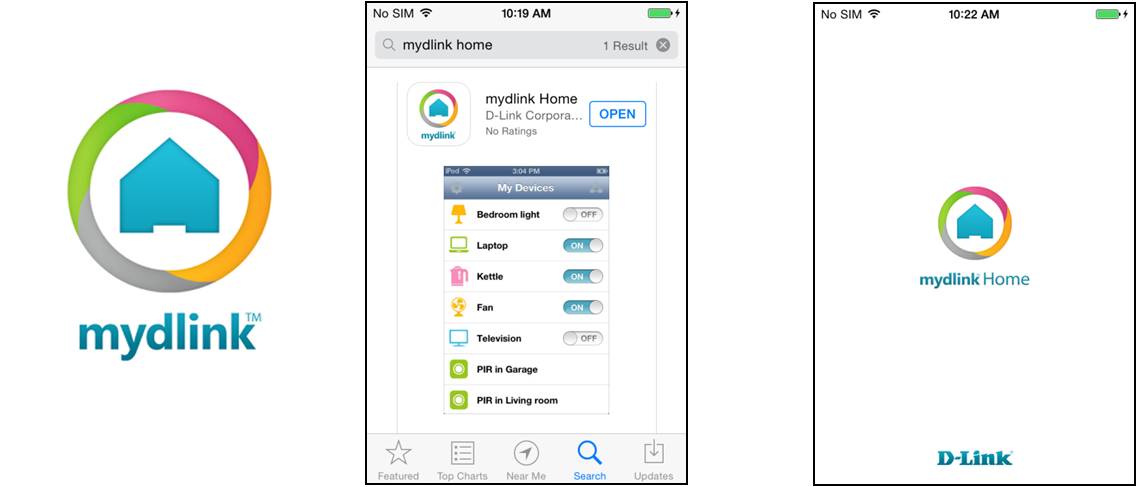
Step 2: Download and launch the mydlink Home app.
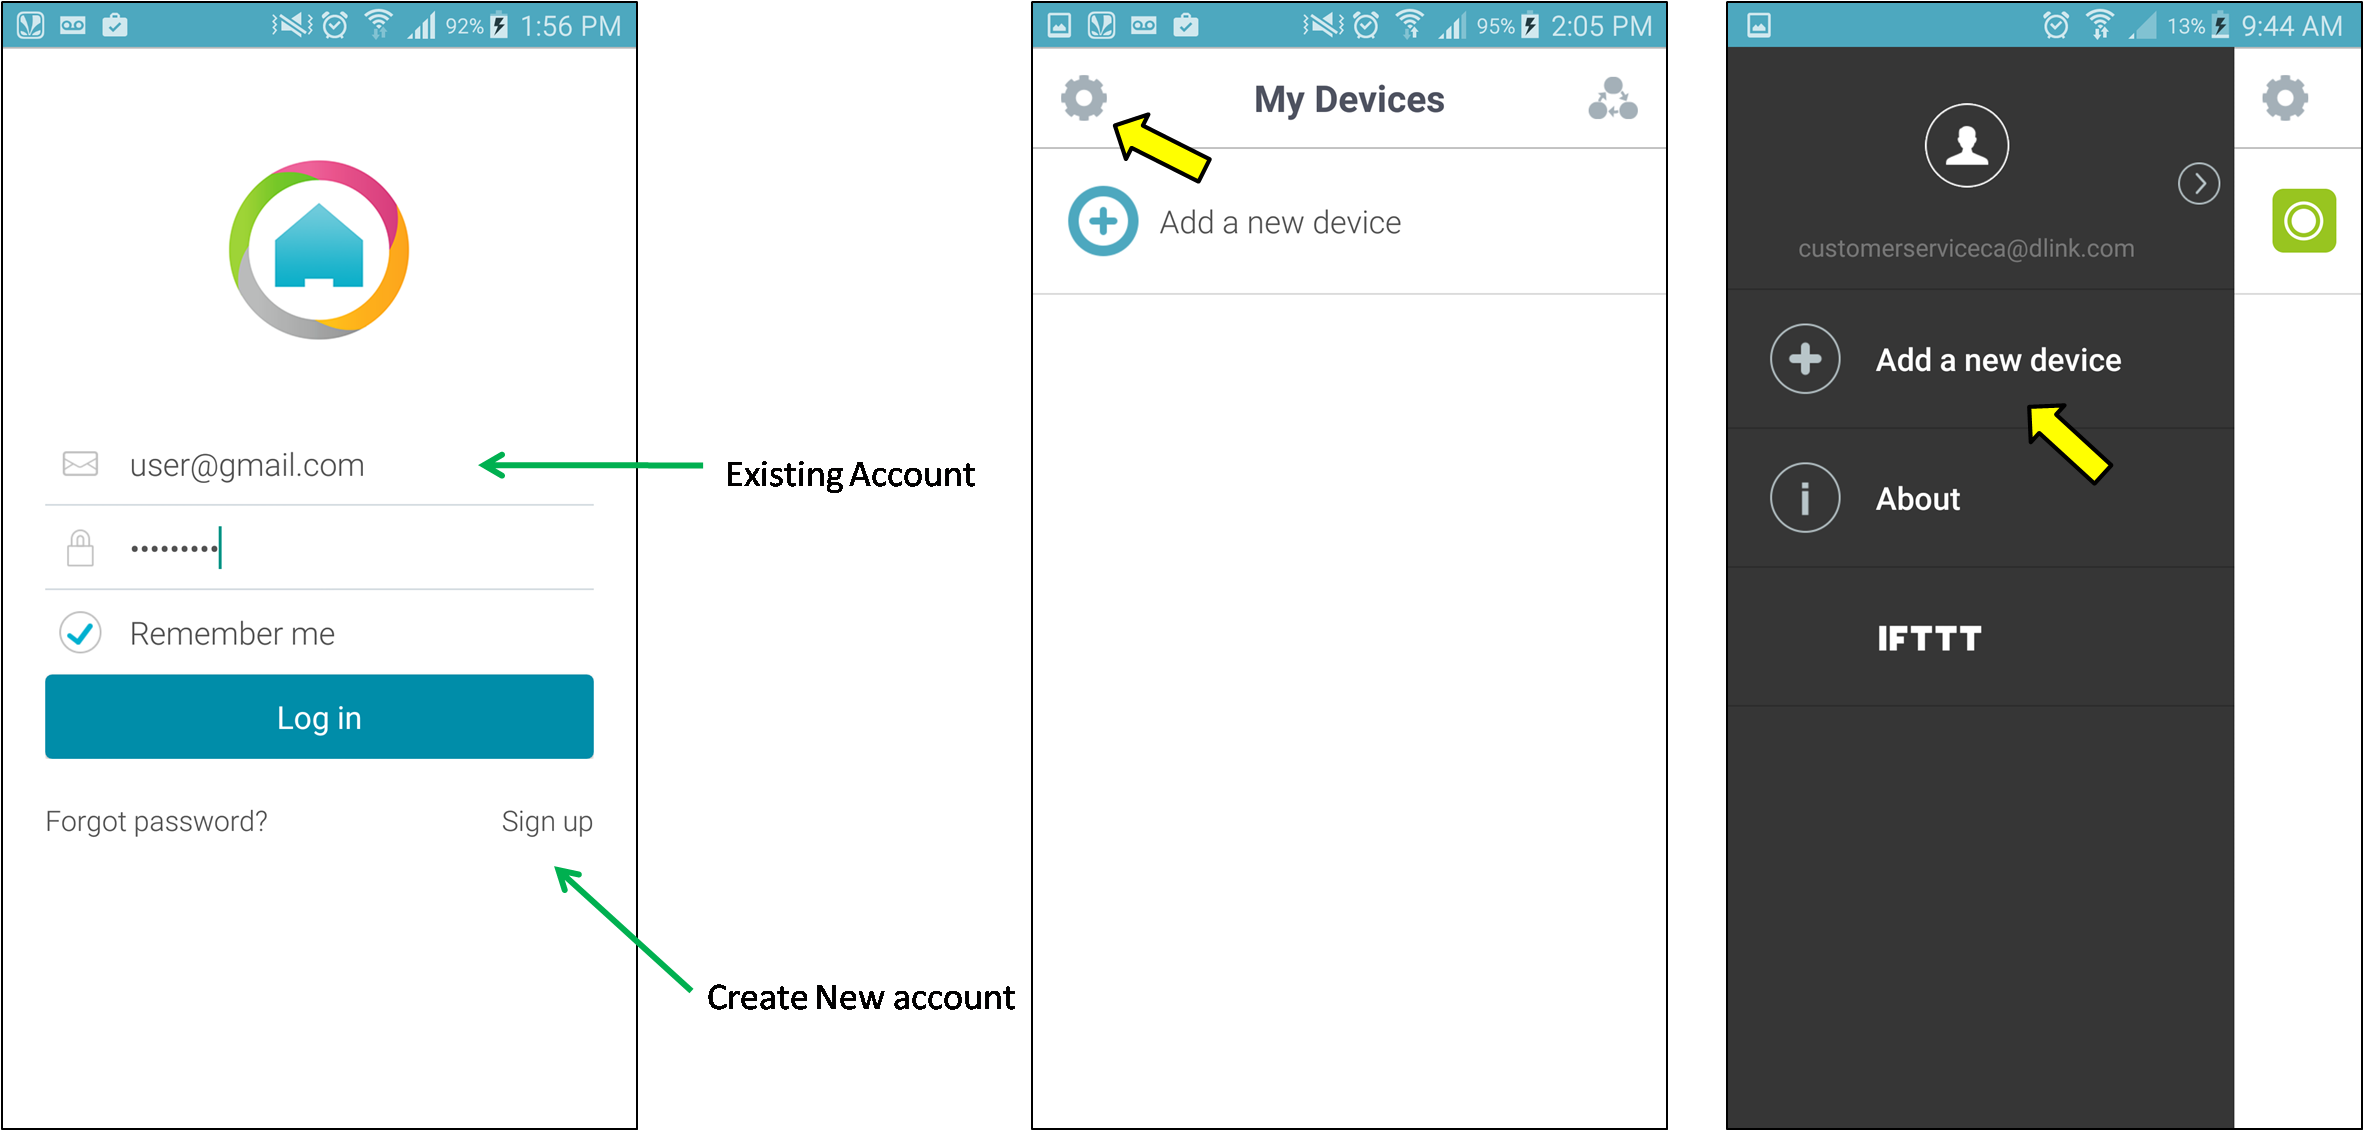
Step 3: Sign in to your existing mydlink account, or create a new account.
Step 4: Tap the gear icon at the top left and tap Add New Device.
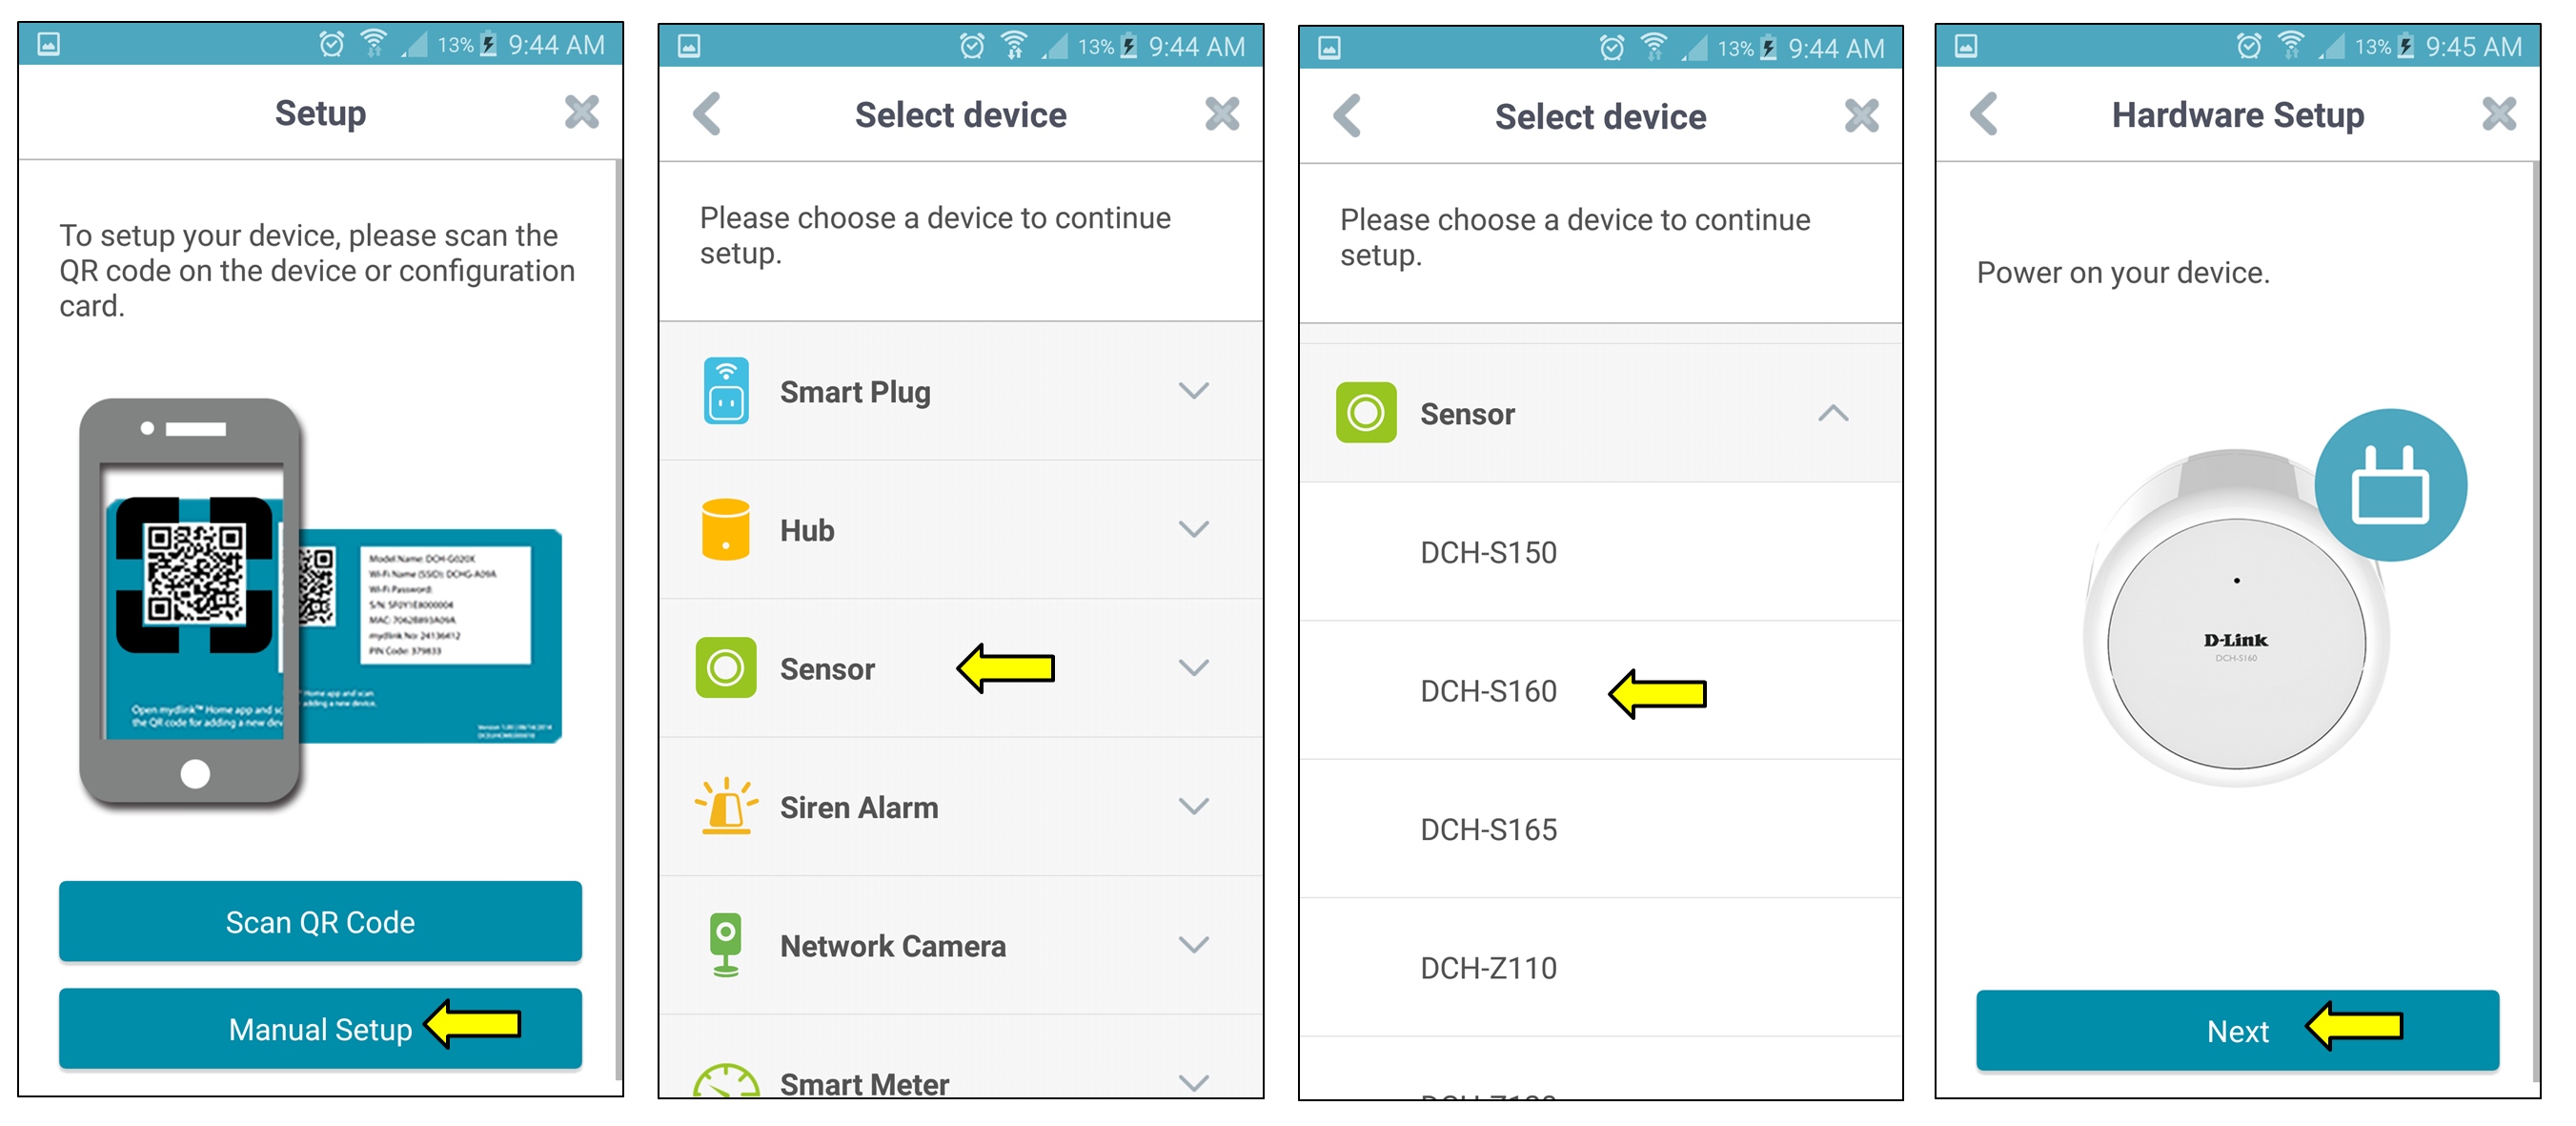
Step 5: Tap Manual Setup > Sensor and select your device.
Step 6: Follow the prompts, selecting WPS. You will be prompted to Press the WPS button on your router, once done, tap WPS to proceed.
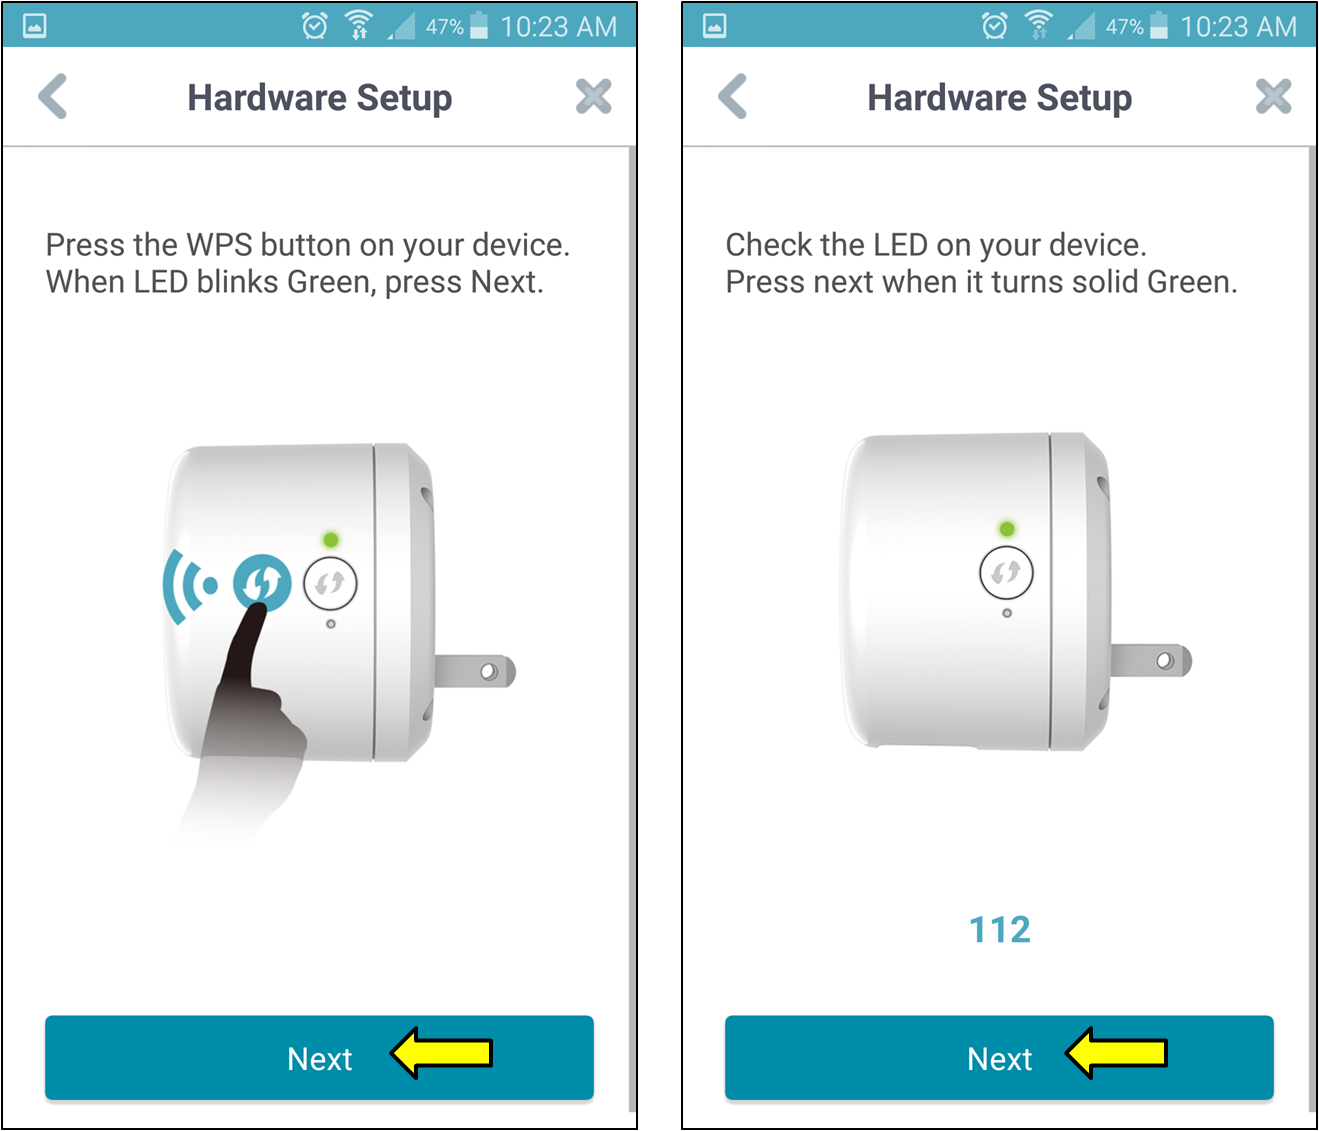
Step 7: Press and hold the WPS button on the side of the DCH-S160 for 3-5 seconds then release. The LED will start to flash, tap Next.
Step 8: When the LED on the DCH-S160 turns solid GREEN, tap Next.
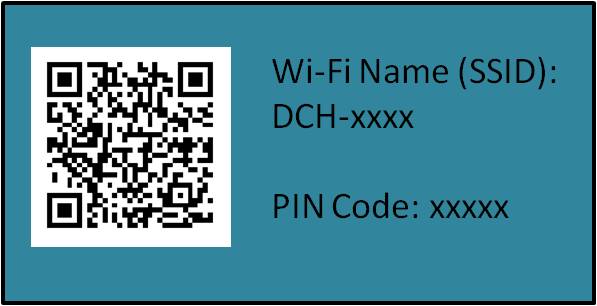
Step 9: Enter the PIN code for the DCH-S160 and click Next. The app will now scan for your DCH-S160 (If the sensor cannot be found, check the LED to ensure that it is solid Green. Also check that your mobile device is connected to the same Wi-Fi network you are trying to connect your DCH-S160 to).
Note: If you did not scan the QR code at the beginning of the setup, you will be prompted to enter the Pin Code of the DCH-S160. (The pin code can be found on the quick install card or on the back of the device)
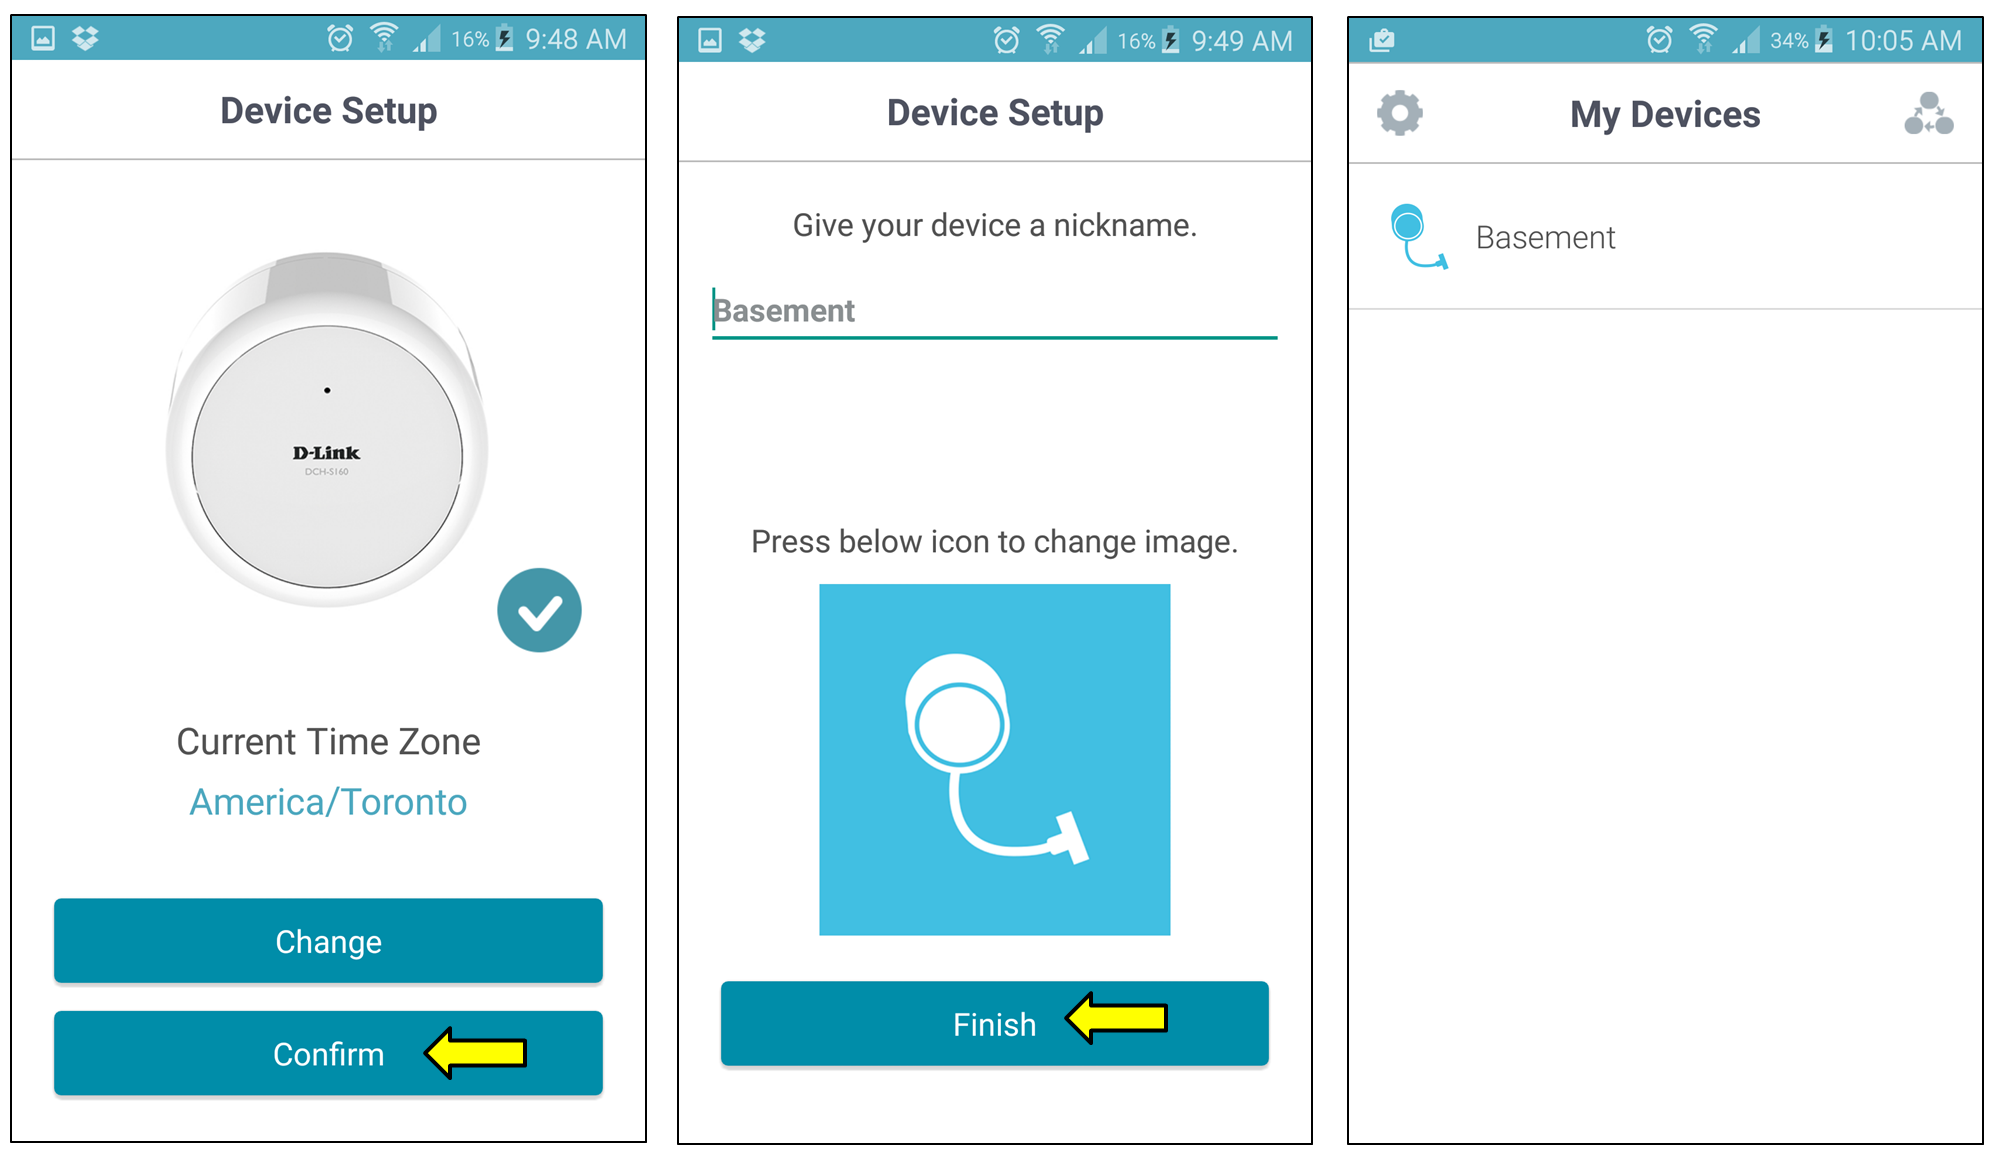
Step 10: Click Confirm to confirm time zone, then enter a name for the device. You can select an image if you want. Tap Finish.

Setup is Complete
Manual
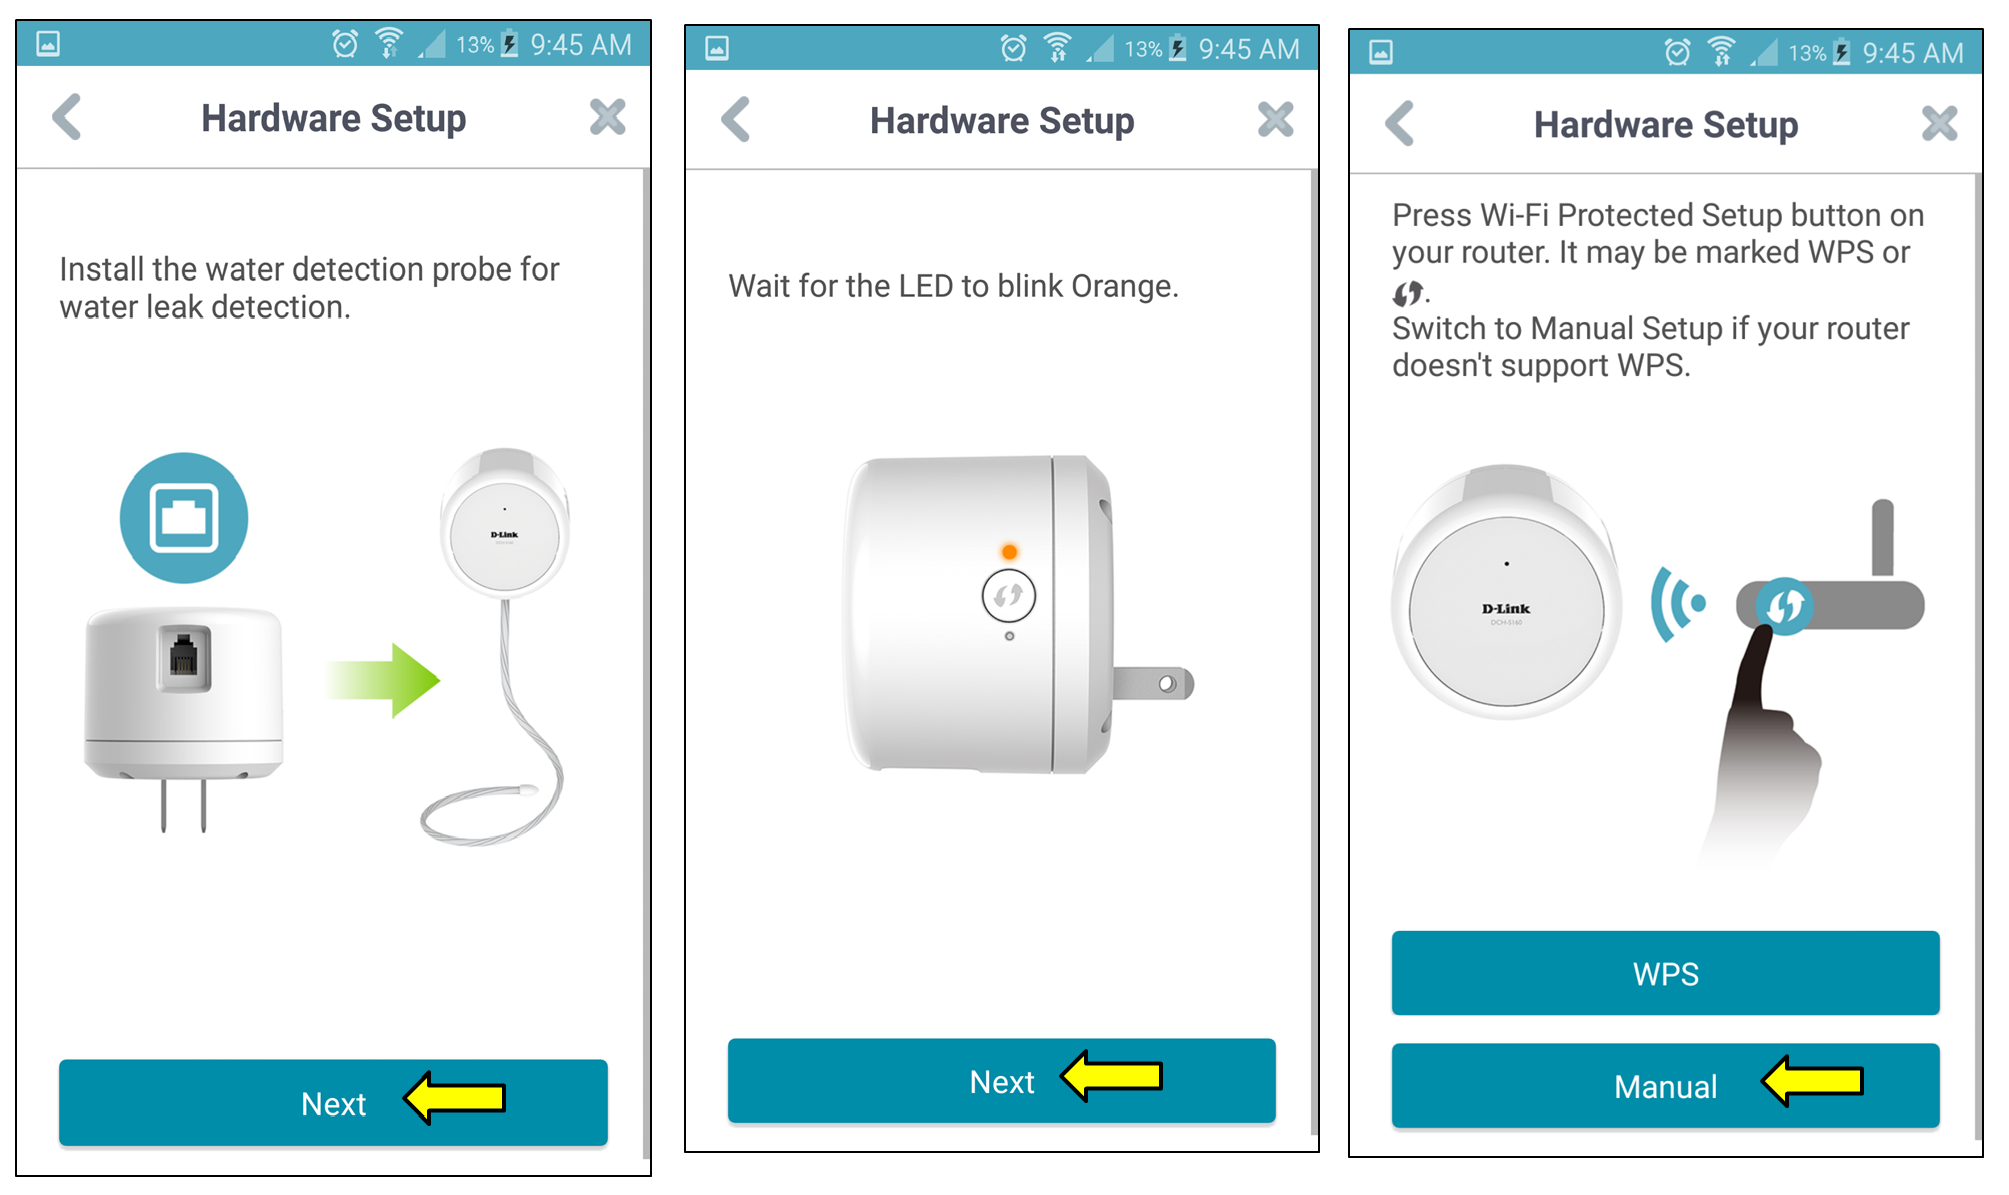
Step 1: Plug in the DCH-S160, the LED on the side will turn RED, and then will flash ORANGE (If the light turns green, it means sensor is connected to your network).
Step 2: Download and launch the mydlink Home app.
Step 3: Sign in to your existing mydlink account, or create a new account.
Step 4: Tap the gear icon at the top left and tap Add New Device.
Step 5: Tap Manual Setup > Sensor and select your device.

Step 6: Follow the prompts, selecting Manual Setup.
Step 7: Minimize the app and connect to the default wireless signal of your DCH-S160 - e.g. DCH-S160-XXXX (The exact wifi name can be found on the back of the sensor / configuration card.
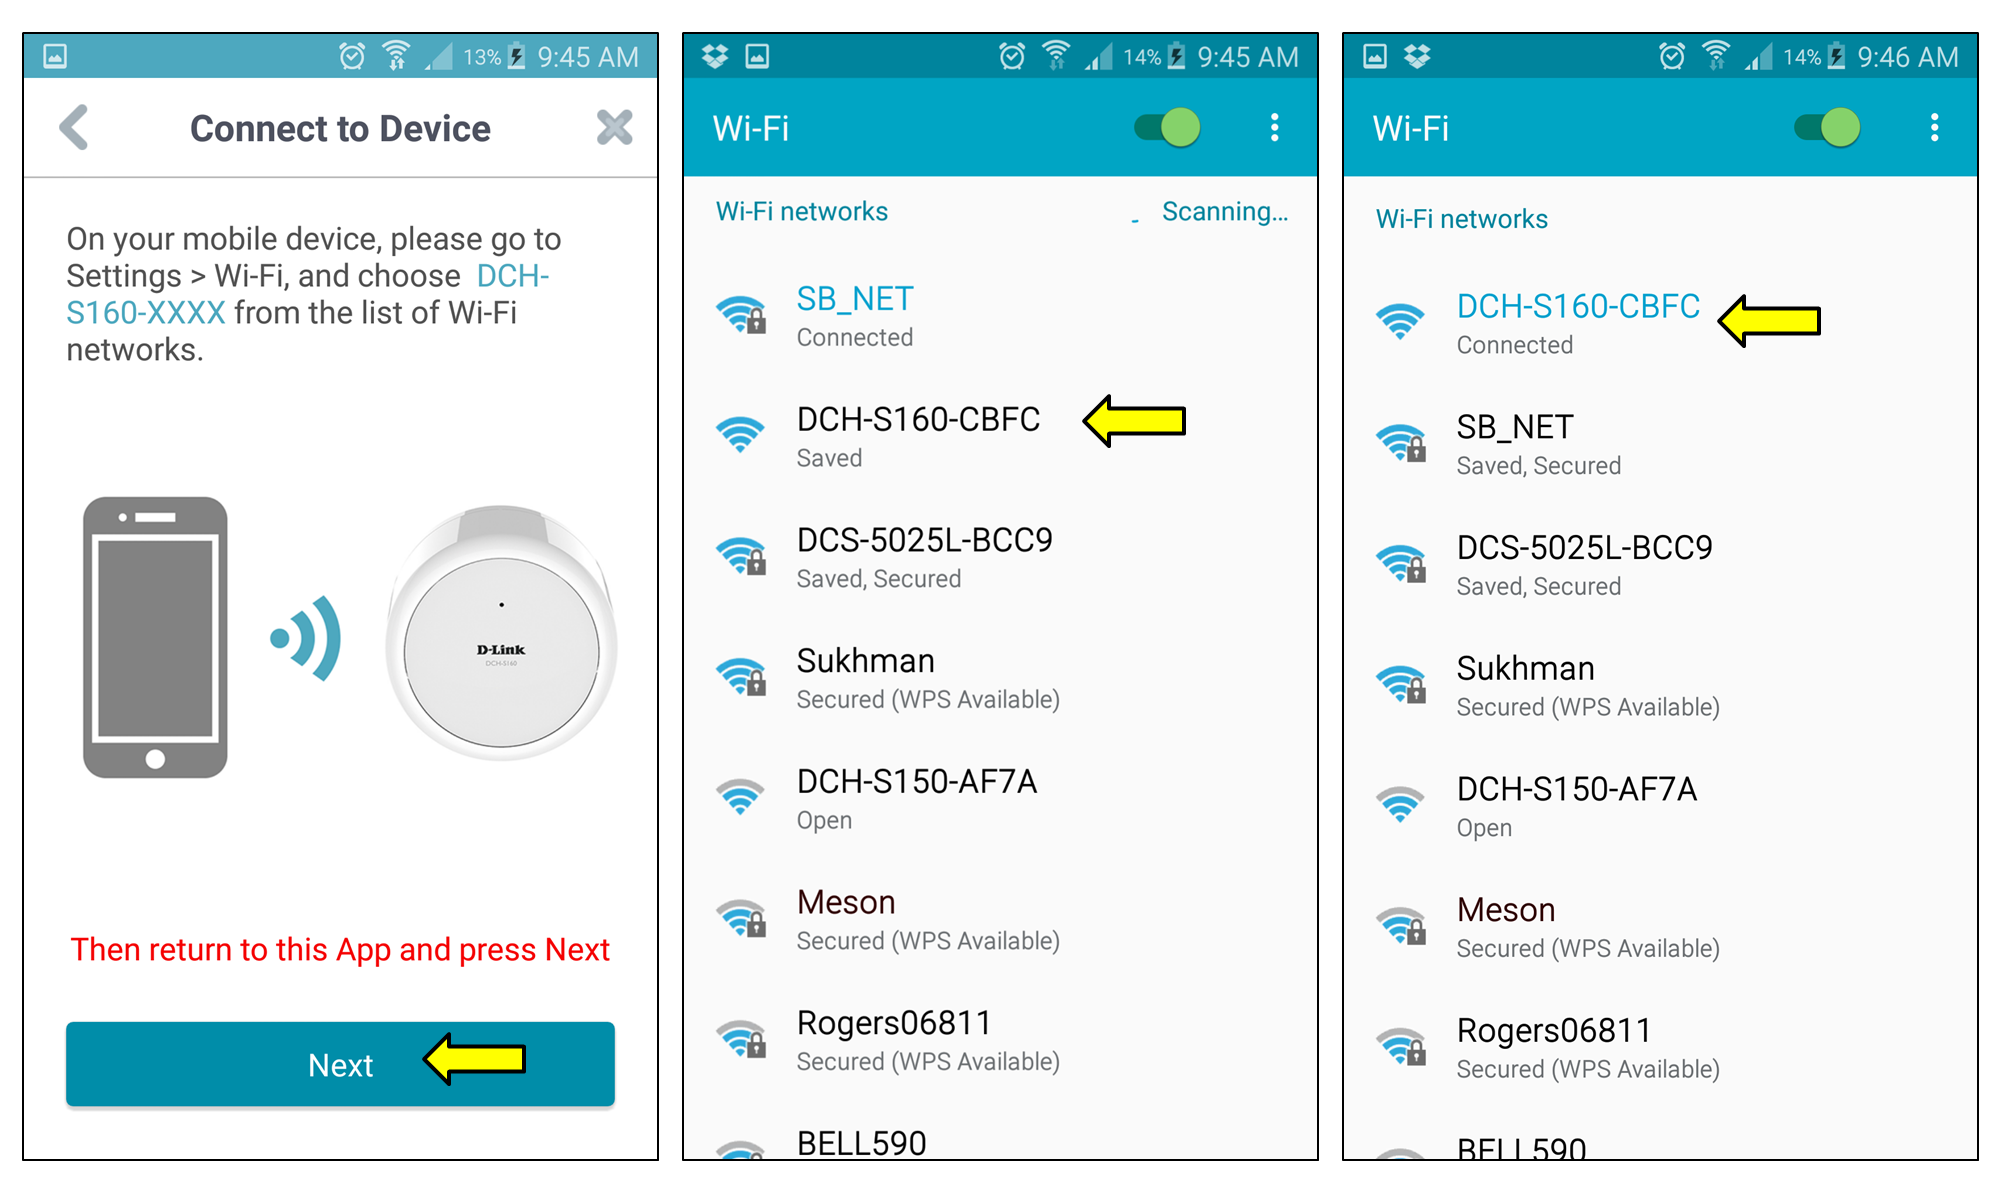
Once connected to the Wi-Fi network, go back into the mydlink Home app to continue.
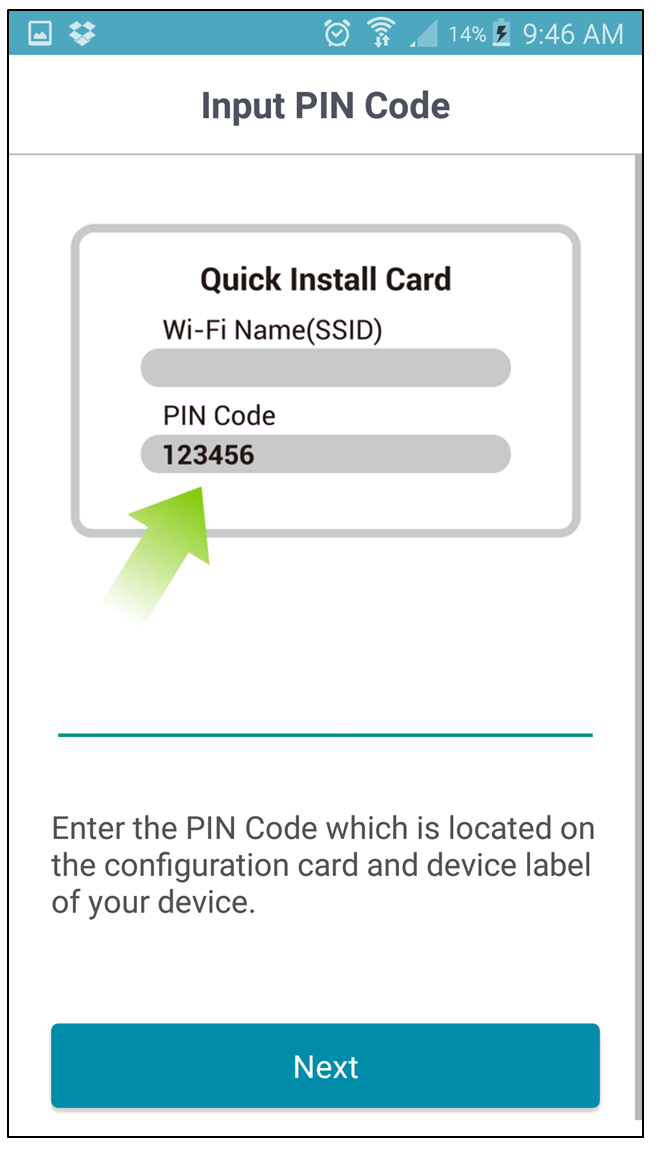
Step 8: Enter the PIN code for the DCH-S160 and click Next. The app will now scan for your DCH-S160 (If the sensor cannot be found, check the LED to ensure that it is solid Green. Also check that your mobile device is connected to the same Wi-Fi network you are trying to connect your DCH-S160 to).
Note: If you did not scan the QR code at the beginning of the setup, you will be prompted to enter the Pin Code of the DCH-S160. he pin code can be found on the quick install card or on the back of the device).
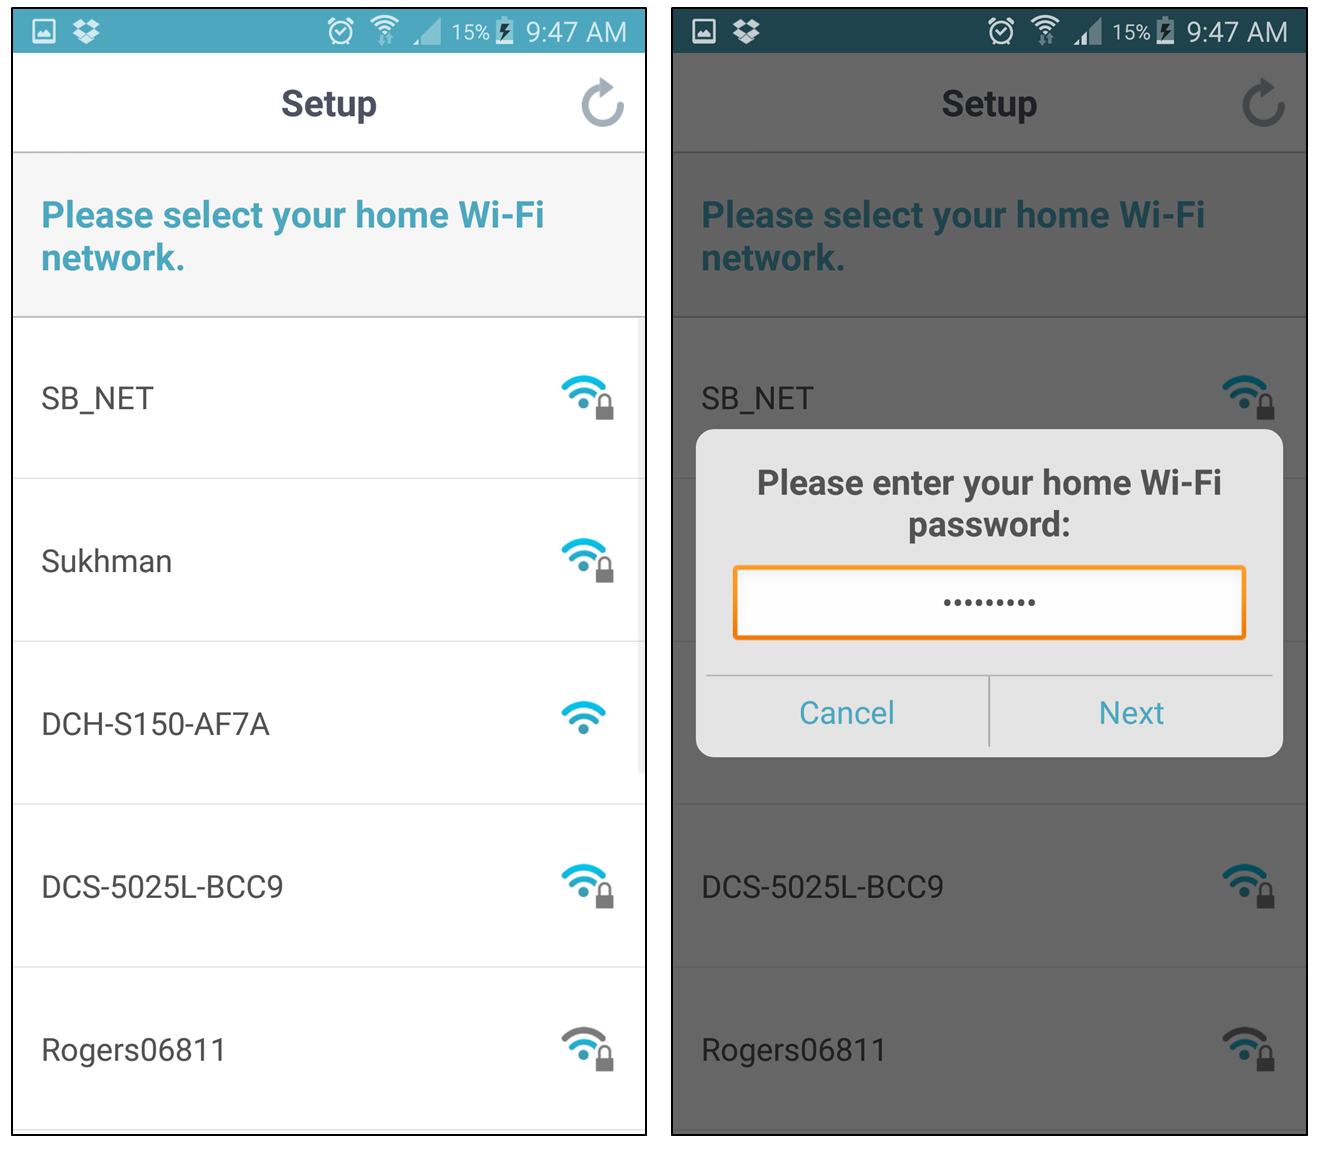
Step 9: The DCH-S160 will scan for available wireless networks. Select the wireless network you want to connect the sensor to and enter its wifi password if applicable.
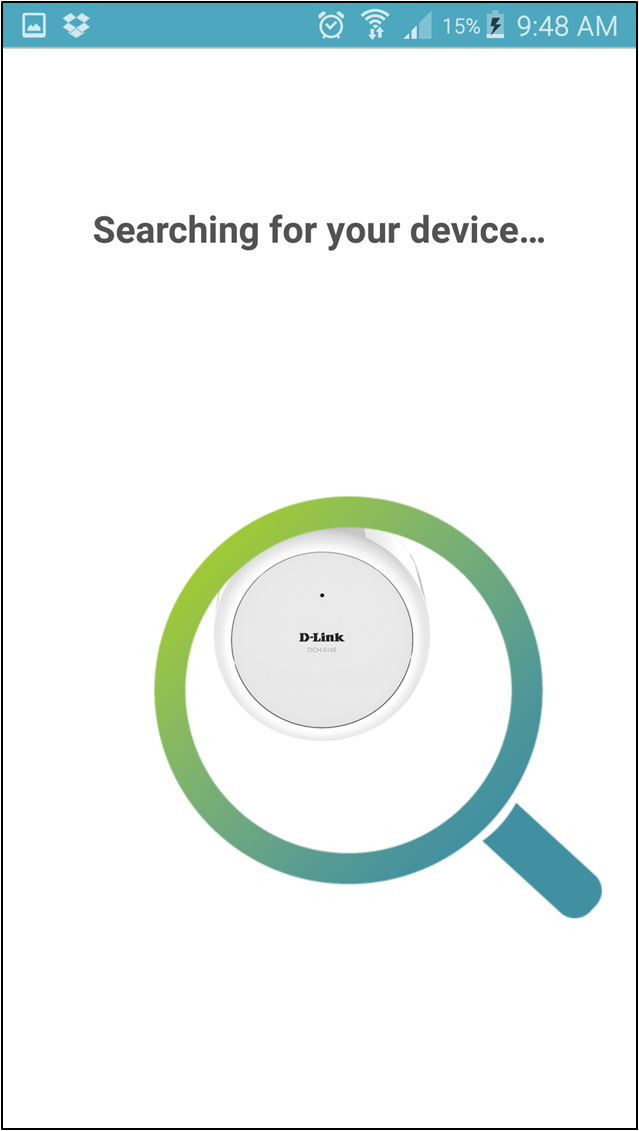
Step 10: The DCH-S160 will attempt to connect to the wireless signal. Once connected, the Status LED on the side should turn solid GREEN.
Step 11: The app will now scan for your DCH-S160.
Note: If the sensor cannot be found, check the LED to ensure that it is solid Green. Also check that your mobile device is connected to the same Wi-Fi network you are trying to connect your DCH-S160 to.
Step 12: Click Confirm to confirm the Time Zone then enter a name for the device. Select an image if you want and then tap Finish.
Setup is complete