Step 1 - Connect the DAP-1513 to your computer using the supplied Ethernet cable. Once you configure the device, you can place it into your network.
Note: To login to your DAP-1513, you must statically assign an IP address (192.168.0.x where x is between 2 and 254, and not 50) on your computer. Refer to the Networking Basics section in the user manual located on the supplied CD for more information.
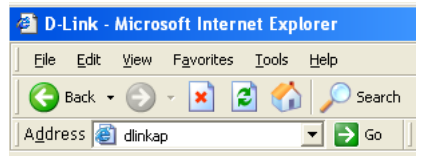
Step 2 - To access the configuration utility, open a web browser such as Internet Explorer and enter dlinkap or 192.168.0.50 in the address field.
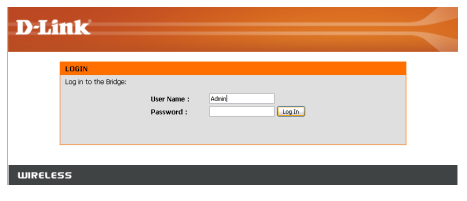
Step 3 - Type Admin and then enter your password. Leave the password blank by default.
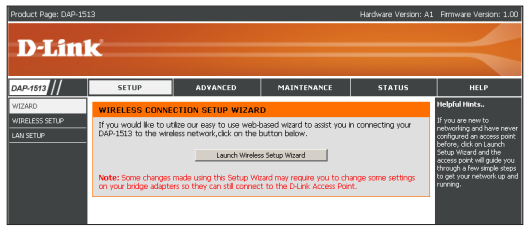
Step 4 - Once you login, click Launch Wireless Setup Wizard to configure your DAP-1513.
Step 5 - Enter a name for your device. This is helpful if you have multiple DAP-1513s on your network. Click Next to continue.
Step 6 - Once you are finished configuring your DAP-1513, you may disconnect the Ethernet cable and place it in your network. Also, change your IP settings on your computer back to the original values.