Note: This FAQ will demonstrate how to set up port mapping for remote desktop to a computer running on the LAN port with a private IP address of 192.168.1.2, or 192.168.10.2 (depending on your firewall product).
Step 1: Open the web browser and type the IP address of the firewall into the address bar, and press Enter. Default IP address for the firewall is:
DFL-210/260/800/860/1600: 192.168.1.1
DFL-260E/860E/1660: 192.168.10.1
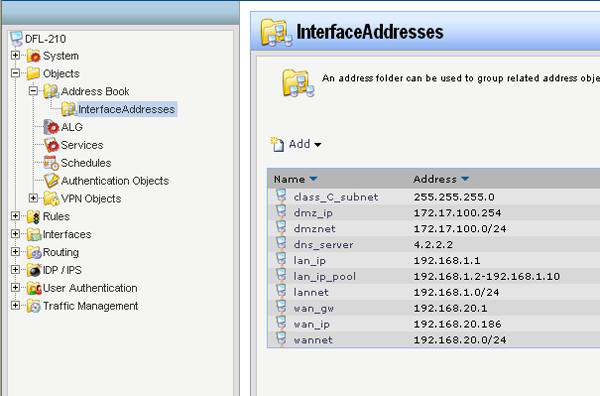
Step 2: Click on the plus sign next to Objects, select Address Book, and then select Interface Addresses.
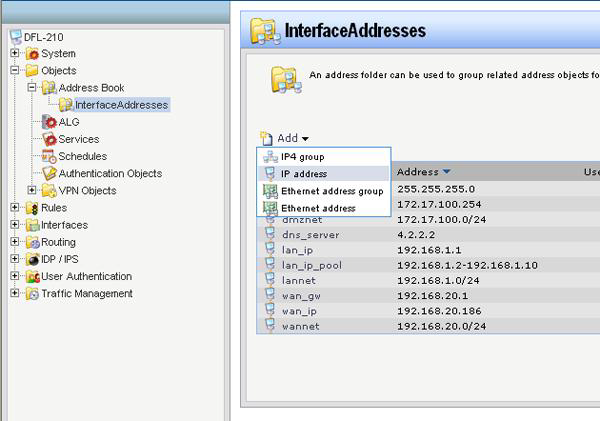
Step 3: Click on Add and select IP address from the drop-down menu.
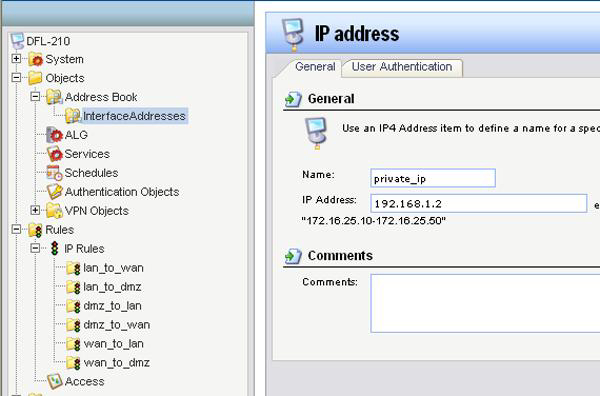
Step 4: Configure the IP address as followed:
- Name: Name as desired (private_ip in this example).
- IP Address: IP address of the computer that is going to be mapped.
Click on OK.
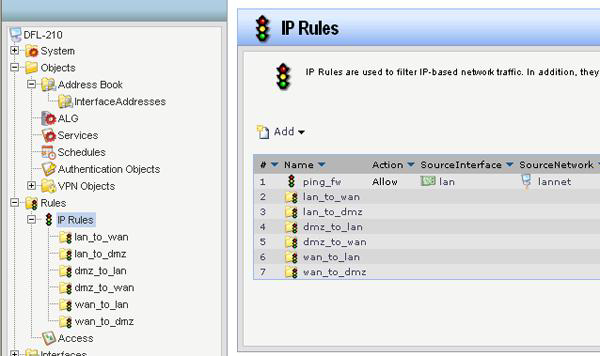
Step 5: Click on the plus sign next to Rules and then select IP Rules.
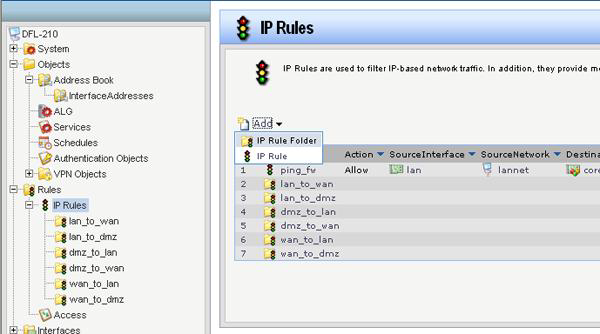
Step 6: Click on Add and then select IP Rule Folder from the drop down menu.
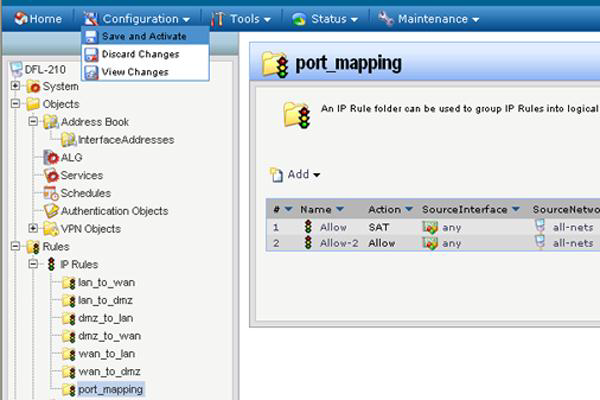
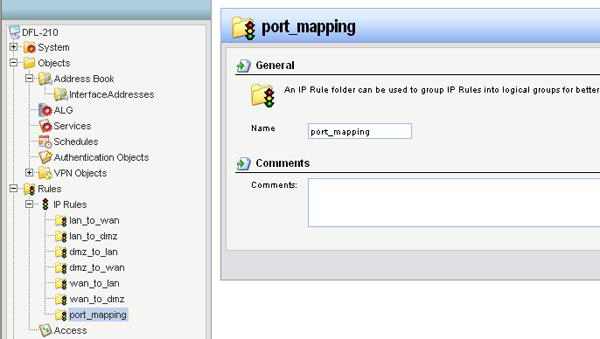
Step 7: Enter a name as desired (port_mapping in this example) and then click on OK.
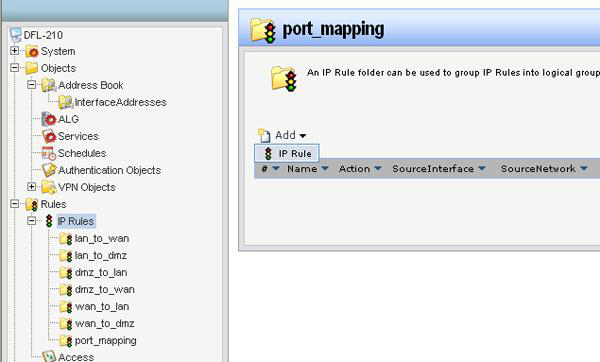
Step 8: Click on Add and select IP Rule from the drop-down menu.
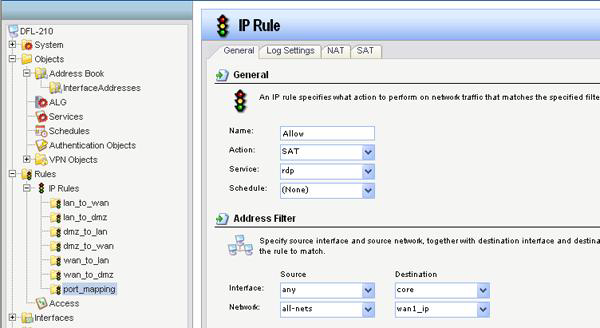
Step 9: Create the IP Rule as followed:
- Name: Name as desired
- Action: SAT
- Service: rdp
- Schedule: None
- Source interface: any
- Source network: all-nets
- Destination interface: core
- Destination network: wan1_ip
Note: If WAN1 is configured for DSL(PPPoE) or DHCP, select ip_wan1 as the Destination Network. If WAN1 is configured for Static, select wan1_ip as the Destination Network
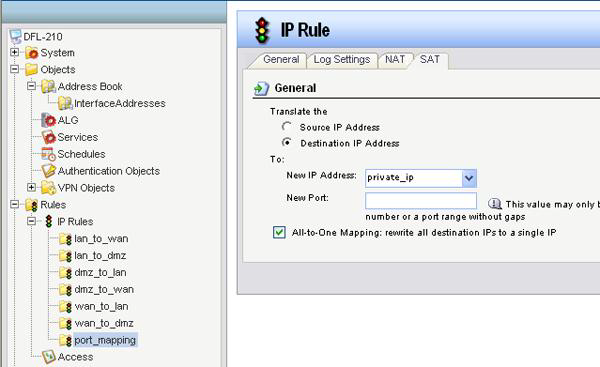
Step 10: Click on the SAT tab and under New IP Address select private_ip (as created in Step 4) from the drop-down menu. Check the box labeled All-to-One mapping: rewrite all destination IPs to a single IP and then click on OK.
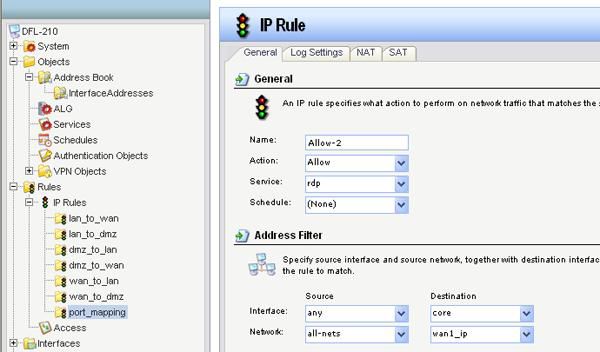
Step 11: Click on Add to create another IP Rule and configure it as followed:
- Name: Name as desired
- Action: Allow
- Service: rdp
- Schedule: None
- Source interface: any
- Source network: all-nets
- Destination interface: core
- Destination network: wan1_ip
Click on OK.
Step 12: Click on the Configuration tab and select Save and Activate from the drop-down menu. Click on OK to save and activate your changes.