Step 1: Open a web browser and type the IP address of the firewall into the address bar (default is 192.168.1.1). Press Enter.
Step 2: The default username is admin (all lower case) and the password is admin (all lower case). Click on OK.
Step 3: Click on the plus sign next to Objects and then select Application Layer Gateways.
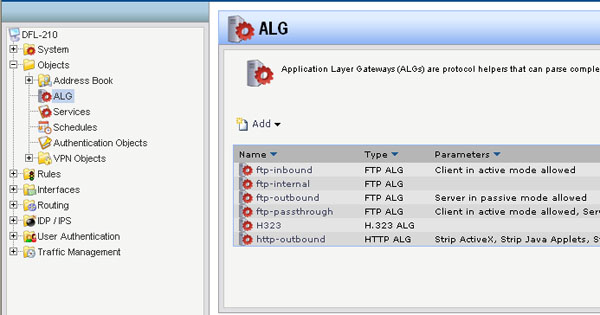
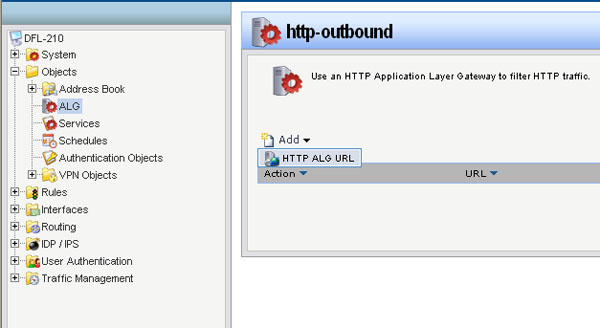
Step 4: Select http-outbound, click on Add, and then select HTTP ALG URL.
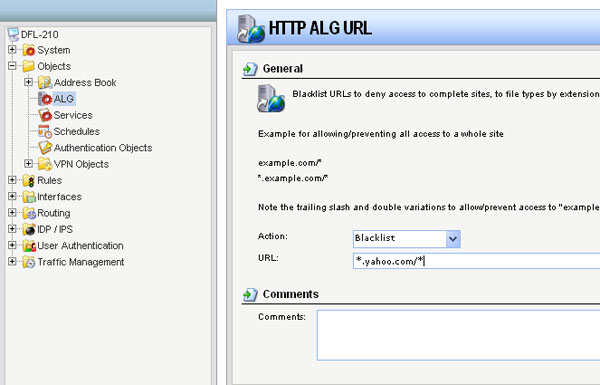
Step 5: Create the Content Filtering list as followed:
- Action: Blacklist
- URL: Key in desired filter URL in the format of Asterisk,dot,yahoo.com, forward slash, asterisk (*.yahoo.com/* in this example)
Click on OK.
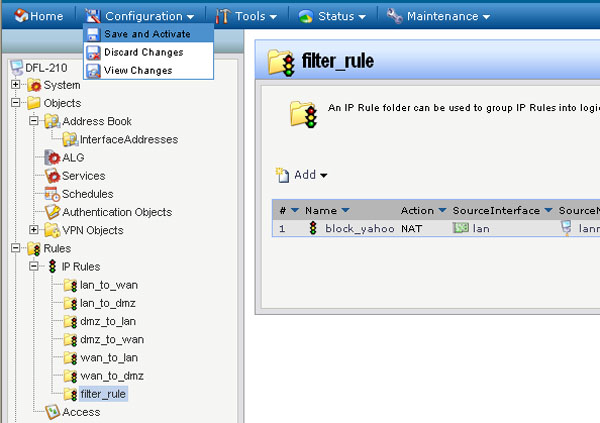
Step 6: Click on the plus sign next to Rules, select IP Rules, click on Add, and then select IP Rule Folder.
- Name: name the folder as desired
Click on OK.
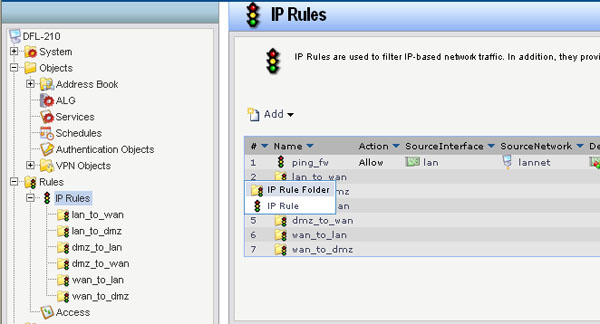
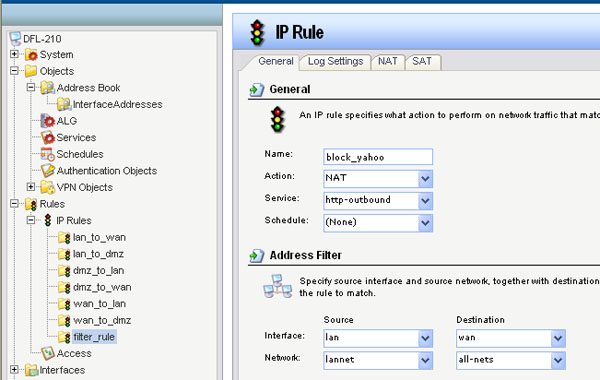
Step 7: Click on Add and select IP Rule and configure as followed:
- Name: name as desired
- Action: NAT
- Service: http-outbound
- Schedule: None
- Source Interface: lan
- Source Network: lannet
- Destination Interface: wan
- Destination Network: all-nets
Click on OK.
Step 8: Click on the Configuration tab and select Save and Activate from the dropdown menu. Click on OK to activate and save your changes.