Some D-Link adapters require you to install D-Link drivers and some require you to just plug the adapter into your computer to have it automatically install. Please select your adapter model below and follow the correct installation method:
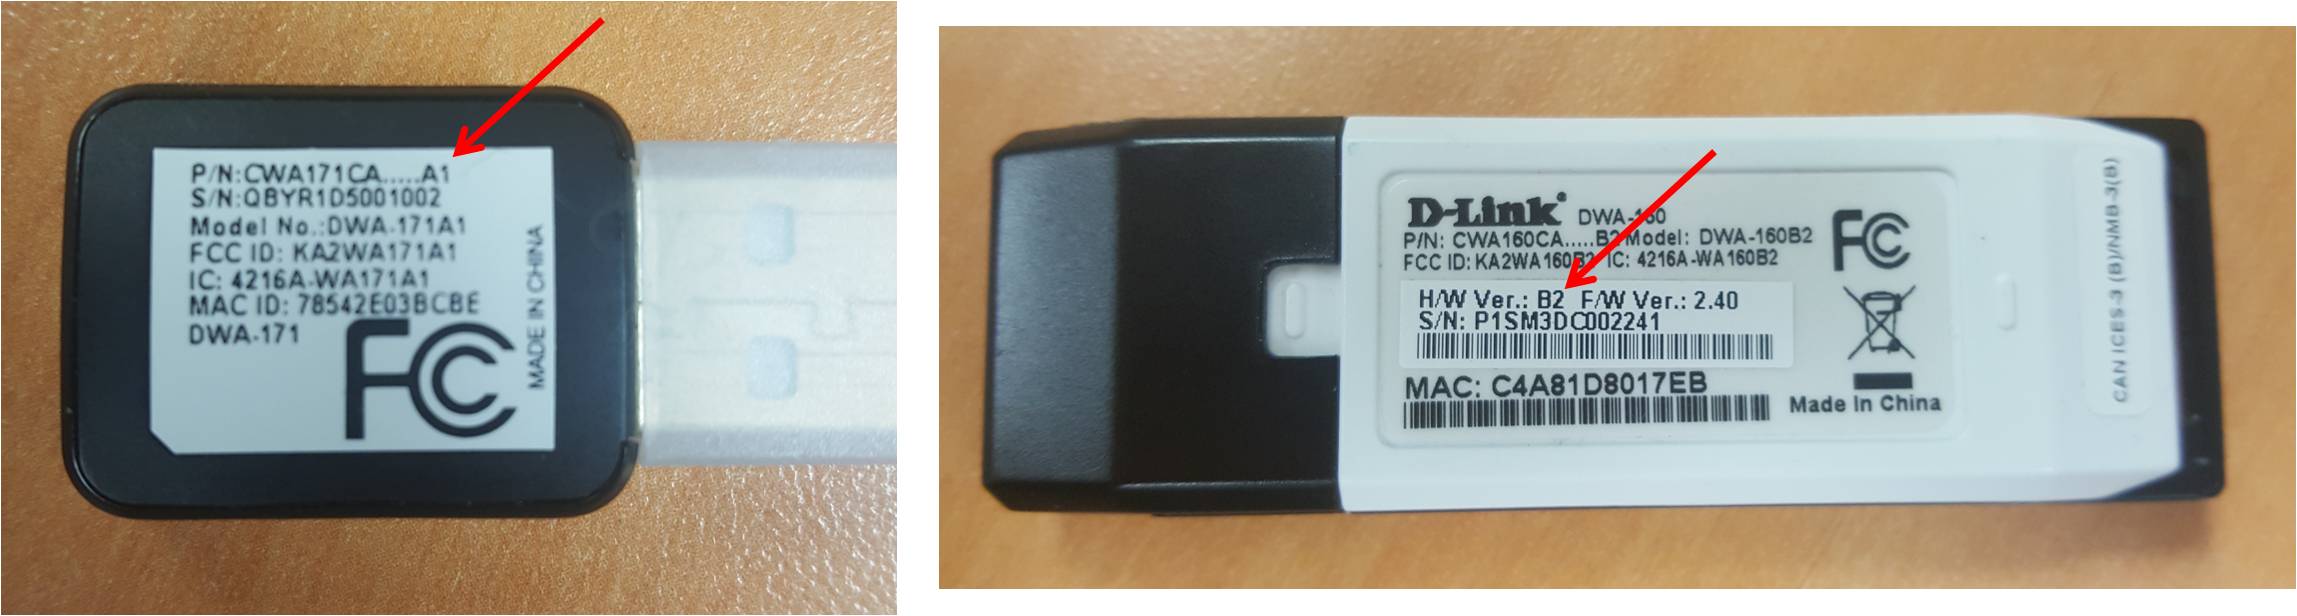
Important: Please note the correct hardware version. It will be located on the back of your adapter marked with H/W.
Wireless Adapters
DWA-125
DWA-130
DWA-131
DWA-160
DWA-162
DWA-171
DWA-180
DWA-182
DWA-192
DWA-525
DWA-548
DWA-552
DWA-566
DWA-582
Ethernet Adapters
DUB-E100
DUB-1312
USB Plug n Play Installation Steps
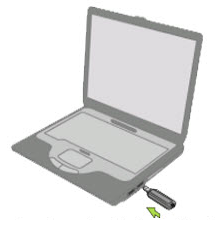
Step 1: Plug the adapter into your computer.
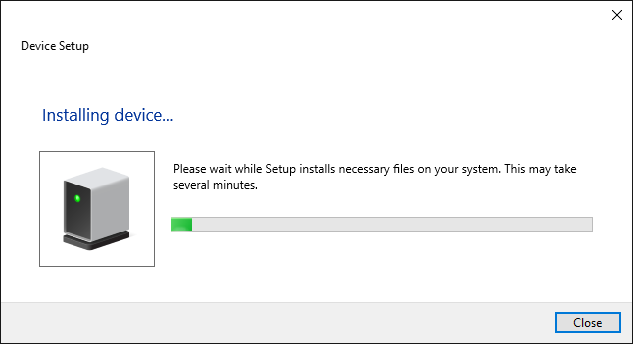
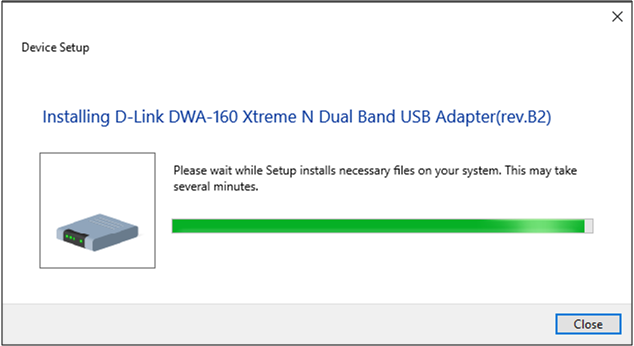
Step 2: Windows will automatically start installing the drivers.
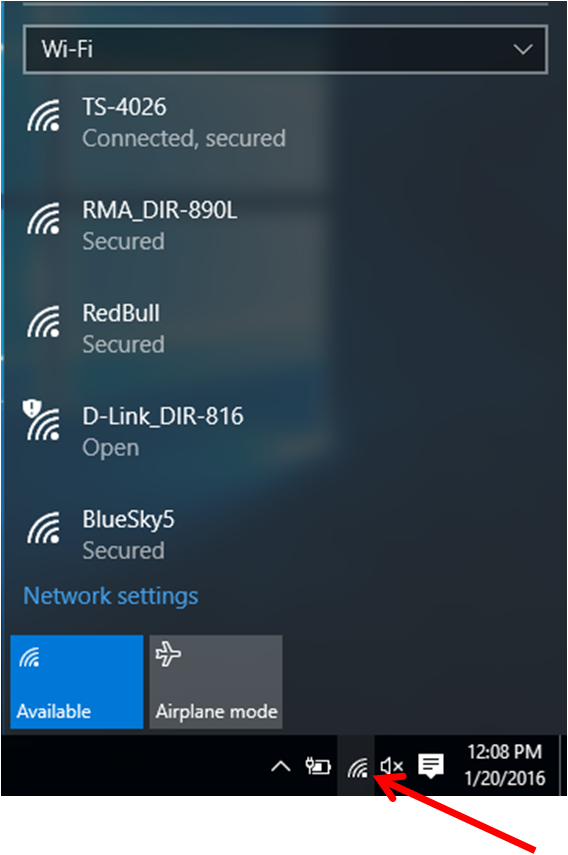
Step 3: Once complete, at the bottom right corner of your screen, click on the wifi icon to scan and connect to your wireless network.
PCI Plug and Play Installation Steps
Step 1: Power down your computer, unplug it, and insert the adapter.

Step 2: Power on the computer and log into Windows.
Windows should automatically detect the adapter and start installing your adapter.
Step 3: Once complete, at the bottom right corner of your screen, click on the Wi-Fi icon to scan and connect to your wireless network.
Installing the D-Link Driver
Step 1: Download the correct driver for your wireless adapter. Go to http://support.dlink.com and search for your model adapter. From the product page, click the Downloads tab and download the latest version.
Step 2: Plug the adapter into your computer.
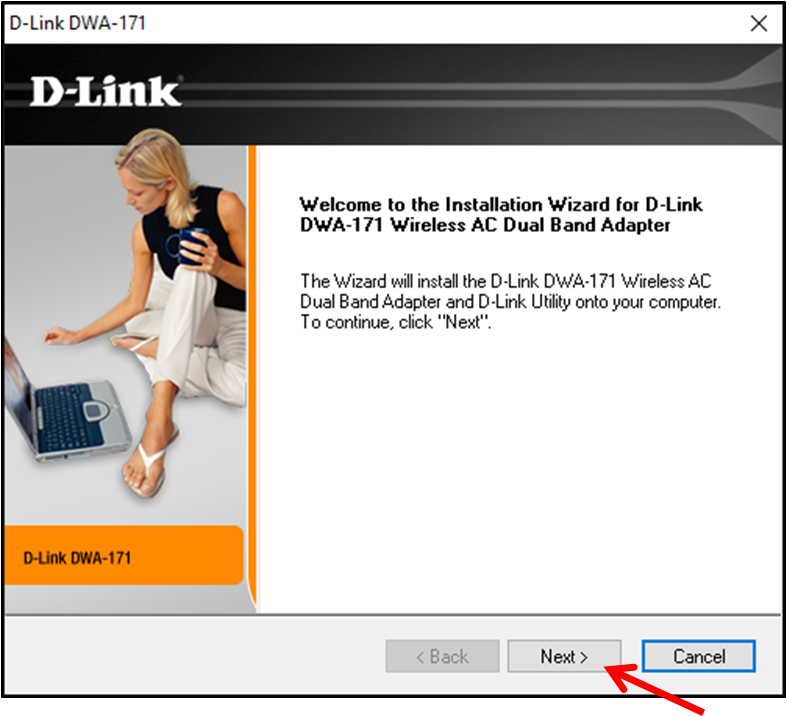
Step 3: Launch the setup installer - Click Next to begin.
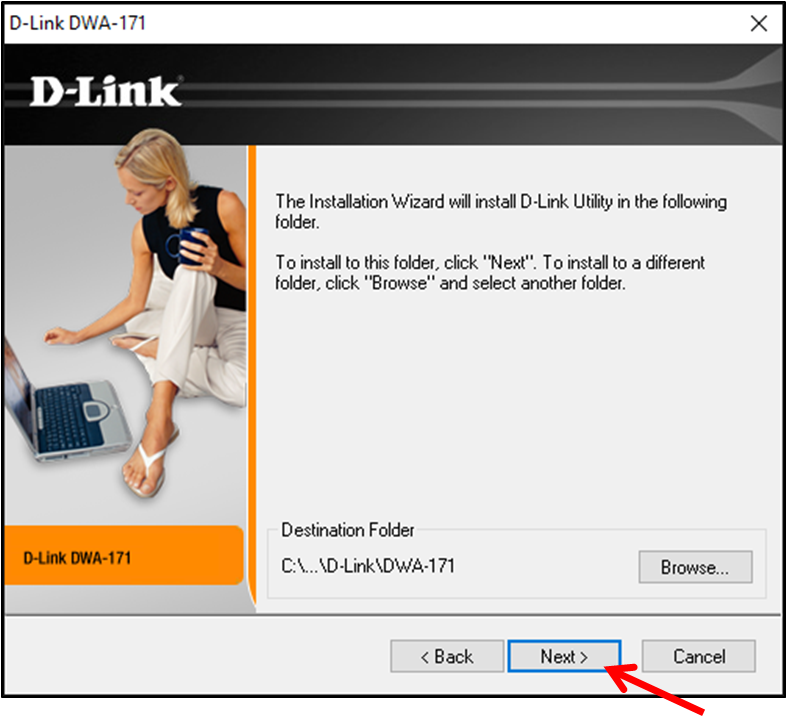
Step 4: Click Next.
Step 5: Click Next.

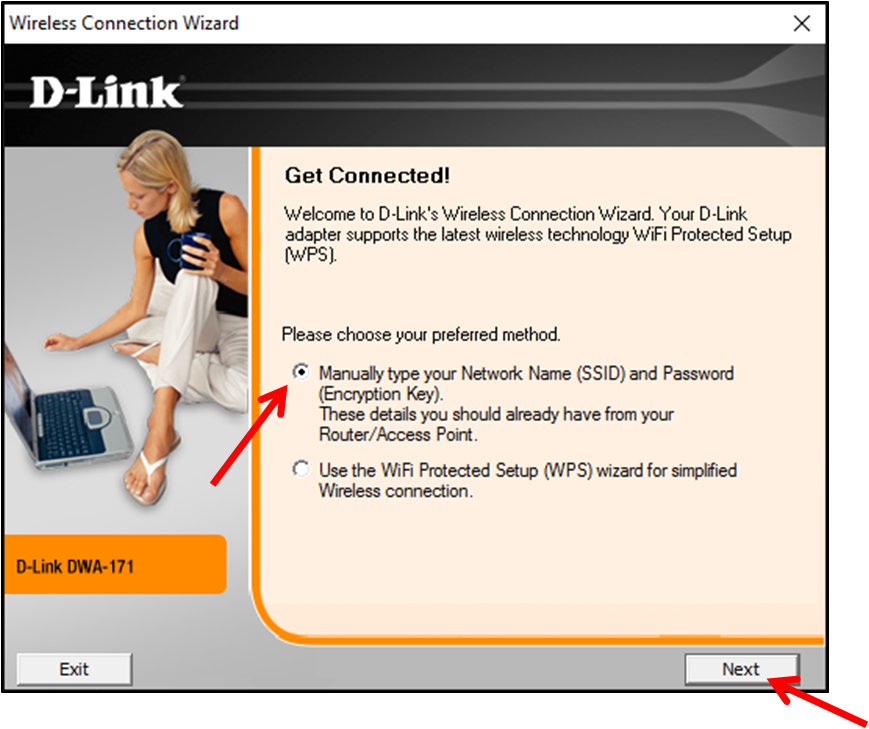
Step 6: Select the method for connecting to your wireless signal and click Next.
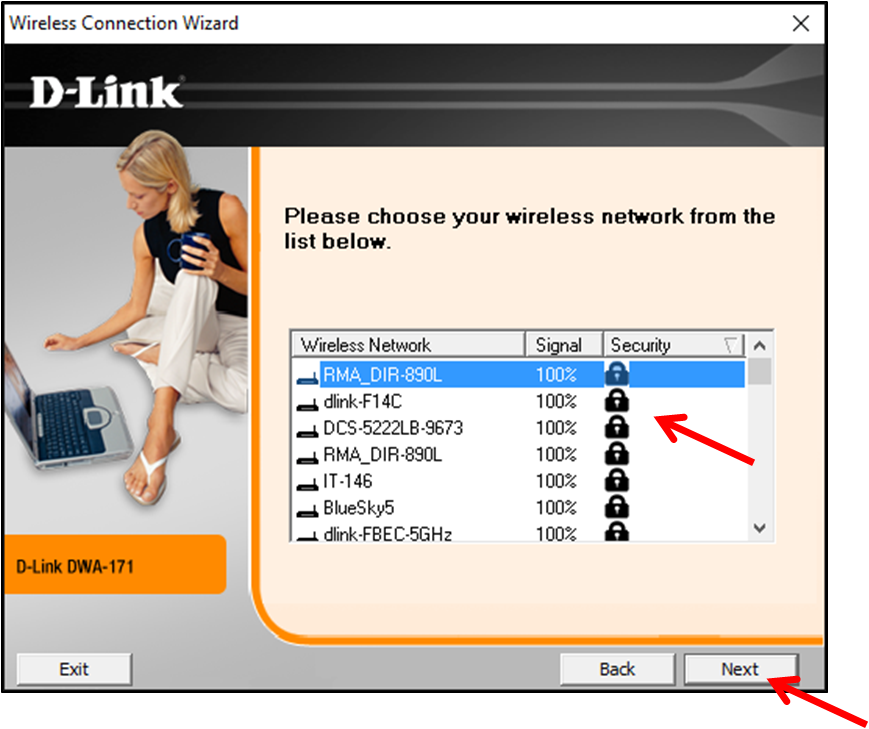
Step 7: Click on the Scan button to scan for your wireless network.

Step 8: Select your wireless network and click Next.
Step 9: If your wireless network is security enabled (Password Protected) you will be prompted to enter your wireless password. Enter it and click Next.

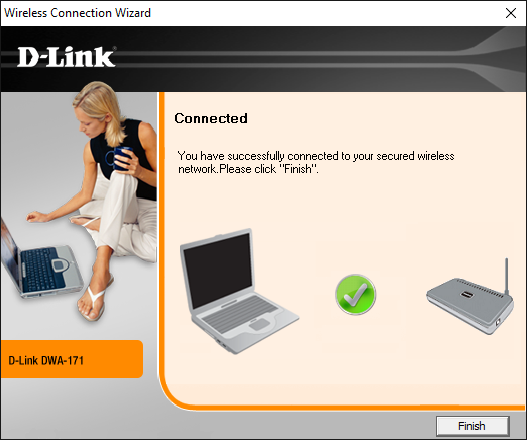
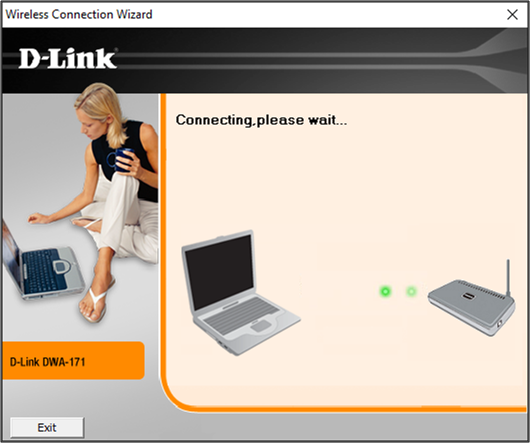
Step 10: The adapter will now connect to your wireless network.
Step 11: You should now be connected to your network and the setup and installation is complete.