Method 1
To be used if your D-Link Cloud Camera is already registered with mydlink Cloud Service.
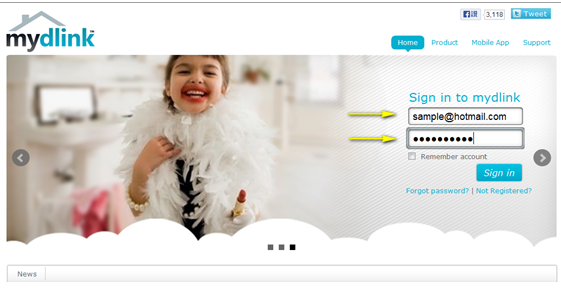
Step 1: Open your web browser and enter http://www.mydlink.com/

Step 2: Enter your ID (email) and password at the login screen and click Sign in.
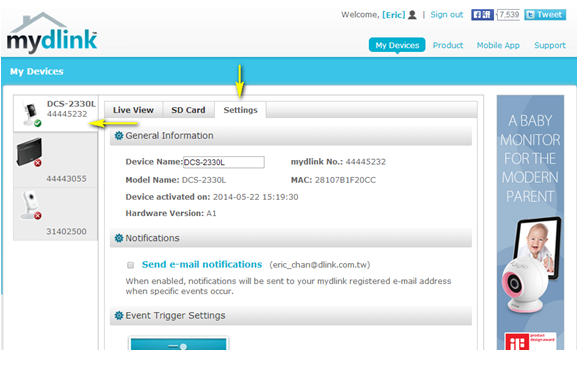
Step 3: Select the camera and click on Settings.
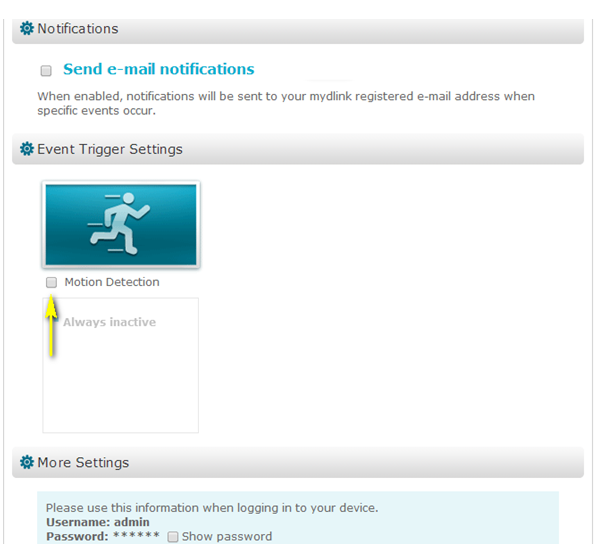
Step 4: Select the Motion Detection checkbox and click on the motion detection icon.
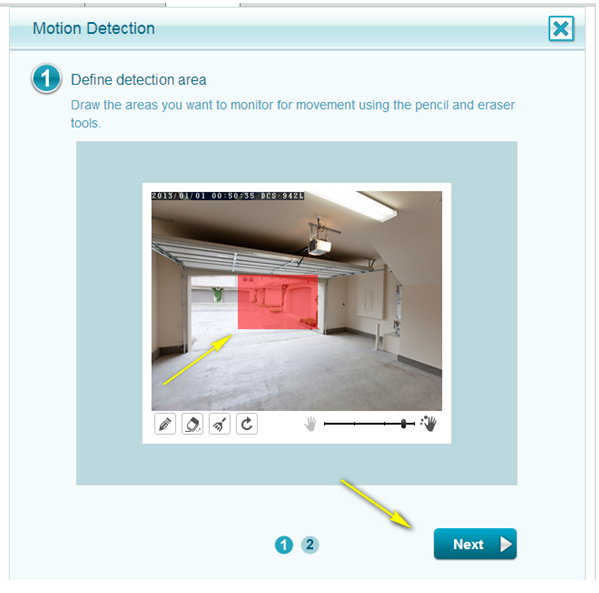
Step 5: Use your mouse and the drawing tools to select the detection area, and select the desired sensitivity level using the slider on the bottom right-hand side of the page.
Click Next to continue.
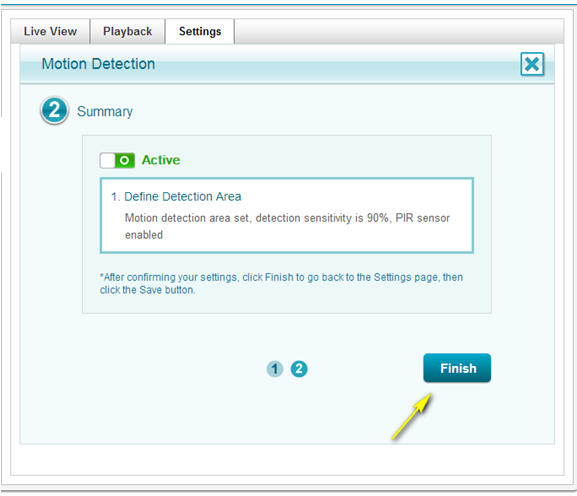
Step 6: Click on Finish to save the current motion detection configuration.
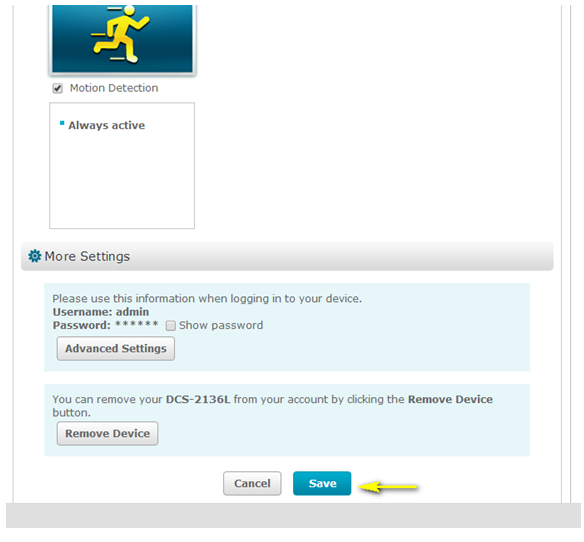
Step 7: Click Save.
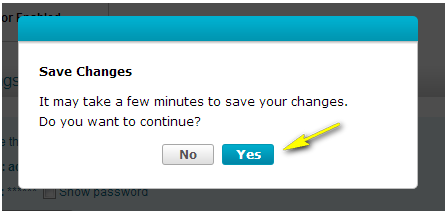
Step 8: Click on Yes to confirm saving changes.
Method 2:
Step 1: Open a web browser and enter the IP address of your camera in the address bar (default is 192.168.0.20). If you do not know the IP address of your camera, please refer to the section entitled “How do I find the IP address of my DCS-2330L and access the web-based user interface?” in this FAQ. Press Enter.
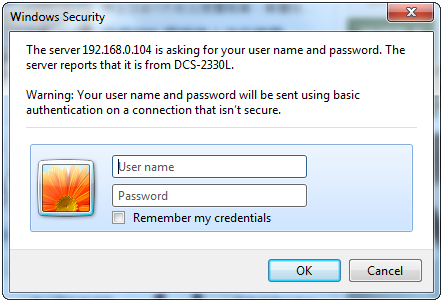
Step 2: The User Name for the administrator account is admin. Enter your administrator password in the Password field. If you have not changed this from the default, leave this field blank. Click OK.
Step 3: Click on Setup from the menu at the top of the page.
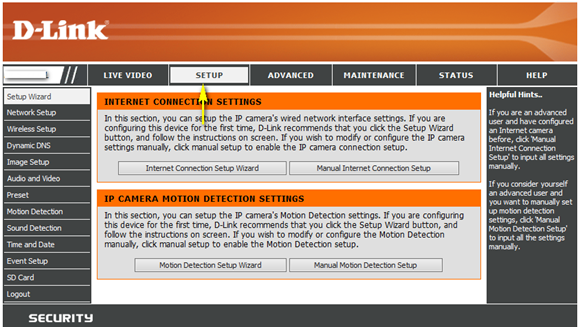
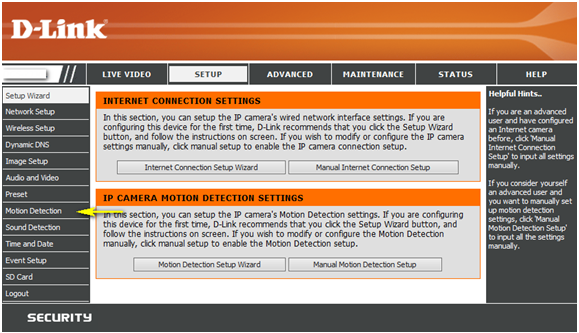
Step 4: Click Motion Detection on the menu at the left-hand side of the page.
Step 5: Check the Enable Video Motion checkbox to turn on software-based motion detection. If you wish to use the built-in PIR sensor to detect motion, check the Enable PIR checkbox. Click and drag your mouse over the video to select an area for motion detection. You can also specify the Sensitivity of the motion detection feature, as well as the Percentage of the motion detection area which must contain motion before an alert is triggered.
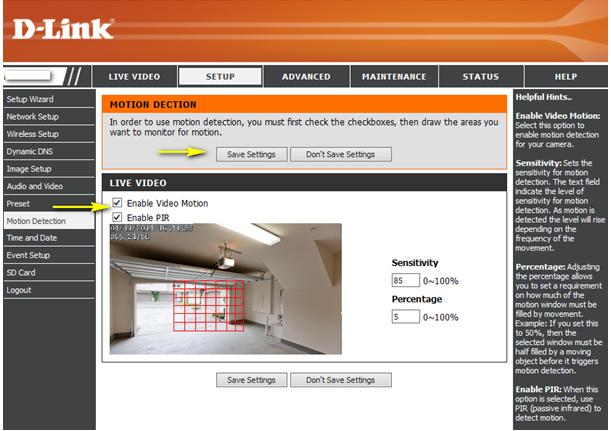
Step 6: Click the Save Settings button to save the new settings.