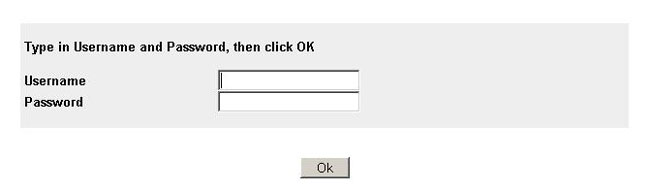
Step 1: Log into the switch by entering its IP address into your web browser. The default username is admin with no password.
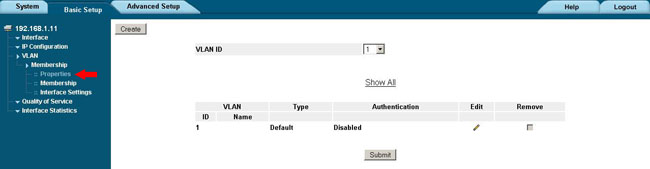
Step 2: Click the Basic Settings Tab. Click on the VLAN->Membership->Properties menu. Then click the Create button.
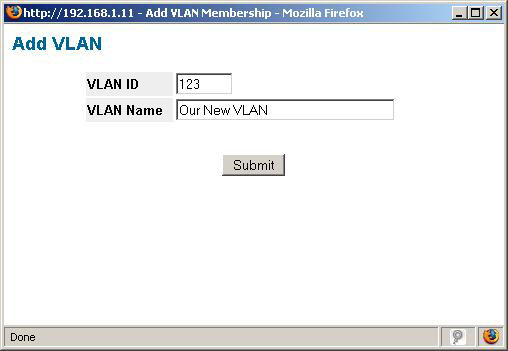
Step 3: Enter the desired VLAN ID and VLAN Name and click the Submit button. The VLAN ID can be any number 2-4096 and the VLAN Name can be anything you like.
Step 4: Click on the VLAN->Membership->Membership menu. Select your VLAN ID from the dropdown menu.
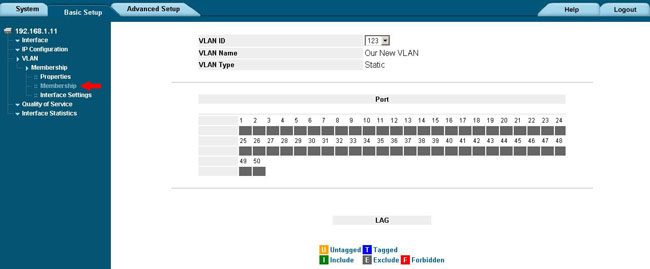
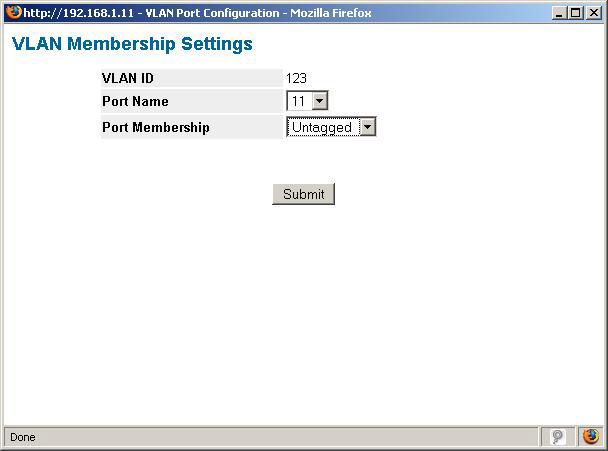
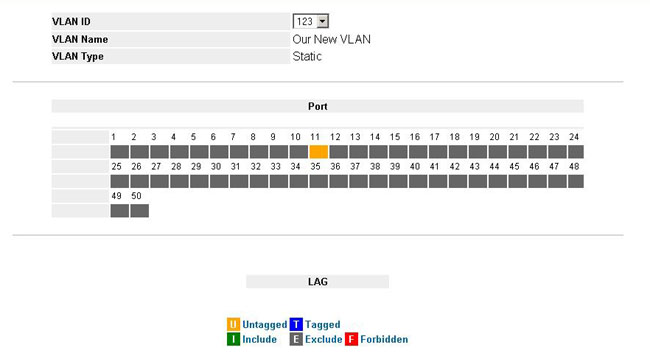
Step 5: Click on the port number for a port you wish to be in your new VLAN. Select the desired port membership mode and then click Submit. Repeat this step for every port in the new VLAN.
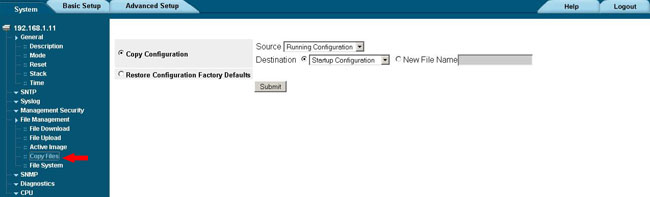
Step 6: Select the System tab and choose the menu File Management->Copy Files and copy the Running Configuration to the Startup Configuration and click Submit to save your new settings.