Step 1: Open a web browser and enter http://dlinkrouter.local. or http://192.168.0.1 into the address bar.
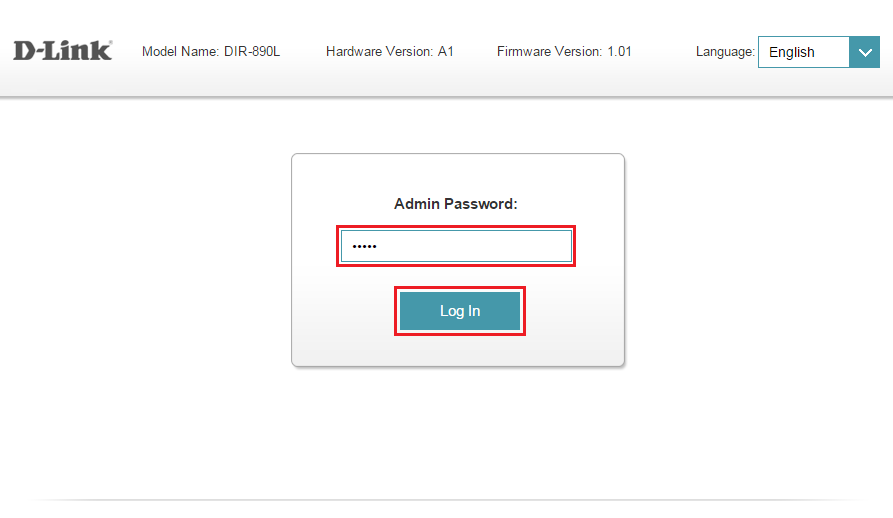
Step 2: Enter your password and click Log In.
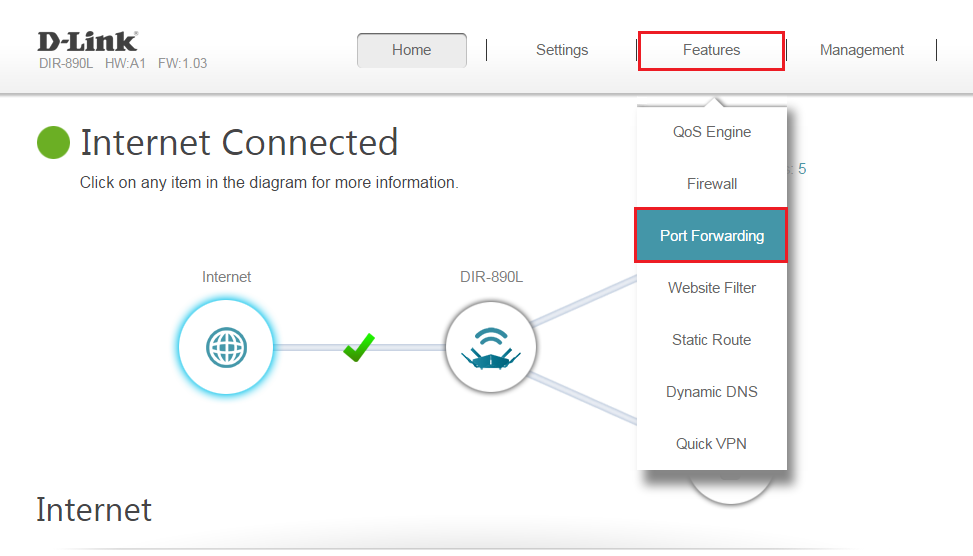
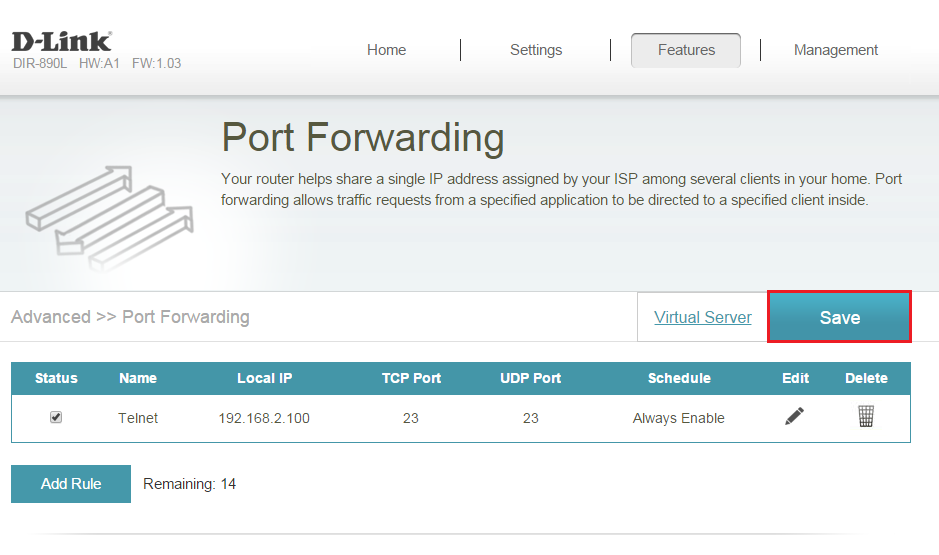
Step 3: Go to the Features tab and then click Port Forwarding from the drop-down menu.
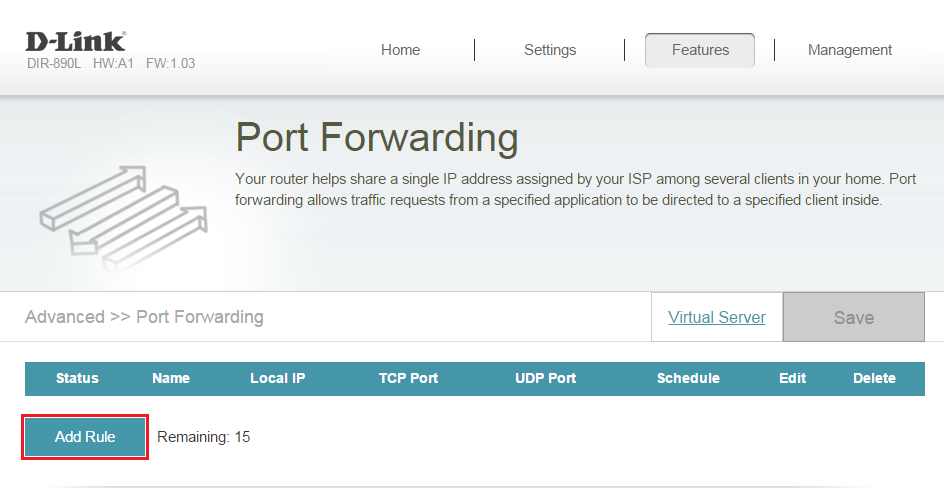
Step 4: Click Add Rule.
Step 5: A pop-up window will appear for you to configure the port forwarding rule. Enter the following information then Click Apply :
Name: Enter a name for the rule. (NOTE: if you are creating more then one rule, each rule will need to have a unique name)
Local IP: Enter the IP address of the computer on your local network that you want to allow the incoming service to. Alternatively, if the computer is currently connected to the router as a DHCP client, select the device from the drop-down menu.
(Warning: DHCP Clients are not always given an specific IP address when connecting back to the network, instead, they are given the next available on the DHCP pool. if you need this/these rule(s) to always be enable, consider creating a DHCP Reservation for all DHCP clients used in your "virtual server" or "port forwarding" rules, this will ensure your DHCP client will always get the same IP address when connecting to your local network)
TCP Port: Enter the TCP ports that you want to open. You can enter a single port or a range of ports. Separate ports with a comma (for example: 24,1009,3000-4000).
UDP Port: Enter the UDP ports that you want to open. You can enter a single port or a range of ports. Separate ports with a comma (for example: 24,1009,3000-4000).
Schedule: Use the drop-down menu to select the time schedule that the rule will be enabled on. The schedule may be set to Always Enable, or you can create your own schedules in the Schedules section.

Step 6: Click Save when finished to save the rule.
Congratulations you have successfully configured port forwarding for your router.